Search
Close this search box.
Search
Close this search box.

Pie Math

Erin is a mother of four and fledgling farmer in Virginia. She and her family live on four acres in the Blue Ridge Mountains where she raises a myriad of animals and a sizable garden.

She farms for the food— finding joy in from-scratch meals and the pleasure of sharing them with others. Her Homestead Mamas takeover runs July 12-14, and you can find her on Instagram
@thecedarchestfarm.

There are so many kitchen skills that a Homestead Mama would do well to develop— whether you live in the city or country, on acreage or in an apartment, we talk here all the time about the ways we can put food on our family’s table all year long.

The ability to cook from scratch using local and seasonal ingredients is a cornerstone to all manner of homesteading lifestyles. And if you were to ask me about my favorite way to put homegrown ingredients on my dinner table, I wouldn’t blink an eye before singing the praises of the almighty Pot Pie!

What’s that? You say pot pies are fussy? Or that they’re just a cold weather food? Or they take too much work? Allow me to take a moment and change your mind!

Pot pies are super flexible. In fact, I’ve adopted an almost entirely “wing-it” approach to making them. While a homemade crust is preferable, you can absolutely use store-bought. Or top with a quick biscuit dough. Or frozen puff pastry. You can make the crust the day before, or in the morning when you’ve got a spare moment. You can make the filling in advance. The key is to not feel rushed to make it all at once. And you can add or omit fillings based entirely what’s lying around. Which reminds me…

Pot pies are a fantastic use for leftovers. Whether it’s a few cups of pulled chicken, leftover ham or steak, roasted root vegetables, or even a dish of extra gravy… the remnants of yesterday’s dinner can serve as a fantastic base for your pot pie filling. This is especially wonderful in my family, where almost nobody enjoys eating leftover meats. Talk about a way to recycle into something new!

Pot pies can totally suit the season. Think outside the wintry box! Sure, the classic chicken with veggies feels suited to colder days, but what about swapping those carrots and peas with cherry tomatoes, zucchini, and sweet corn with basil? A summer pie! Or asparagus and lemon in springtime? The possibilities are truly endless and you’d be hard pressed to find a combination of meat and veggies that doesn’t taste incredible in a pie crust.

The trick to me has been finding a formula for a fail-proof filling that I can whip out on any day with the foods I have on hand. Pair it with my go-to pie crust, and gosh… dinner is sounding better by the minute! Here’s my basic approach to your new favorite meal trick:

Quick and easy pie crust:

1/2 cup butter

1/2 cup lard

2 1/2 cups all purpose flour

1 tsp salt

1/2 cup ice cold water


Add butter, lard, flour, and salt to the bowl of a food processor and blend until ingredients begin to form a sandy texture. Transfer to a large bowl and add ice water. Combine with your hands or a wooden spoon until mixture just starts to come together. If it feels like you need more water, allow the dough to sit in the refrigerator for 10 minutes so the flour can hydrate. Chances are it’ll come together just fine after that. If it still feels dry, add a little more water, 1 tsp at a time, until you have a cohesive dough. Divide in half and form two discs. Wrap dough discs in beeswax wrap or plastic wrap and refrigerate for at least 30 minutes.


Notes:

  • If you don’t have lard, use all butter.
  • Feel free to sub some of the all purpose flour with whole wheat if you like.
  • Add a tablespoon of dried herbs to the food processor for a fun variation. I love rosemary in cooler weather pies!
  • Similarly, a half cup of parmesan cheese makes a delicious addition to the dough and will give it a more short-crust texture.
  • While the dough needs at least 30 mins to rest and chill, it can last up to 2 days in the fridge (and can also be frozen) to allow for flexibility in your cooking timeline.

Filling Formula:


2ish cups cooked meat (shredded or diced chicken, ham, steak cubes or slices, shrimp…)

2.5ish cups other stuff (how’s that for flexible? See below for ideas!)


1 onion, diced

2 cloves garlic, minced

1/4 cup butter

1/2 cup flour

2 cups broth/stock

1 tsp salt

1/2 tsp pepper

herbs or spices to taste


The cooking method is going to vary greatly depending on what you’re working with— but the gist is this: sauté your vegetables until they’re soft, in whatever order makes sense. If you’re using potatoes or carrots, they will obviously take more time than peas or zucchini or other softer vegetables. The onion and garlic need to be added somewhere in there. If you’re using pre-cooked veggies from a leftover meal, the onion and garlic might be the only cooking you need to do.


When everything is cooked through, allow it to cool a bit in the pan while you make the gravy as follows:


In a medium saucepan, melt the butter. Add the flour and whisk until bubbly, allowing the floury flavor to cook off for a few minutes. Add salt, pepper, and any other desired herbs or spices to suit your flavor profile. I almost always use 1/2 tsp onion powder and 1/2 tsp garlic powder. Gradually add broth, whisking constantly to avoid lumps. Chicken, pork, beef, or veggie broth are all great options! Allow gravy to simmer for several minutes until thickened. Set aside to cool.


Combine your cooked vegetables, meat (or beans! or tofu! the world is your oyster!) and gravy, and add any additional seasonings or fresh herbs to taste.


Some combinations to inspire you:

  • Classic and super simple: pulled chicken or cubed ham with peas and carrots (I always keep a bag of grocery store steam-in-the-bag veggies for this!) with or without potatoes. Rosemary and thyme in the gravy.
  • Summer riff: pulled chicken with cherry tomatoes, zucchini, and grilled corn. Add fresh basil when combining all the filling ingredients.
  • Curry! Pulled chicken with warming Indian spices in the gravy. Fillings like sweet potatoes, peas, broccoli, and zucchini are all delicious.
  • Steak with mushrooms, celery, and potatoes. Add some tomato paste to the gravy! Or even swap some of the veggies for a hearty grain like farro or barley.
  • Hearty vegetarian combinations like butternut squash or sweet potato, kale, and white beans or lentils.
  • Bacon, broccoli, and potatoes with ranch spices.
  • Lamb with peas and mint, or gyro inspired ingredients like red peppers and feta.
  • BBQ or buffalo pulled pork or chicken.
  • The possibilities are endless!

Building the pie:

To make it all come together, roll out your pie crust and place in bottom of pie plate. Make sure you have a good 1/2” overlap to be able to seal your top and bottom crusts together— you don’t want your filling dripping on the bottom of your oven! Pour in the cooled, combined filling (it doesn’t need to be downright cold, but you don’t want to cause the butter your crust to melt while you’re building the pie), and top with second layer of dough. Crimp and seal edges together and create some sort of design or slit in the top of the pie to allow steam to escape.

Have fun with decorating! Of course, a simple solid pie crust is perfectly lovely, but I always enjoy getting playful or fancy with my crust. The key is to make sure everything stays cold so any little designs hold their shape before baking.

Bake at 375 for 40-50 minutes, until pie crust looks golden brown. Remember everything inside is already cooked, so pull it out whenever it looks done on the outside! I like to bake on the bottom rack to ensure a crispy, flaky bottom crust. You might play it safe by placing the pie plate onto a cookie sheet in the oven to catch any drips!

Allow to cool for 10-20 minutes before serving. Enjoy!

COMMUNITY

Please join us by sharing, continuing the conversation below, and connecting with Erin at the following:

Share

MORE Stories

Failing Bravely

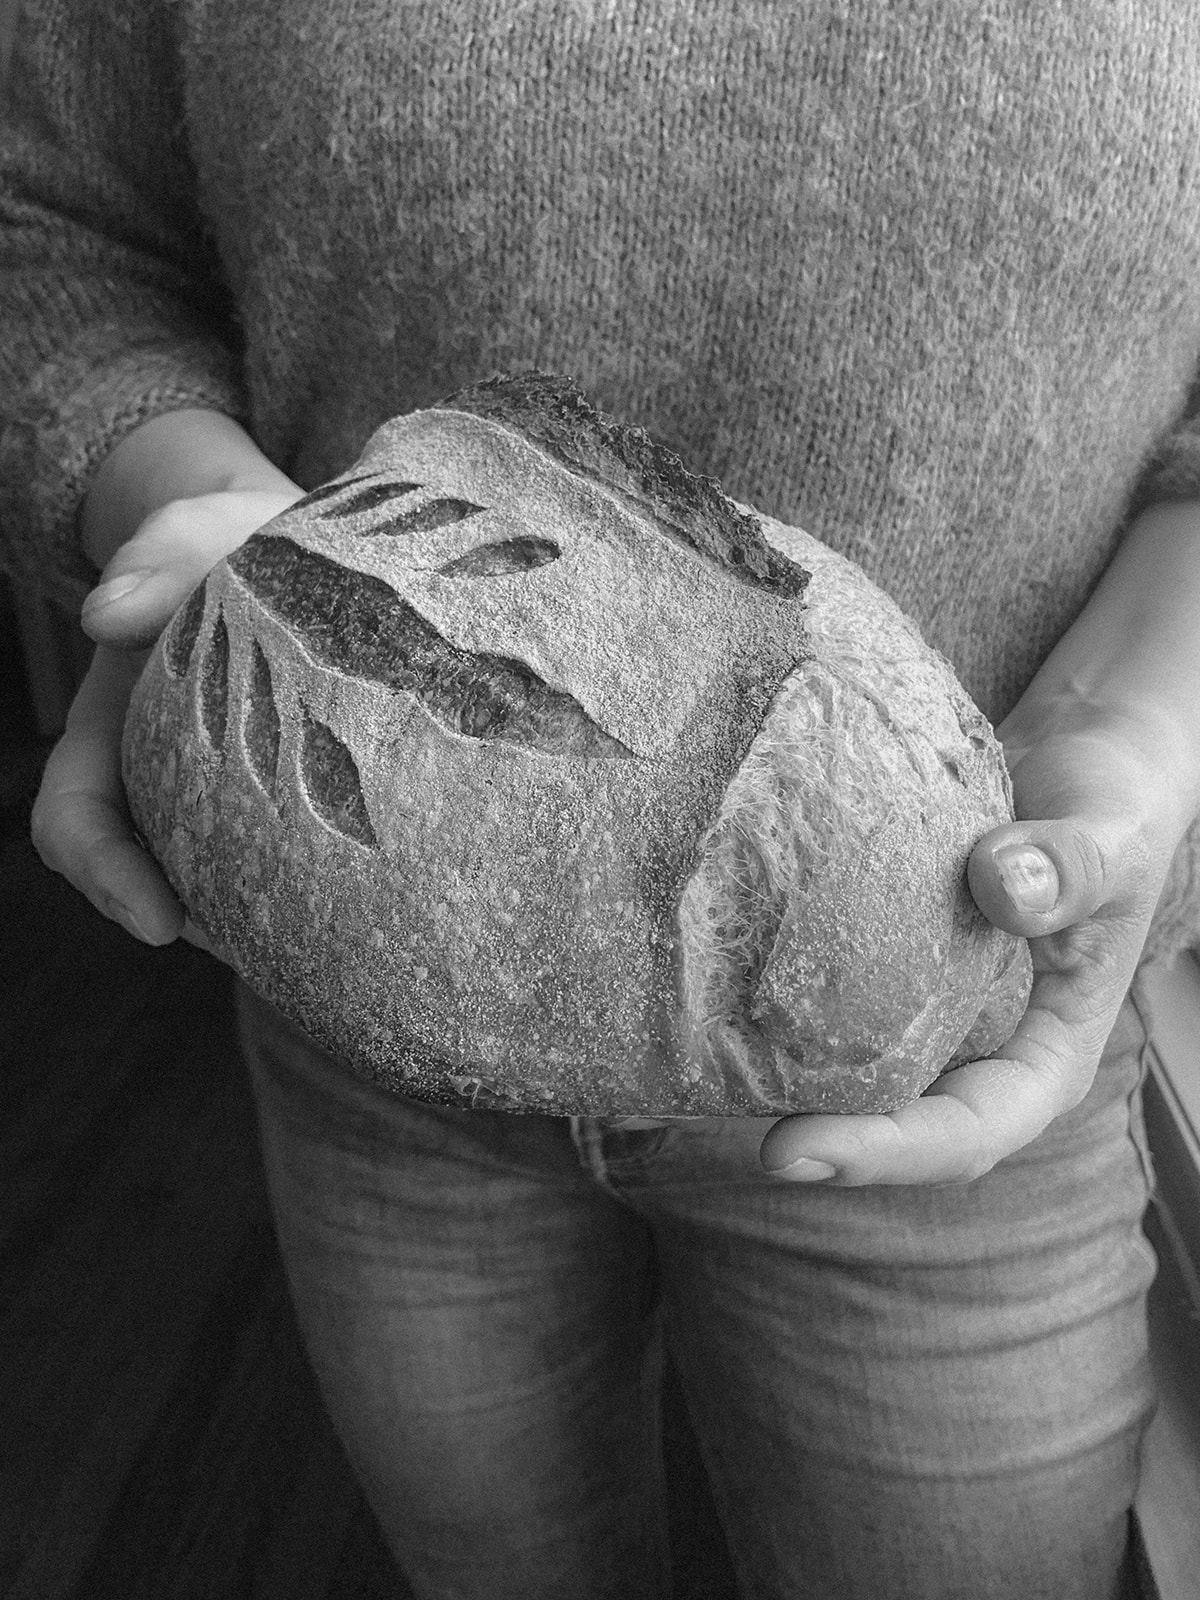
One year ago, I resolved that I would learn to make all of the bread products my family needed. With an ever-shrinking bank account battling current inflation prices, I would walk the aisles of our local markets frustrated that I did not possess the skills required to make most of the things I needed to purchase…

Read More

Cider Pairings

When we first started selling cider in 2002, almost no-one even knew what it was. When Americans heard the word “cider” they thought brown unfiltered juice in a plastic jug. A lot has changed in the past 2 decades– cider now regularly makes national media…

Read More

Work Life Balance

It’s ironic in a way, to be writing a guest blog post for Homestead Mamas in the homestretch of harvest while I’m absolutely not manifesting any type of work-life balance what-so-ever. I’m writing to you while multitasking on cider production on what is probably my 40 straight 10 hour day of work. But it will be winter soon and things will ease up and over the past 20 years I’ve gotten used to the fact that folks are going to be thinking about apples, and ciders, and the people that grow and make them in the fall– when the apples are ripe!…

Read More

Cooking with Real Pumpkin

I have been a fan of all things pumpkin my whole life. A friend of mine once bought me a shirt that said “you had me at pumpkin spice” and while my husband teased me relentlessly about it, the fact remains: it was true! Whether you are a pumpkin fanatic or you prefer the seasons definitively stay in their own lane… now what it’s October, I think we can agree: it’s time for some fall baking!

Read More

Farm Stories from the Alps // Slowing the Pace

My dear friends, it’s been quite a long time I haven’t been here with you. Life has been hectic during summer (I think you know what I am talking about). Sometimes it feels kind of overwhelming having to manage the farm from Monday to Wednesday and the restaurant Thursday to Sunday. We practically never get a day off….

Read More

Join In The Conversation

Subscribe
Notify of

0 Comments
Inline Feedbacks
View all comments

A Patchwork of Homestead Mamas

An inspiring & encouraging community of Homestead Mamas. For growers, hunters, foragers, & explorers; with little hands & little hearts alongside.

Join Our Community