Search
Close this search box.
Search
Close this search box.

Home Harvest

Amy Sliffe of Blue Whistler Farm and founder of Homestead Mamas lives with her husband, Josh, and their two little boys in Harrisonville, MO, where they are currently bringing back to life a 100 year old farmhouse on 5 acres. Her passion for farming and desire to provide nutrient-dense food for her family sparked the idea of bringing together a community of like-minded women.


*We receive commissions for purchases made through links on this post. Thank you for all your support.

Here’s a quick run through of how we set up for and run our on farm processing of chickens and turkeys! I will honestly probably be referring back to this every time we process on farm! Hope y’all can get some tips from it as well! 


Let’s start with the night before processing!  Pull birds feed 12 hours prior to your start time! Make sure they have plenty of water, and move them to a fresh spot of grass! 


In the morning, fill your scald pot up and turn on the propane burner. Leave a digital thermometer in the water that beeps when it reaches the right temp, which is 145-150. If you have two turkey fryers, and two pots, get the second one warmed up a bit too. It’ll at least be warm for later, and it holds its heat for a while with a lid on. This way you can switch pots quickly after the water gets too dirty! 


Prep your tables and coolers by cleaning them with soapy water, then spray with a vinegar solution to disinfect! We let them air dry then, preferably in the sun! 


Have a hose with a spray nozzle set up near the “eviceration station” for cleaning hands, knives, and the table between birds! You also want to spray the birds down inside and out before they go into the first chilling cooler. 


Fill coolers with bags of ice and water. We’ve noticed that an “ice slurry” seems to cool the birds down quickest! 


Have your kill cone set up on a tree/post, making sure that the large opening of your cones aren’t right at face level. I’ve had friends nearly lose eyes from turkeys kicking out during processing. You’ll also want a designated kill knife at that station. Keep a cup of water nearby to hold the knife between kills. Make sure to have a sharpener on hand during the day. Knives are dangerous, but dull knives are even more dangerous. You also want the fastest, and most clean killing cut, so you want a clean sharp knife with every bird! 


Once the bird is in the kill cone, we prefer slicing the carotid artery to dispatch birds. Studies have shown this is the fastest, and most humane way to harvest birds. Cutting the head off the chicken is not the recommended way. It may seem easier, but for the sake of the chicken, please don’t! 


From kill cone, you move to the scalder. This is a very important step, and needs to be monitored very closely! The temp really needs to stay at 145, or close to that. Too much over and the birds skin will rip away in the plucker. Too cool and the bird won’t pluck well at all, and you’ll spend a ton of time hand plucking! We add a tablespoon of Dawn dish soap to the water, as it helps clean the bird a bit, and helps penetrate the oily feathers, so the hot water can hit every inch of the skin! 


It’s also important to note that the bird needs to be brought fully in and out of the water, and swished around a lot during the 60 second period of scalding. After the minute is up, pull the bird up and see if you can easily pull off some of the larger wing feathers. If they come easy, your bird is ready to go in the plucker! 


This year, we decided to buy a Yardbird Plucker! This plucker saves us hours of work! We decided to buy this bad boy because the closest place to rent a plucker from was about an hour away, and cost $50 to rent for the day. That’s 4 hours of driving to pick and and drop off, plus the $50 rate, and that only allows for one day. With the Yardbird plucker, we are able to process birds whenever we need too without having to plan things in advance. 


We know that we will be raising at least a hundred broilers each year from here on out, and not to mention our experiment with the broody hens and putting Cornish Cross chicks under them went amazing! So now we can buy 5-10 CC chicks every time a hen goes broody, and let them do the work of raising them free range, and save major on feed costs and time! We can also have multiple processing days per year now with the Yardbird being in the garage, and never stress about if the one for rent is even available! For us, it was worth the investment! 

Back to the butchering!

We usually have the person doing the plucker pull off heads. Pulling feels gross, but it is faster, easier and safer than cutting. Then toss the bird into the plucker with the water on. The bird flails about in the plucker for not even 15 seconds, and you get a bird so clean you could lick it! Ok, don’t do that. But just sayin!! The Yardbird does a fantastic job at cleaning our birds!! 

From the plucker, the bird goes to the “Evisceration Station”. Evisceration is when you take that squeaky clean, naked bird, and gut it. This is a very daunting task, but you gotta do what you gotta do, and it gets easier with every bird. The first is the hardest. 

Once the bird is on the table, the first cut you’ll make is to cut off the oil gland on the tail. Then flip the bird over and cut off the feet. Make sure to save those feet for later use in broth making! Next chicken/turkey harvest, I will be vacuum sealing 2-4 feet per bag so I can cut one open and toss them in a batch of Instant Pot broth! 

Next slice on the left side of the birds neck where it meets the body, and loosen the membranes surrounding the wind pipe, esophagus, and the craw. Flip the bird again, and slice just above the vent, and pull the cavity of the bird open. You’ll then fit your hand up into the cavity, and in one motion, pull the entrails out and onto the table. The esophagus, craw and windpipe should come too! Now remember not to pull it as to detach it! Just pull it out, and set it there, and then go in for the heart, and lungs. You’ll have to scrape those lungs out. Don’t forget to check for the little “kidney bean” looking testicles! 

After you’ve got all that out of the bird, your gonna cut a U shape around the vent, cutting everything away, nice and clean. Poop happens sometimes even if they didn’t have feed for 12 hours prior, so be sure to spray the table and bird off as often as you can! 

From here, give the bird a really good rinse, inside and out! Then toss it into the first chill tank that you’ve set up. I usually have a “pre-soak” chill bath for 20 minutes, and then they go into the final chill bath with tons of ice and cold water till they’re ready to bag. We spray the birds off between these two coolers, as to keep the second and final chill bath super-duper clean! 

Once all the birds are in their second chill tank, it’s usually time to eat lunch, clean up, and get set up for shrink wrapping the whole birds, and parting out and vacuum sealing the rest!

I’d recommend cleaning the tables completely, and sanitizing them with vinegar again, and allowing them to dry on their own in the sun so everything’s ready to go for further processing of the birds. 

While the tables are being cleaned, have someone clean out your scald pots, and get them heating up! This time to 180-190 degrees so you shrink wrap your whole birds! 


Also, I can’t recommend a “vertical chicken roasters/beer can roaster racks” more for letting the bird drip dry for a minute before bagging! Using a “beer can chicken” rack makes for MUCH easier bagging, and less water in your bags! And you can use it year-round for making those delicious beer can chickens with your homegrown birds. Trust me, it’s worth it! Your turkey frier pot may have come with one that would work too! 


After the birds have been chilling in the second icey chill tank for at least an hour or so, you are ready to bag! 


From here you’ll grab a bird out of the cooler (by the neck so the cold water in the cavity doesn’t spill all over you!!) and place it on your rack to dry for a couple minutes. Prepare your scale and your bag, and pull the bag over the bird, and pull it off the rack with the bag around it. You have to have the cavity of the bird facing up for the next part, so using the rack also helps with that! 


You insert the tubing that came with your shrink wrap bags (even a straw worked for us in a pinch!) into the cavity of the bird, and twist your bag around the tube, leaving the tubing sticking out of the bag! This will allow the air to release! Once you have the bag twisted around the tube, add your zip tie, but not too tight to pull the tube out once your bird is dipped! 


Then dip your bird into the crazy hot water, as far as your fingers will allow. You kinda gotta play around with this, but you’ll get the hang of it. You dip the bird for barely a full second, and pull it out, and the tube, and pull your zip tie as tight as you can.  Dry the bird off, and place it on the scale, and write your weight on on the bird, and in your notes to see your average weight, and costs per pound later! 


Then into the freezer they go! 


I won’t go into detail about parting out the birds, and vacuum sealing as that is pretty easy! The first time I parted out a bird it took me 15 minutes. I can now do it in about 1.5 minutes, which still isn’t very fast compared to a lot of people, BUT HEY! I’m getting better! 


I hope this helps inspire you to grow and harvest your own birds on your homestead! Harvest day is a bitter-sweet day for sure, but once those chickens are in the freezer, you will have meat security, and that’s a huge thing! You’ll be enjoying that meat for months to come with your family and friends! 


Always know you can reach out to me over at @Bluewhistlerfarm with any questions about home harvesting of birds! 

COMMUNITY

Please join us by sharing, continuing the conversation below, and connecting with Amy at the following:

Share

MORE Stories

Deeply Rooted

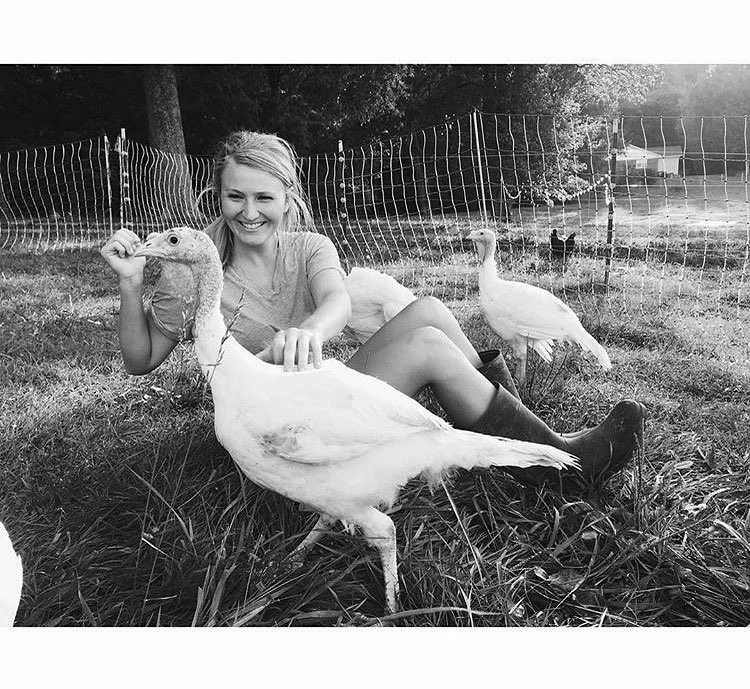
I am not well traveled. I’ve never flown on a plane. I’ve never been north of Ohio or west of Texas.I’m not as well traveled as some may say one should be, but this piece of land has housed all of my fondest memories…

Read More

Embracing Joy on a Humble Life Journey

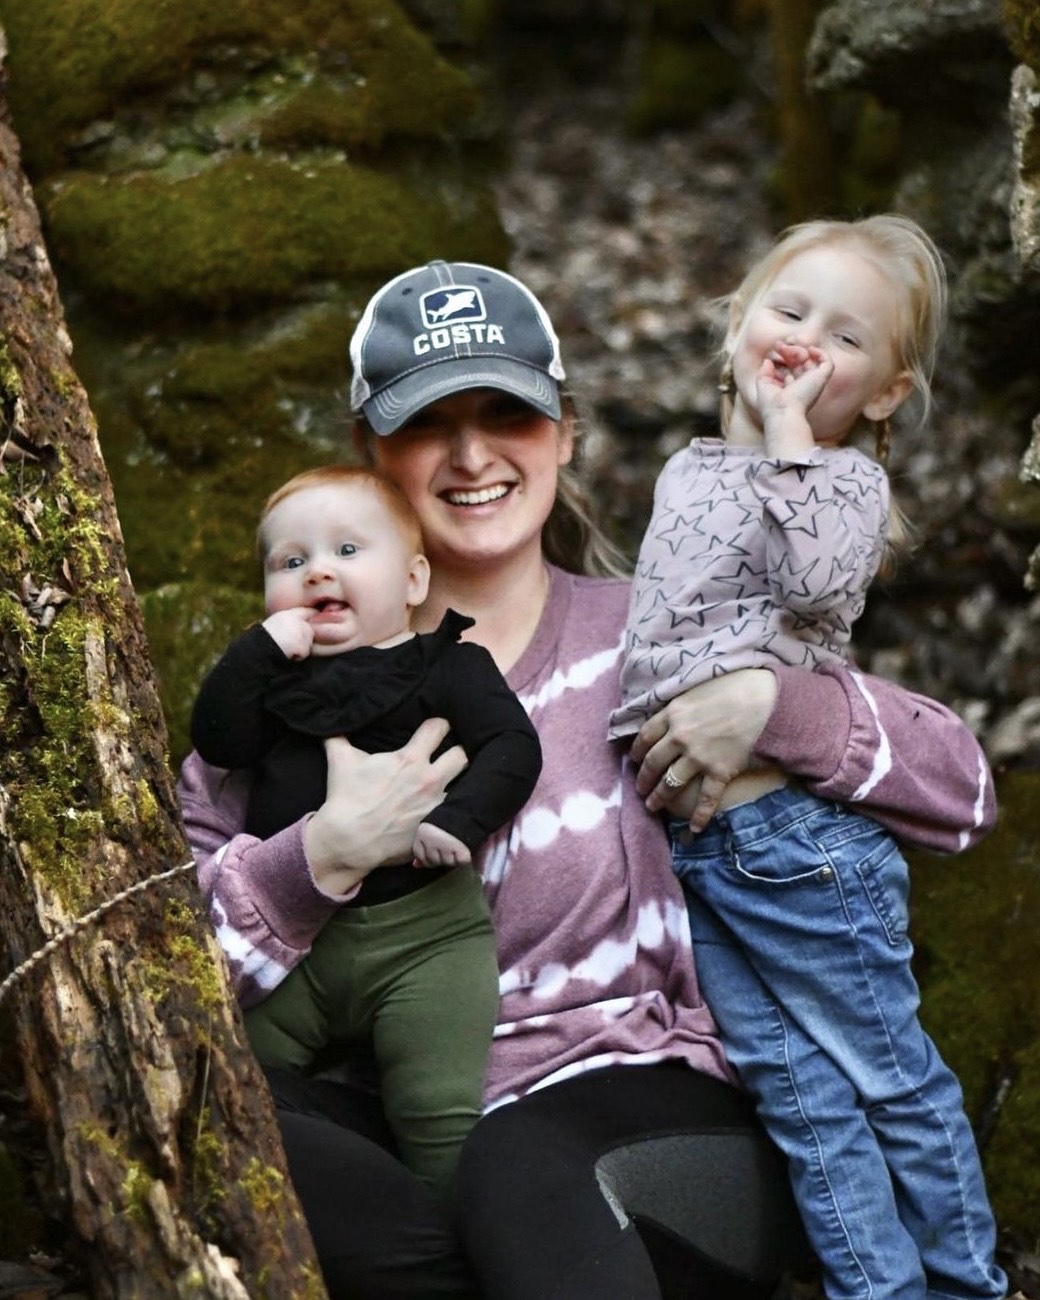
Do you ever worry that your kids will miss out because of this homesteading lifestyle choice? This fear crosses my mind time to time. I’m sure many, if not most of you, could agree that it can be extremely difficult to get extended time away from the homestead for more than a full day, especially in the busy summer months when daily chores demand our regular attention…

Read More

Healing on the Homestead

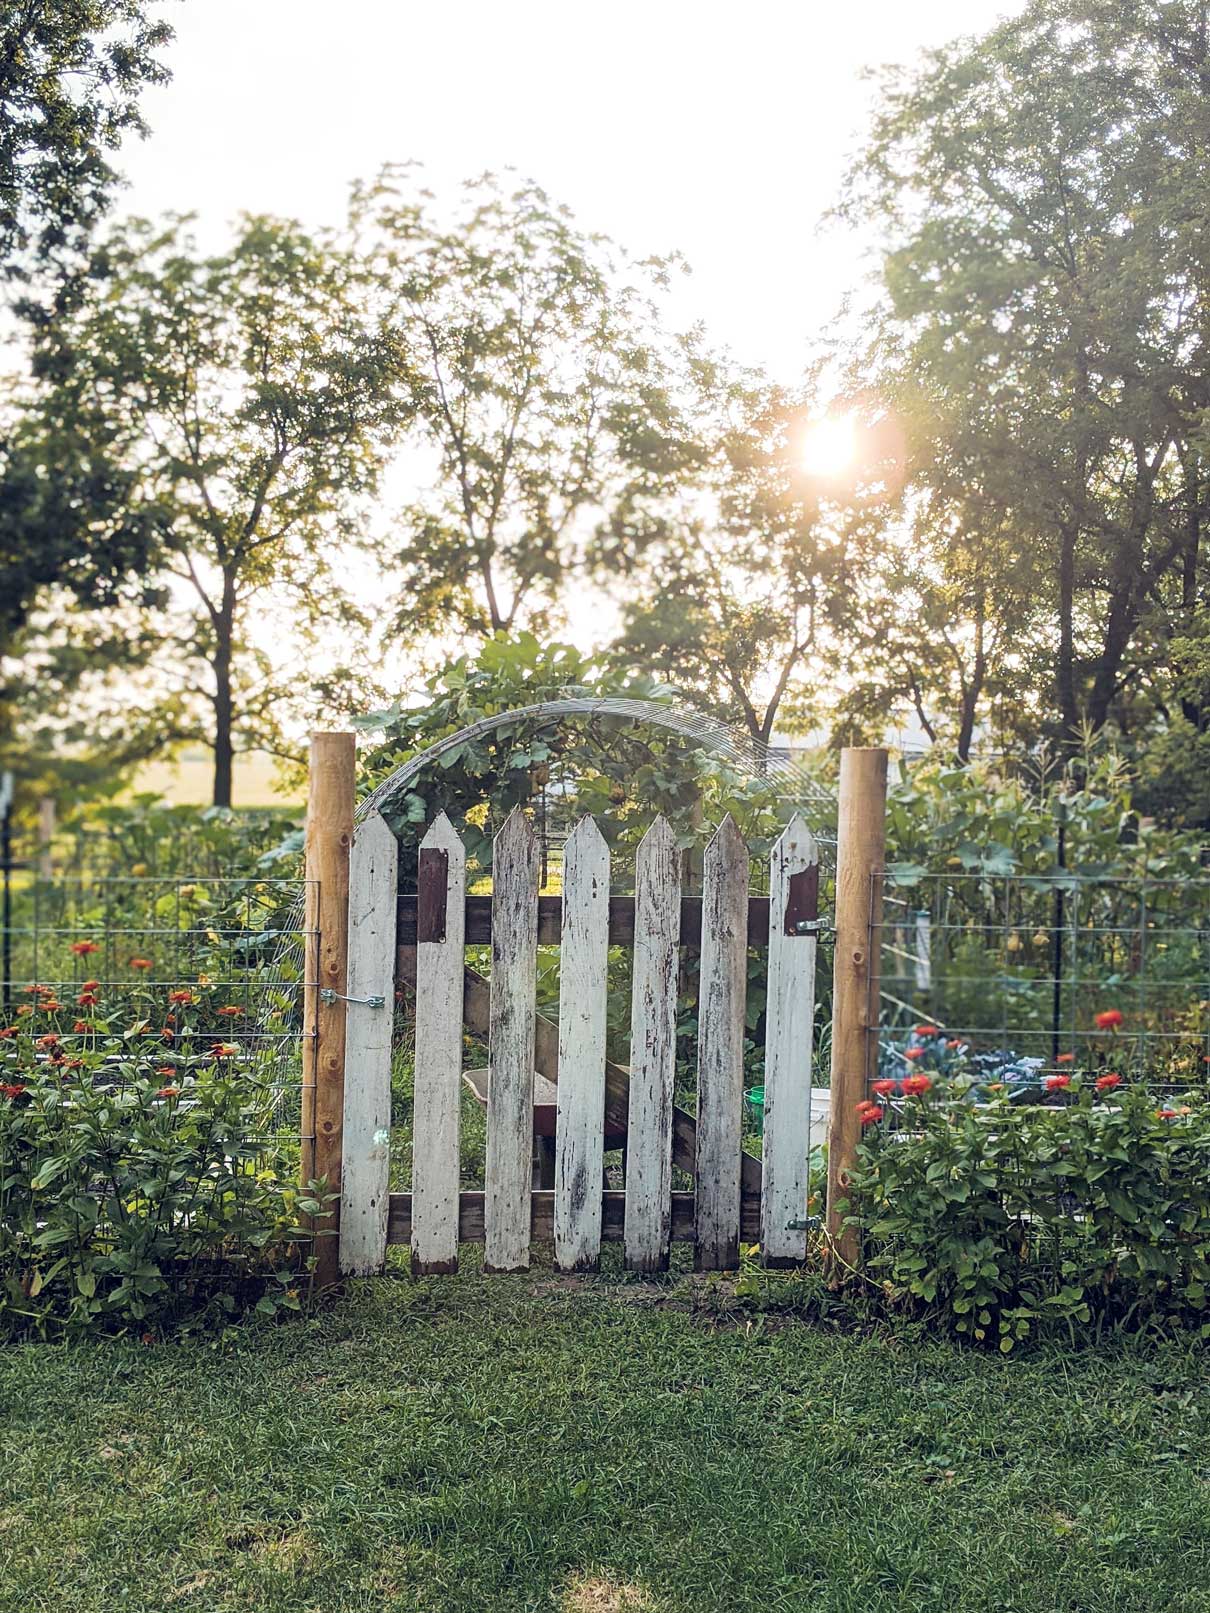
“In some Native languages the term for plants translates to ‘those who take care of us’ … the land knows you, even when you are lost.” – Robin Wall Kimmerer, Braiding Sweetgrass…

Read More

Babies, Business, and Bumper Crops

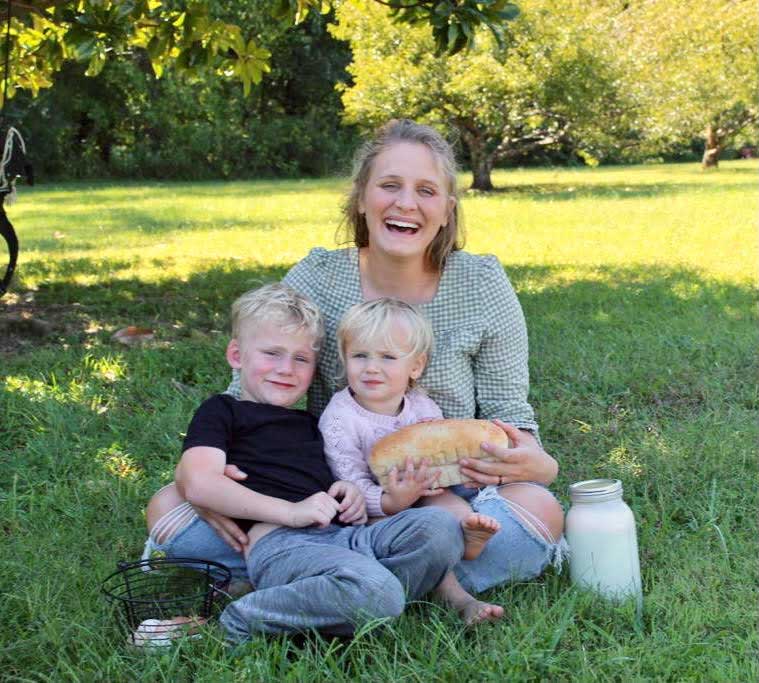
Babies, Business, and Bumper Crops: How I am Learning to Homestead with Babies in Tow

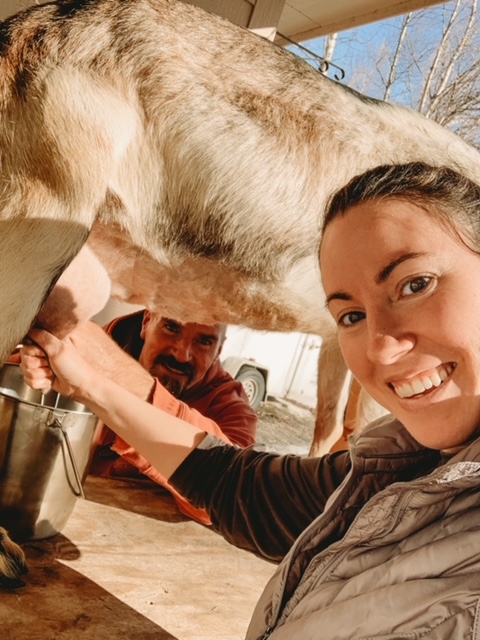
Have you ever had one of those days? You know the days when you are cleaning the baby’s diaper, milking the cow, scooping poop in the barn, wiping noses, and cleaning more poop off of kids’ shoes…

Read More

Failing Bravely

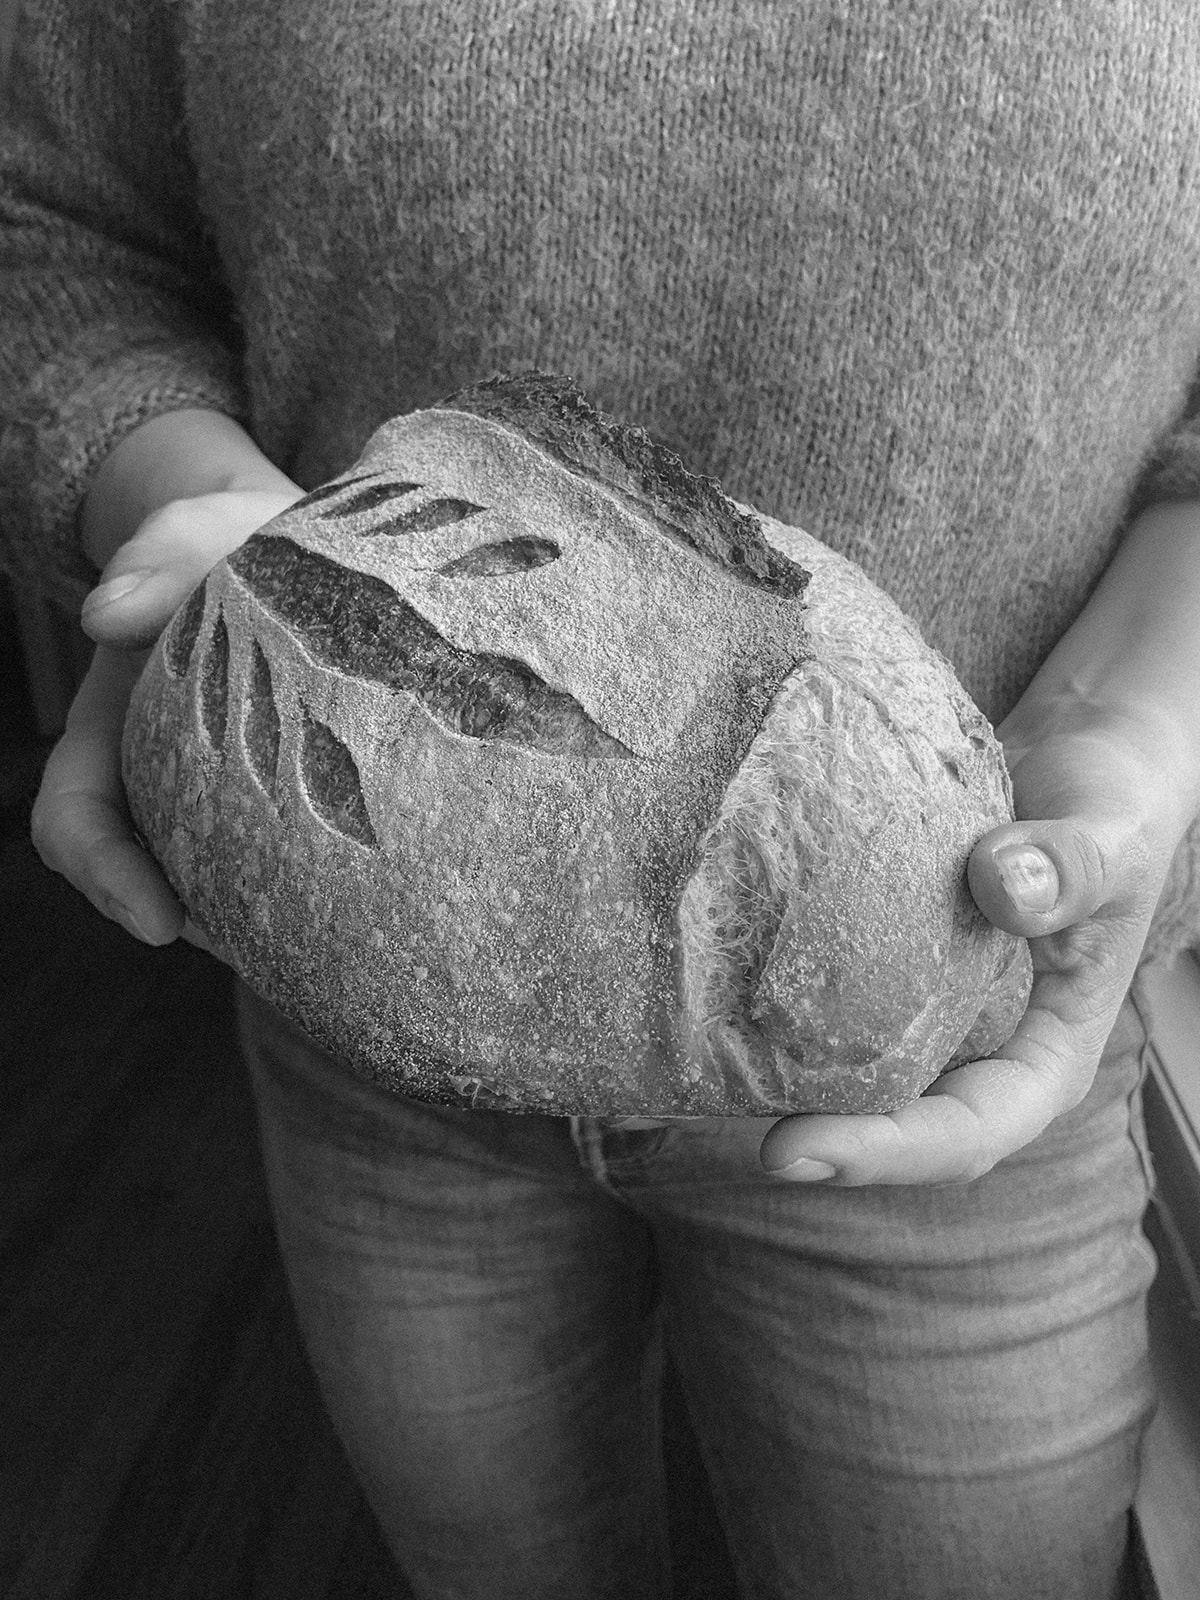
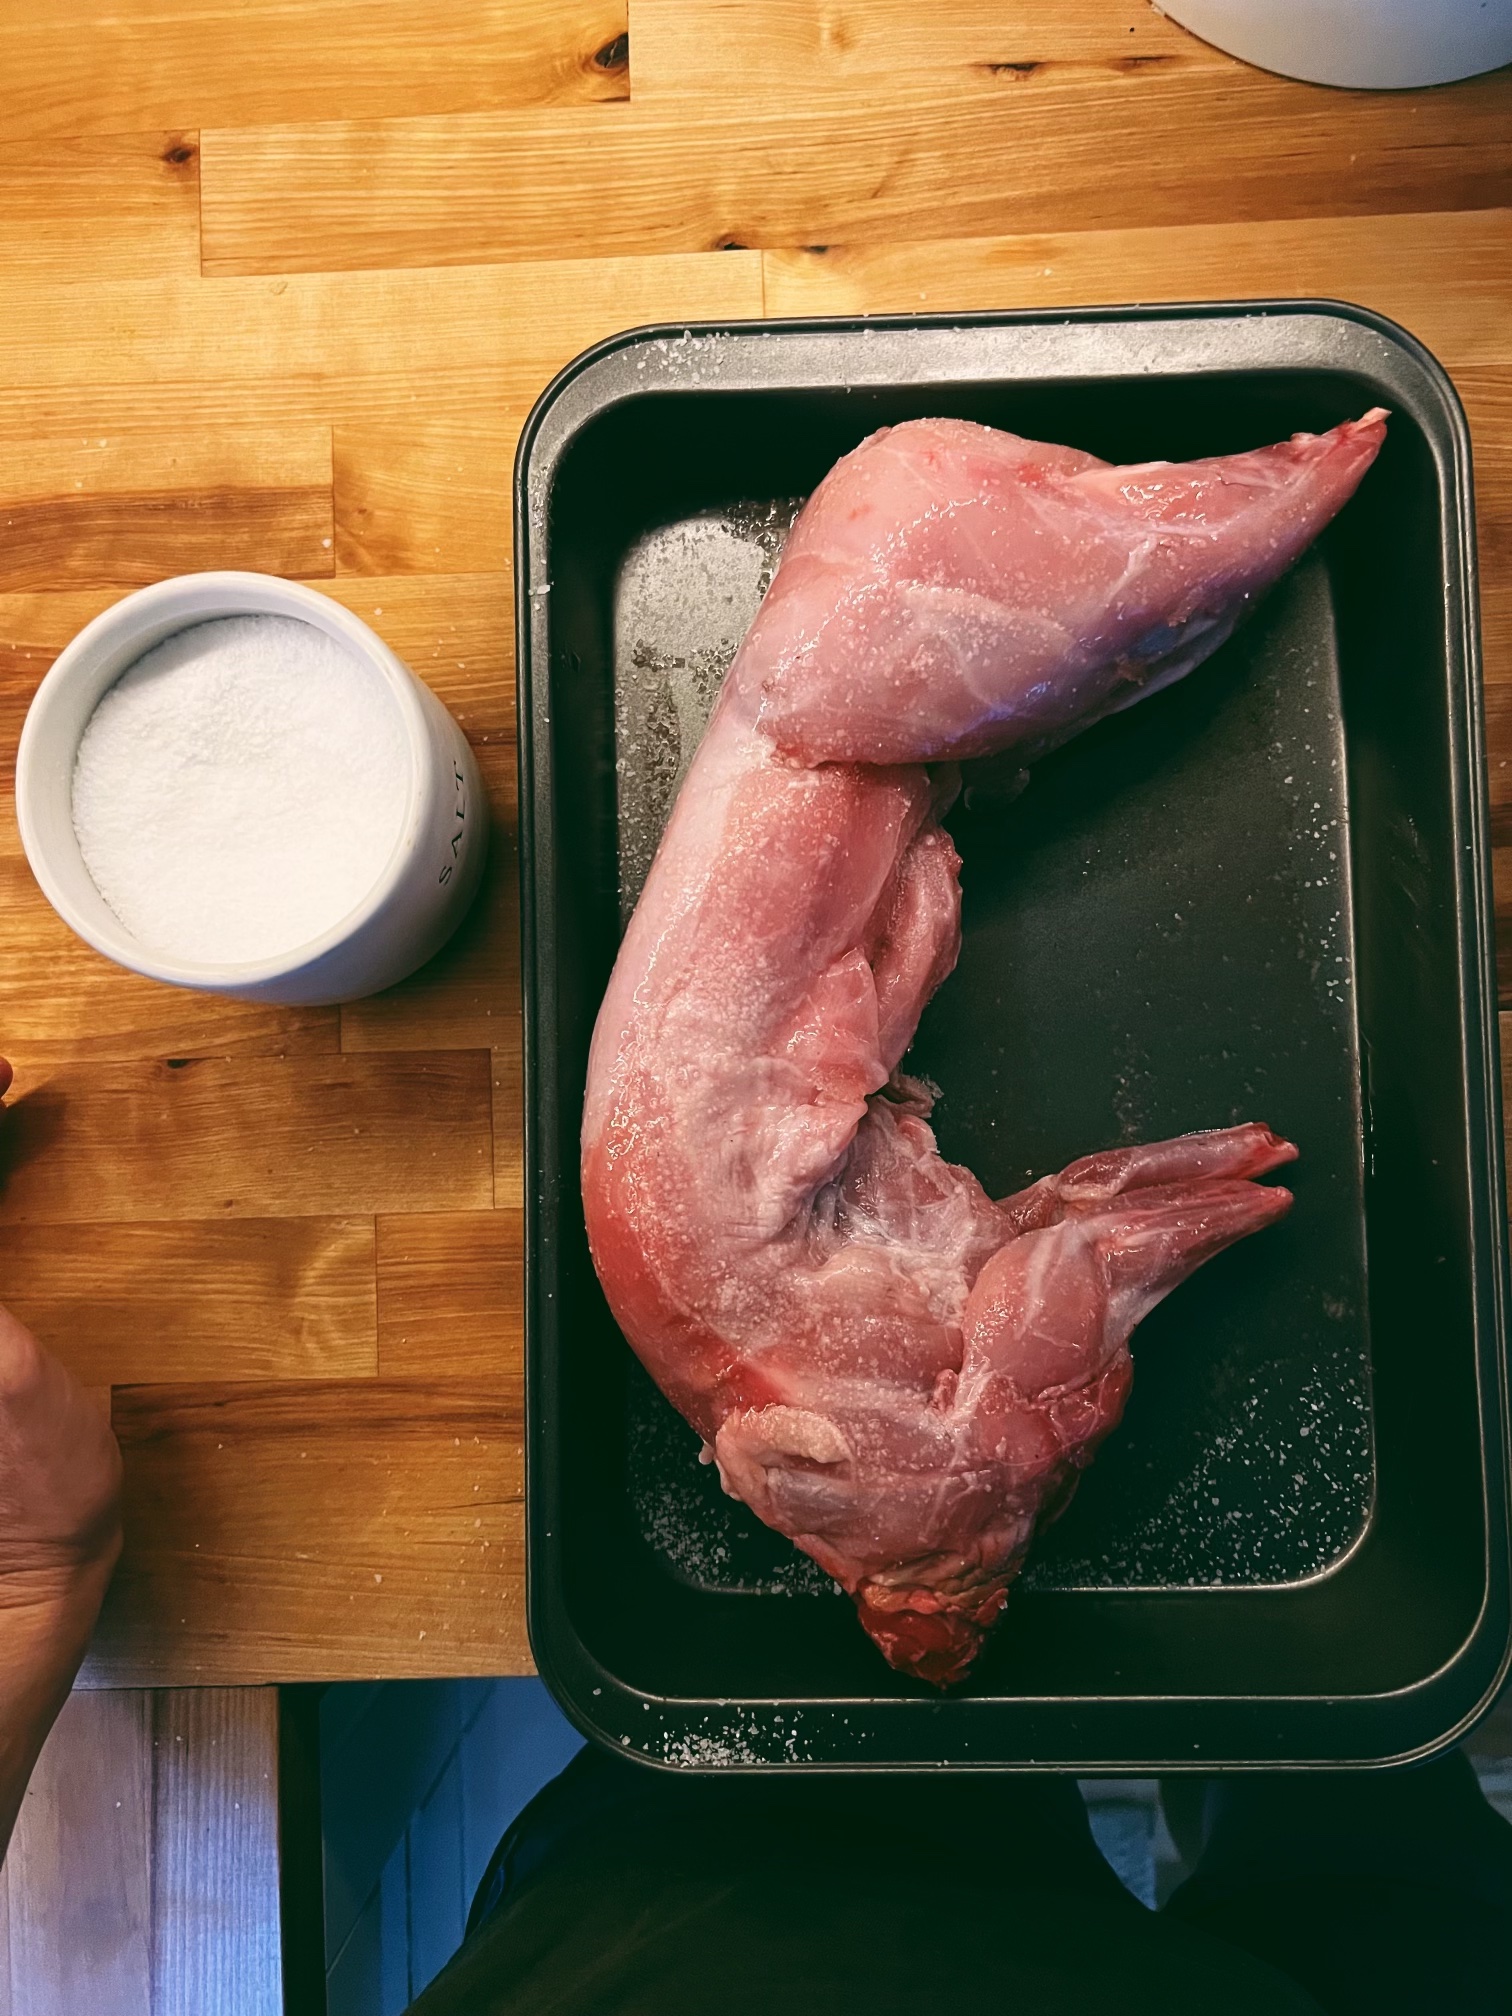
One year ago, I resolved that I would learn to make all of the bread products my family needed. With an ever-shrinking bank account battling current inflation prices, I would walk the aisles of our local markets frustrated that I did not possess the skills required to make most of the things I needed to purchase…

Read More

Frontier Homesteading

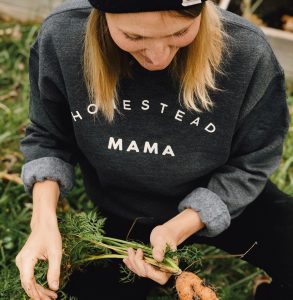
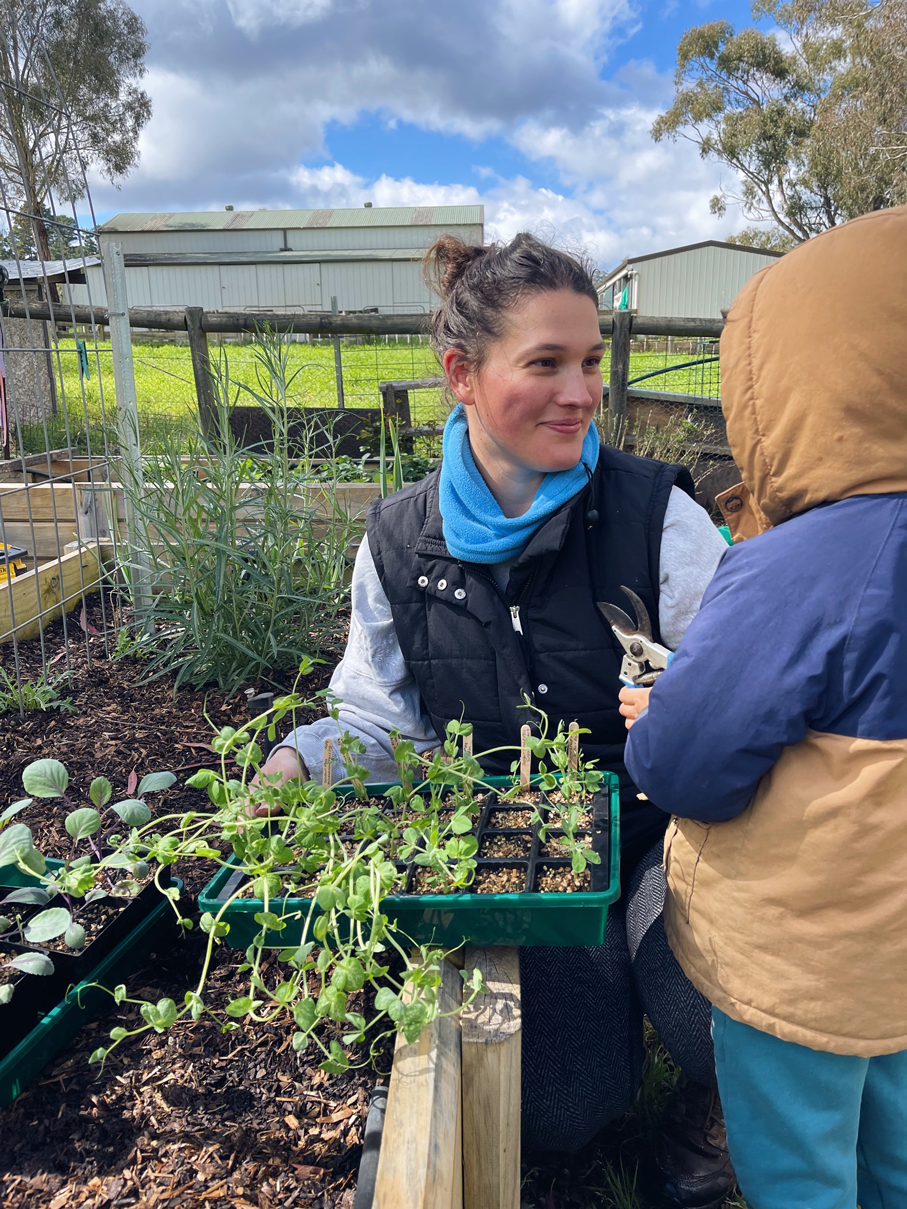
Hey there, Homesteading Mama’s!
I’m Rachel from @frontier_homesteading. My husband Ryan, three children and I have been homesteading for about 10 years now, first in Wyoming and now in Alaska.
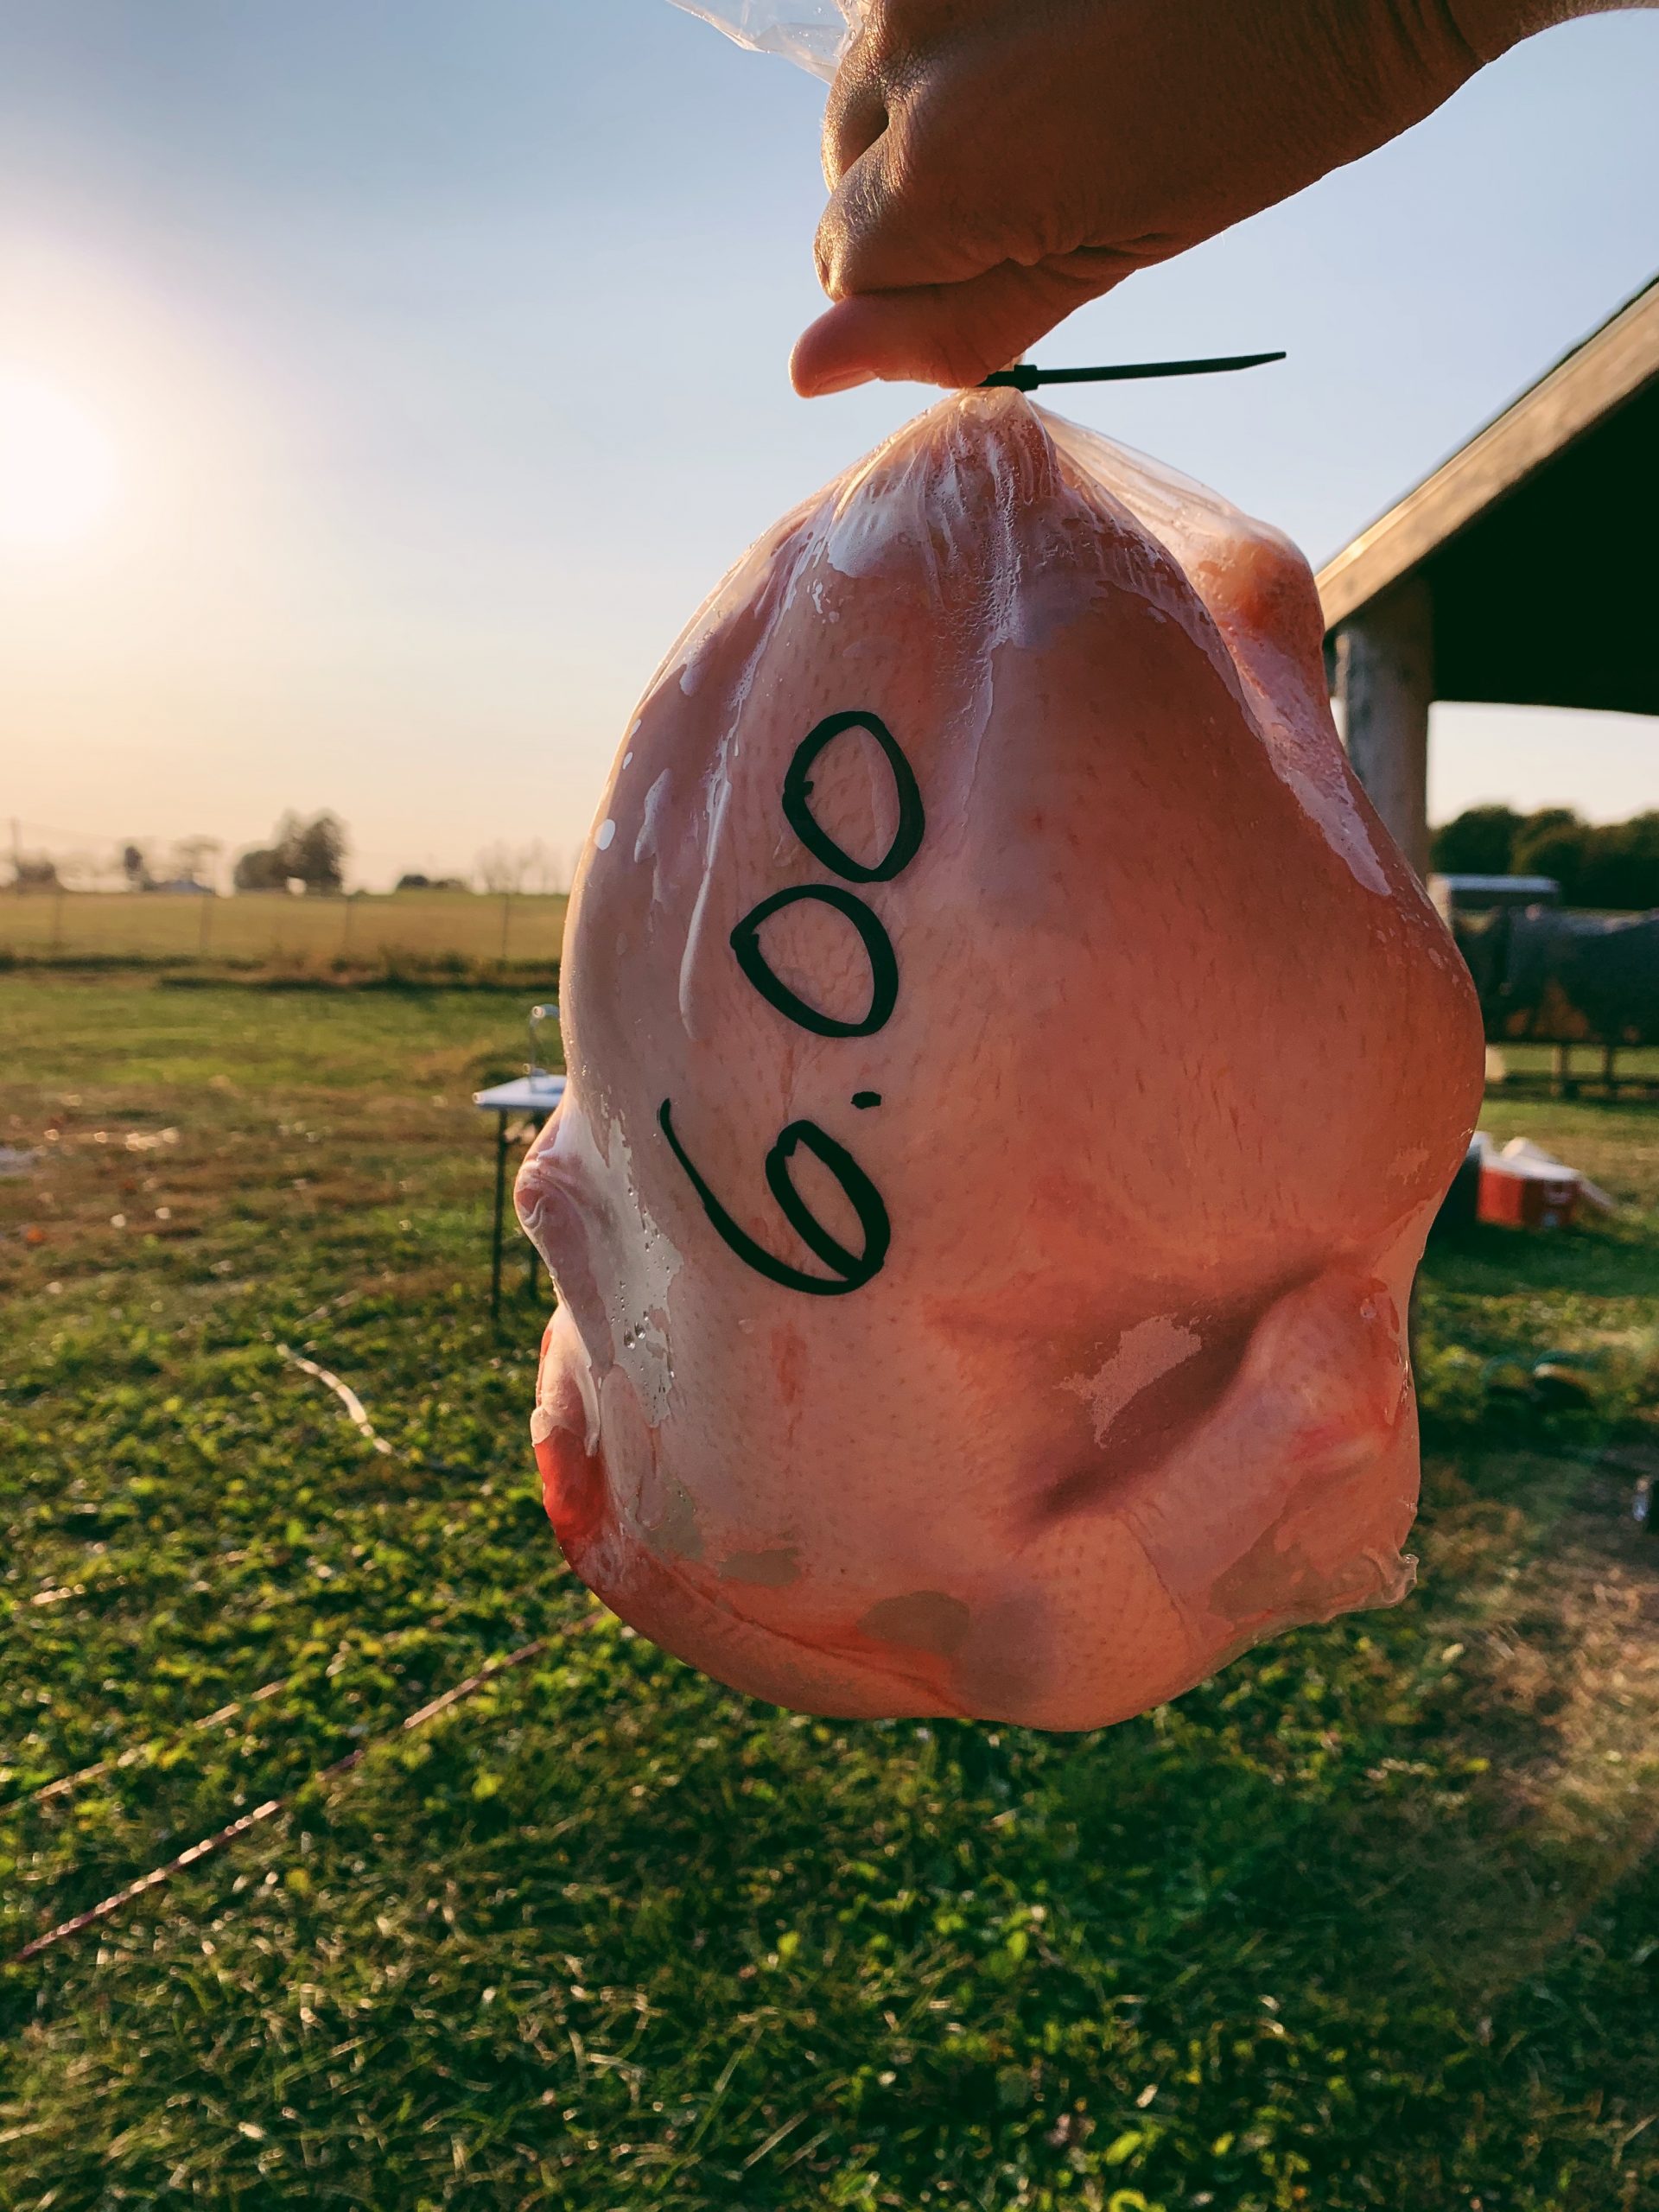
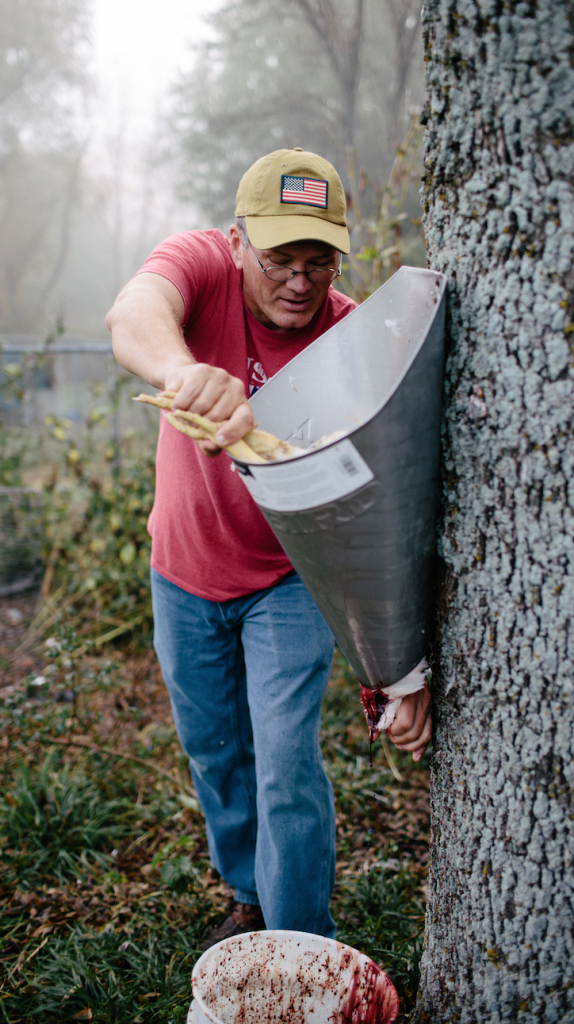
We currently have milk goats, pack goats, sheep, a pig, a cow, chickens, rabbits, bees and a dog. Seasonally, we also have more pigs, meat chickens and turkeys….

Read More

Holiday Stained Glass Windows with RuthAnn

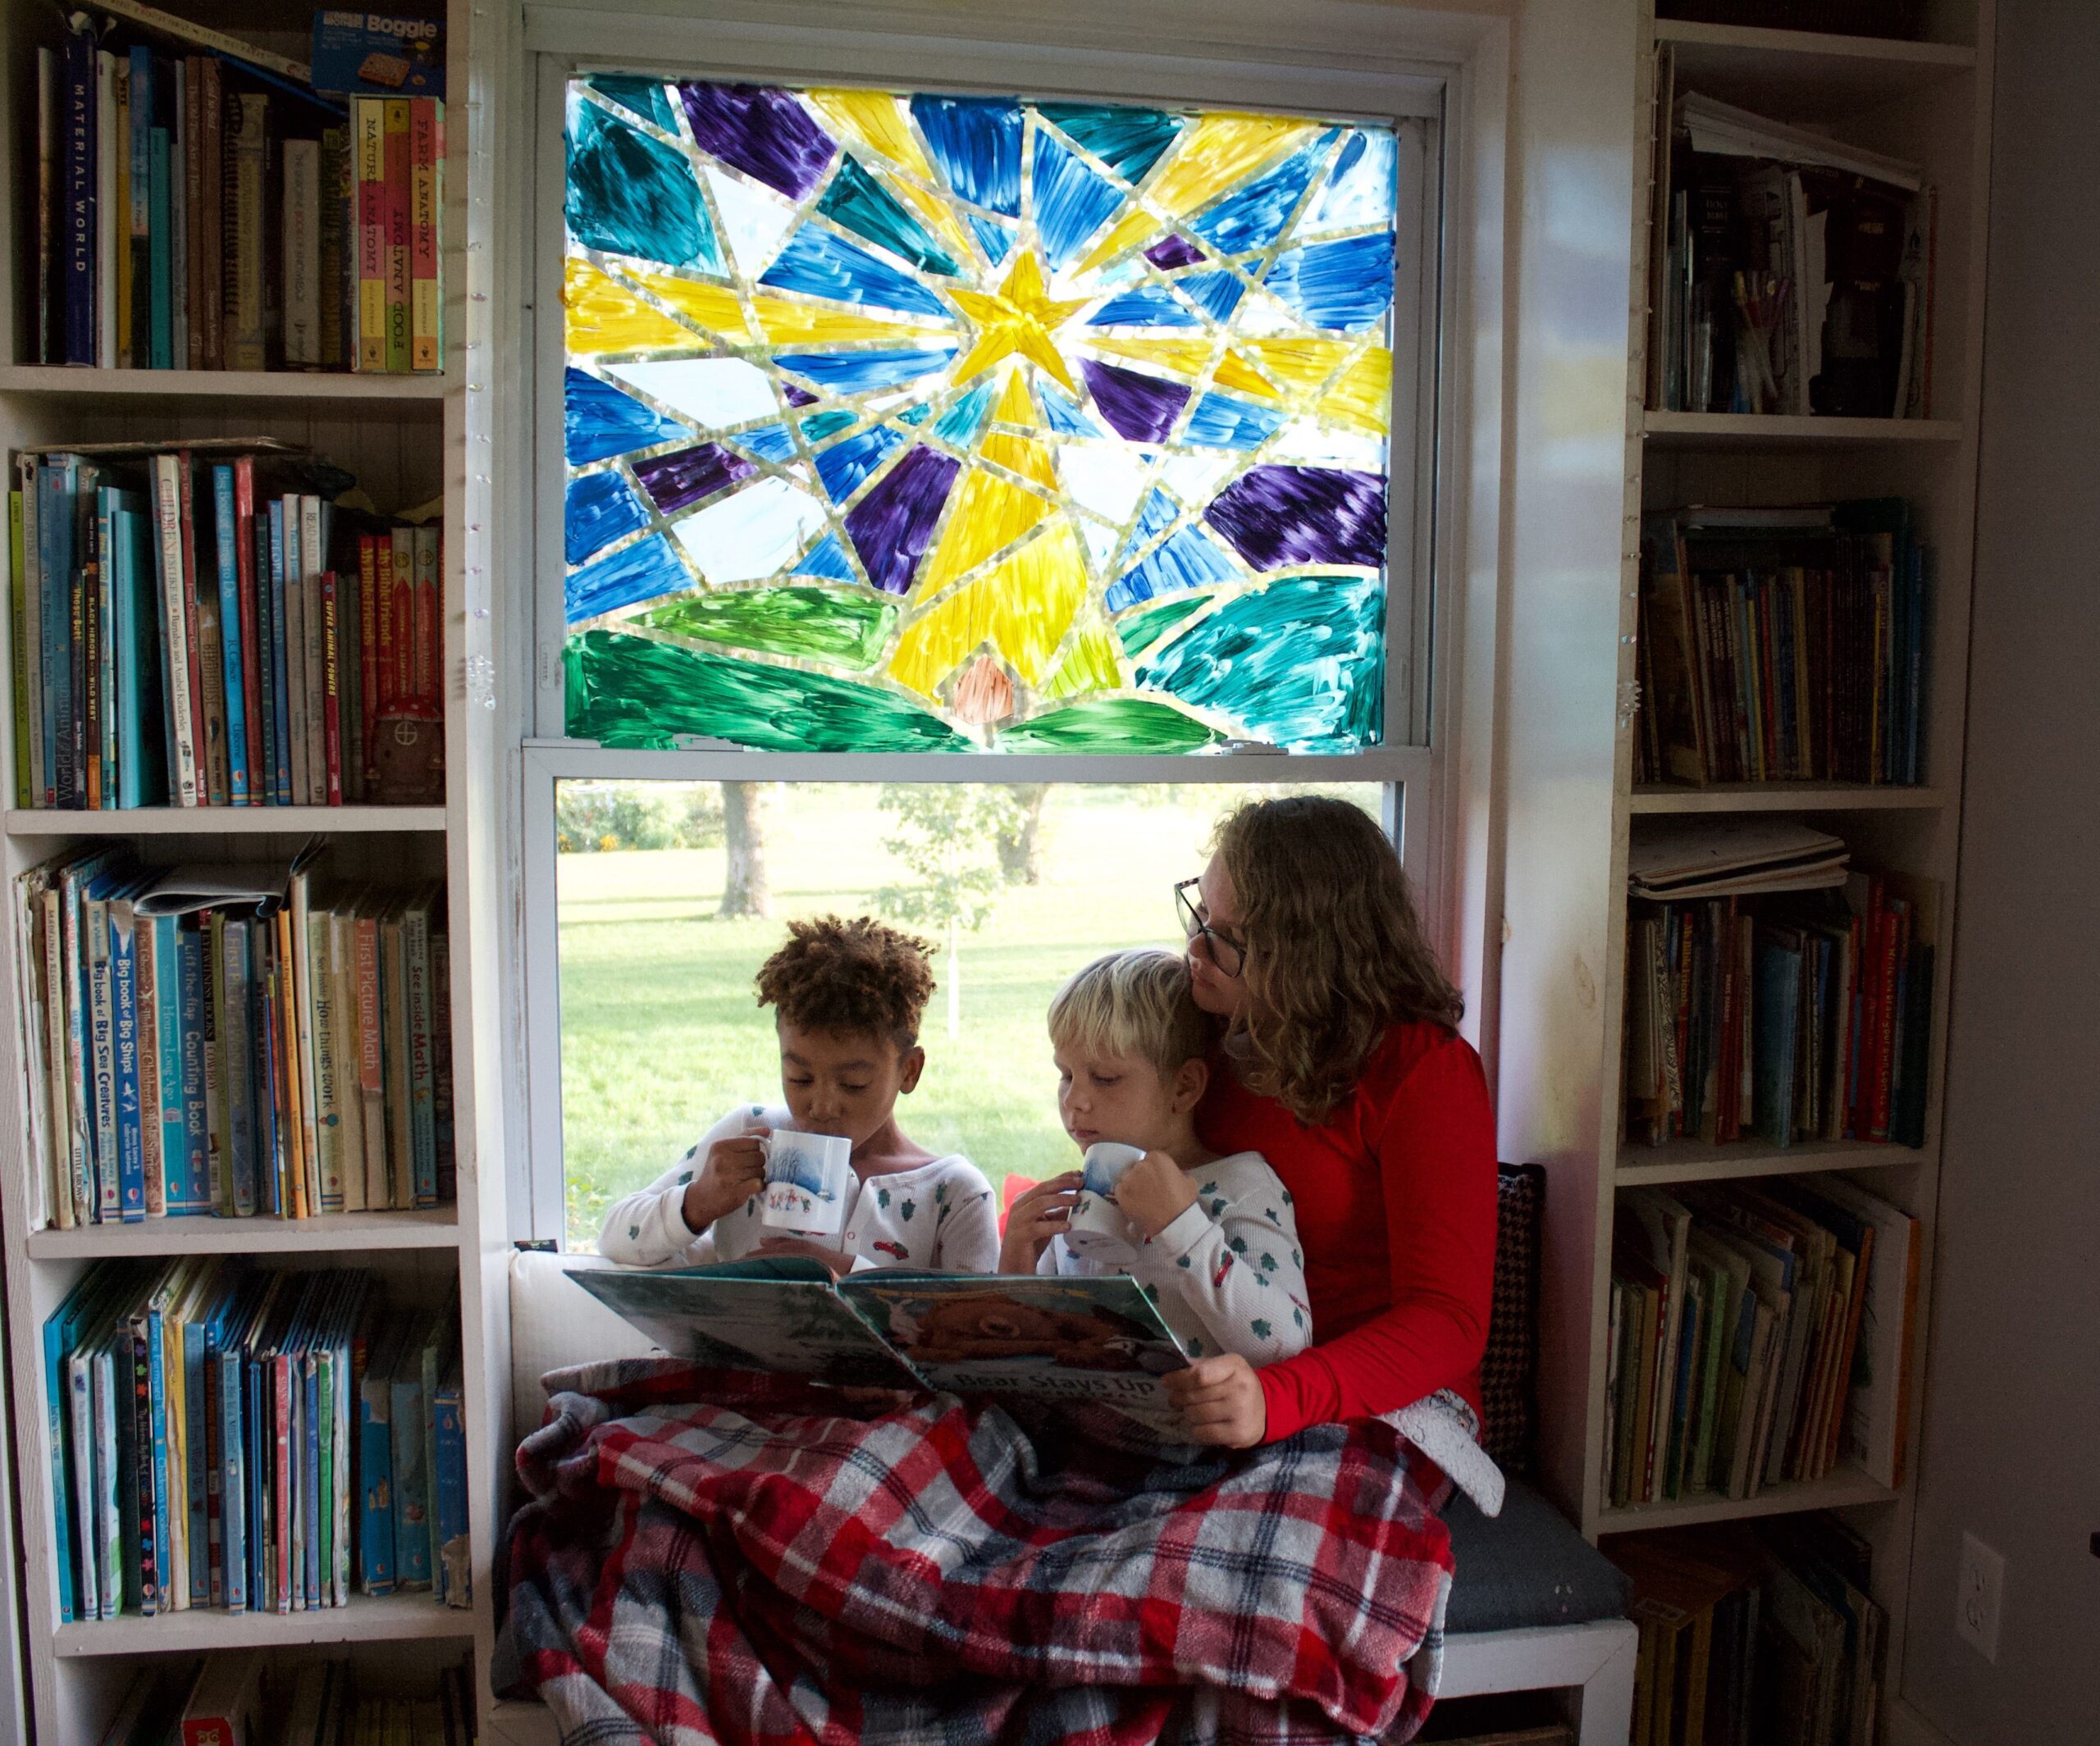
Stained glass windows date back to the 7th century. With the earliest known reference dating
from 675 AD when workmen were imported from France to Britain to Glaze the windows of a
monastery…

Read More

Returning to Nature

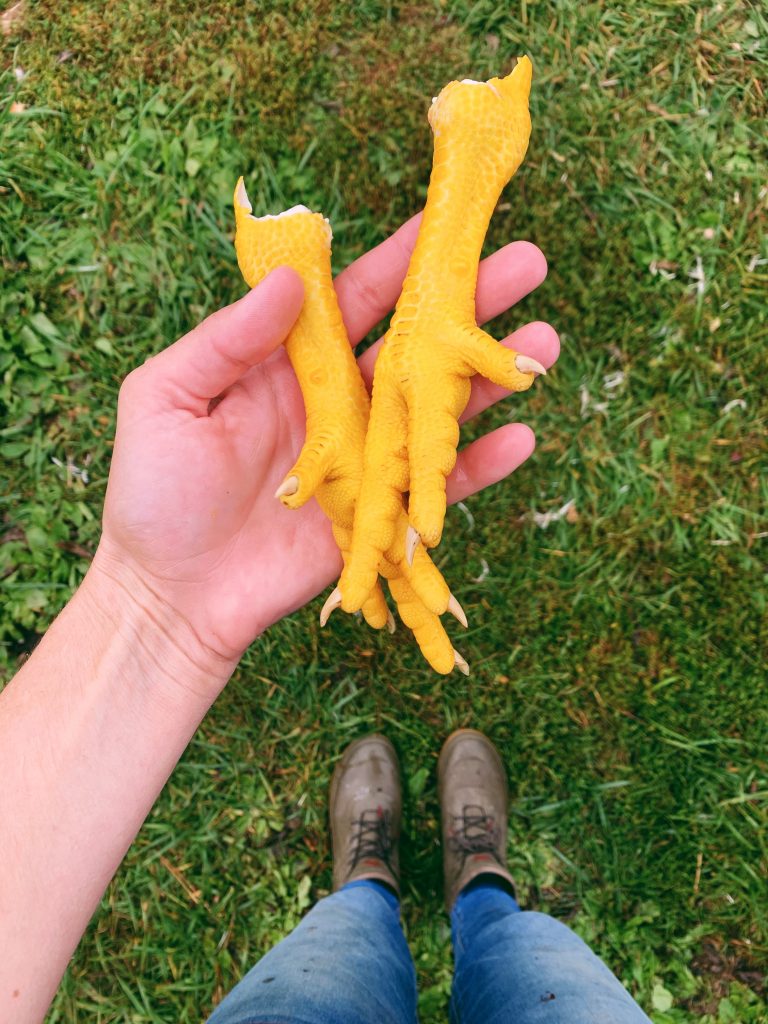
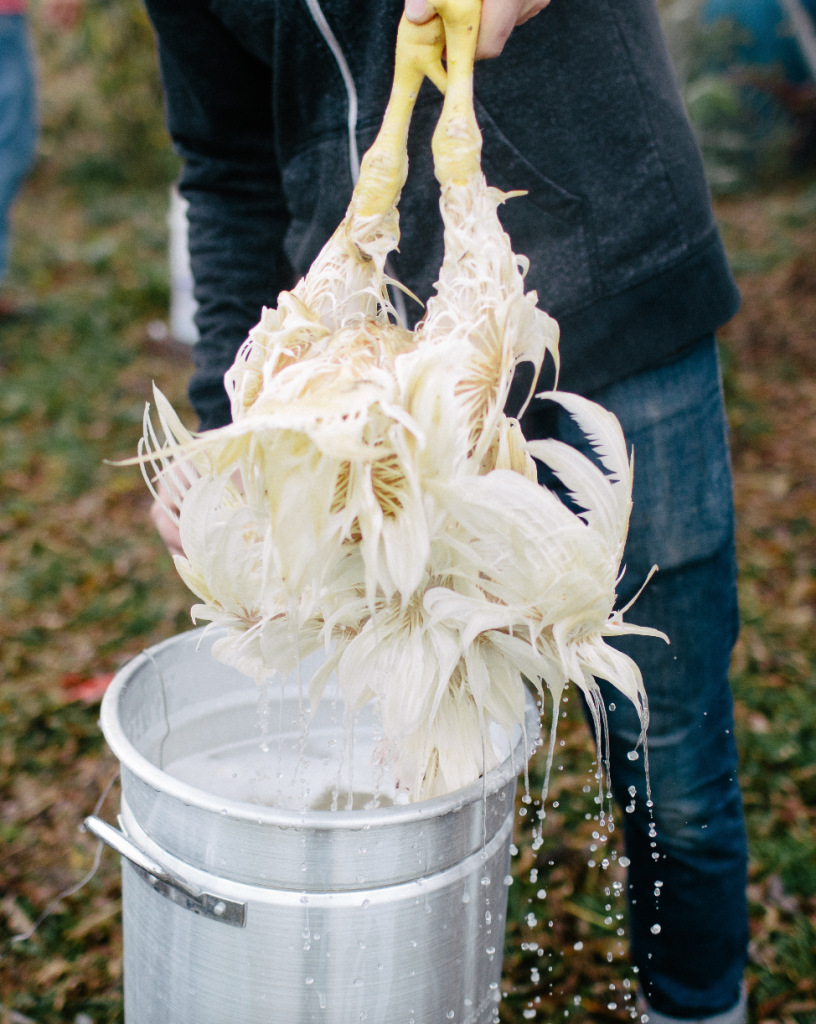
Homesteading and growing food is not the easy way out of this life, i would say it is the hard way as there’s nothing convenient about it. It’s a lifestyle, a life change not a trend or hobby. Well, that’s my opinion any way…

Read More

Join In The Conversation

Subscribe
Notify of

0 Comments
Inline Feedbacks
View all comments

A Patchwork of Homestead Mamas

An inspiring & encouraging community of Homestead Mamas. For growers, hunters, foragers, & explorers; with little hands & little hearts alongside.

Join Our Community