Christmas Crepes
Ever since the first Christmas I can remember, these Crepe’s have been part of our Christmas morning. My mom would make them every year…

In March, our state shutdown. Our schools closed, my photography business screeched to a halt and my husband began working full-time at home. There are a lot of mixed emotions that came with this shutdown. But we were grateful for our new home and land to stretch out. In fact, I couldn’t imagine a better place to call home during these times. As a way of channeling my anxiety and worry into something positive, I did what many of us did and jumped on the sourdough train! For me, it was something small that I could control. A distraction from all the uncertainty. It took me two tries to build a successful sourdough starter because creating natural yeast is a slow process and a bit tricky. Persistence and patience are key. There are many wonderful starter recipes online and I encourage you to choose one and give it a try. I chose the starter and bread recipe offered by Elaine Boddy. Her recipe, tried and true, also includes detailed instructions, and I love how passionately she explains her process.
I score each loaf before it goes into the oven. As a creative, I always crave ways to express myself and must always be making something. So, making food that is both beautiful, wholesome and delicious is very rewarding. I was gifted a beautiful wooden-handled bread lame from my family and use it to score simple designs into my bread.
When my first loaf came out of the oven, I was in love! I knew, right then, that I would bake sourdough the rest of my days. The idea of creating something so beautiful out of nothing more than water, flour and time was remarkable to me. Creating my own starter was an important part of that process and, though my starter doesn’t bubble over like some I see on social media, I don’t mind one bit. It’s mine. I made it myself. I feed it myself. And my family devours it. Does anything else really matter?
My family’s hands-down favorite sourdough treats are my homemade bagels. (Traditional sourdough loaves fresh out of the oven with butter and honey coming in a close second.) My boys ask for sourdough several times a week, so I feed my starter and proof dough nearly everyday. Baking in our newly renovated kitchen and watching my family enjoy these loaves brings me so much joy! Here is my bagel recipe:
Sourdough Bagels
Ingredients:
Directions:
I often pair my bagels with homemade chive whipped cream cheese using a handful of chopped garlic chives from the garden.


Lastly, I wanted to share a few tips I’ve discovered on my sourdough journey.
I hope that, with this guidance in your apron pocket, you will consider giving sourdough a try. It’s such a rewarding, delicious experience!


Ever since the first Christmas I can remember, these Crepe’s have been part of our Christmas morning. My mom would make them every year…
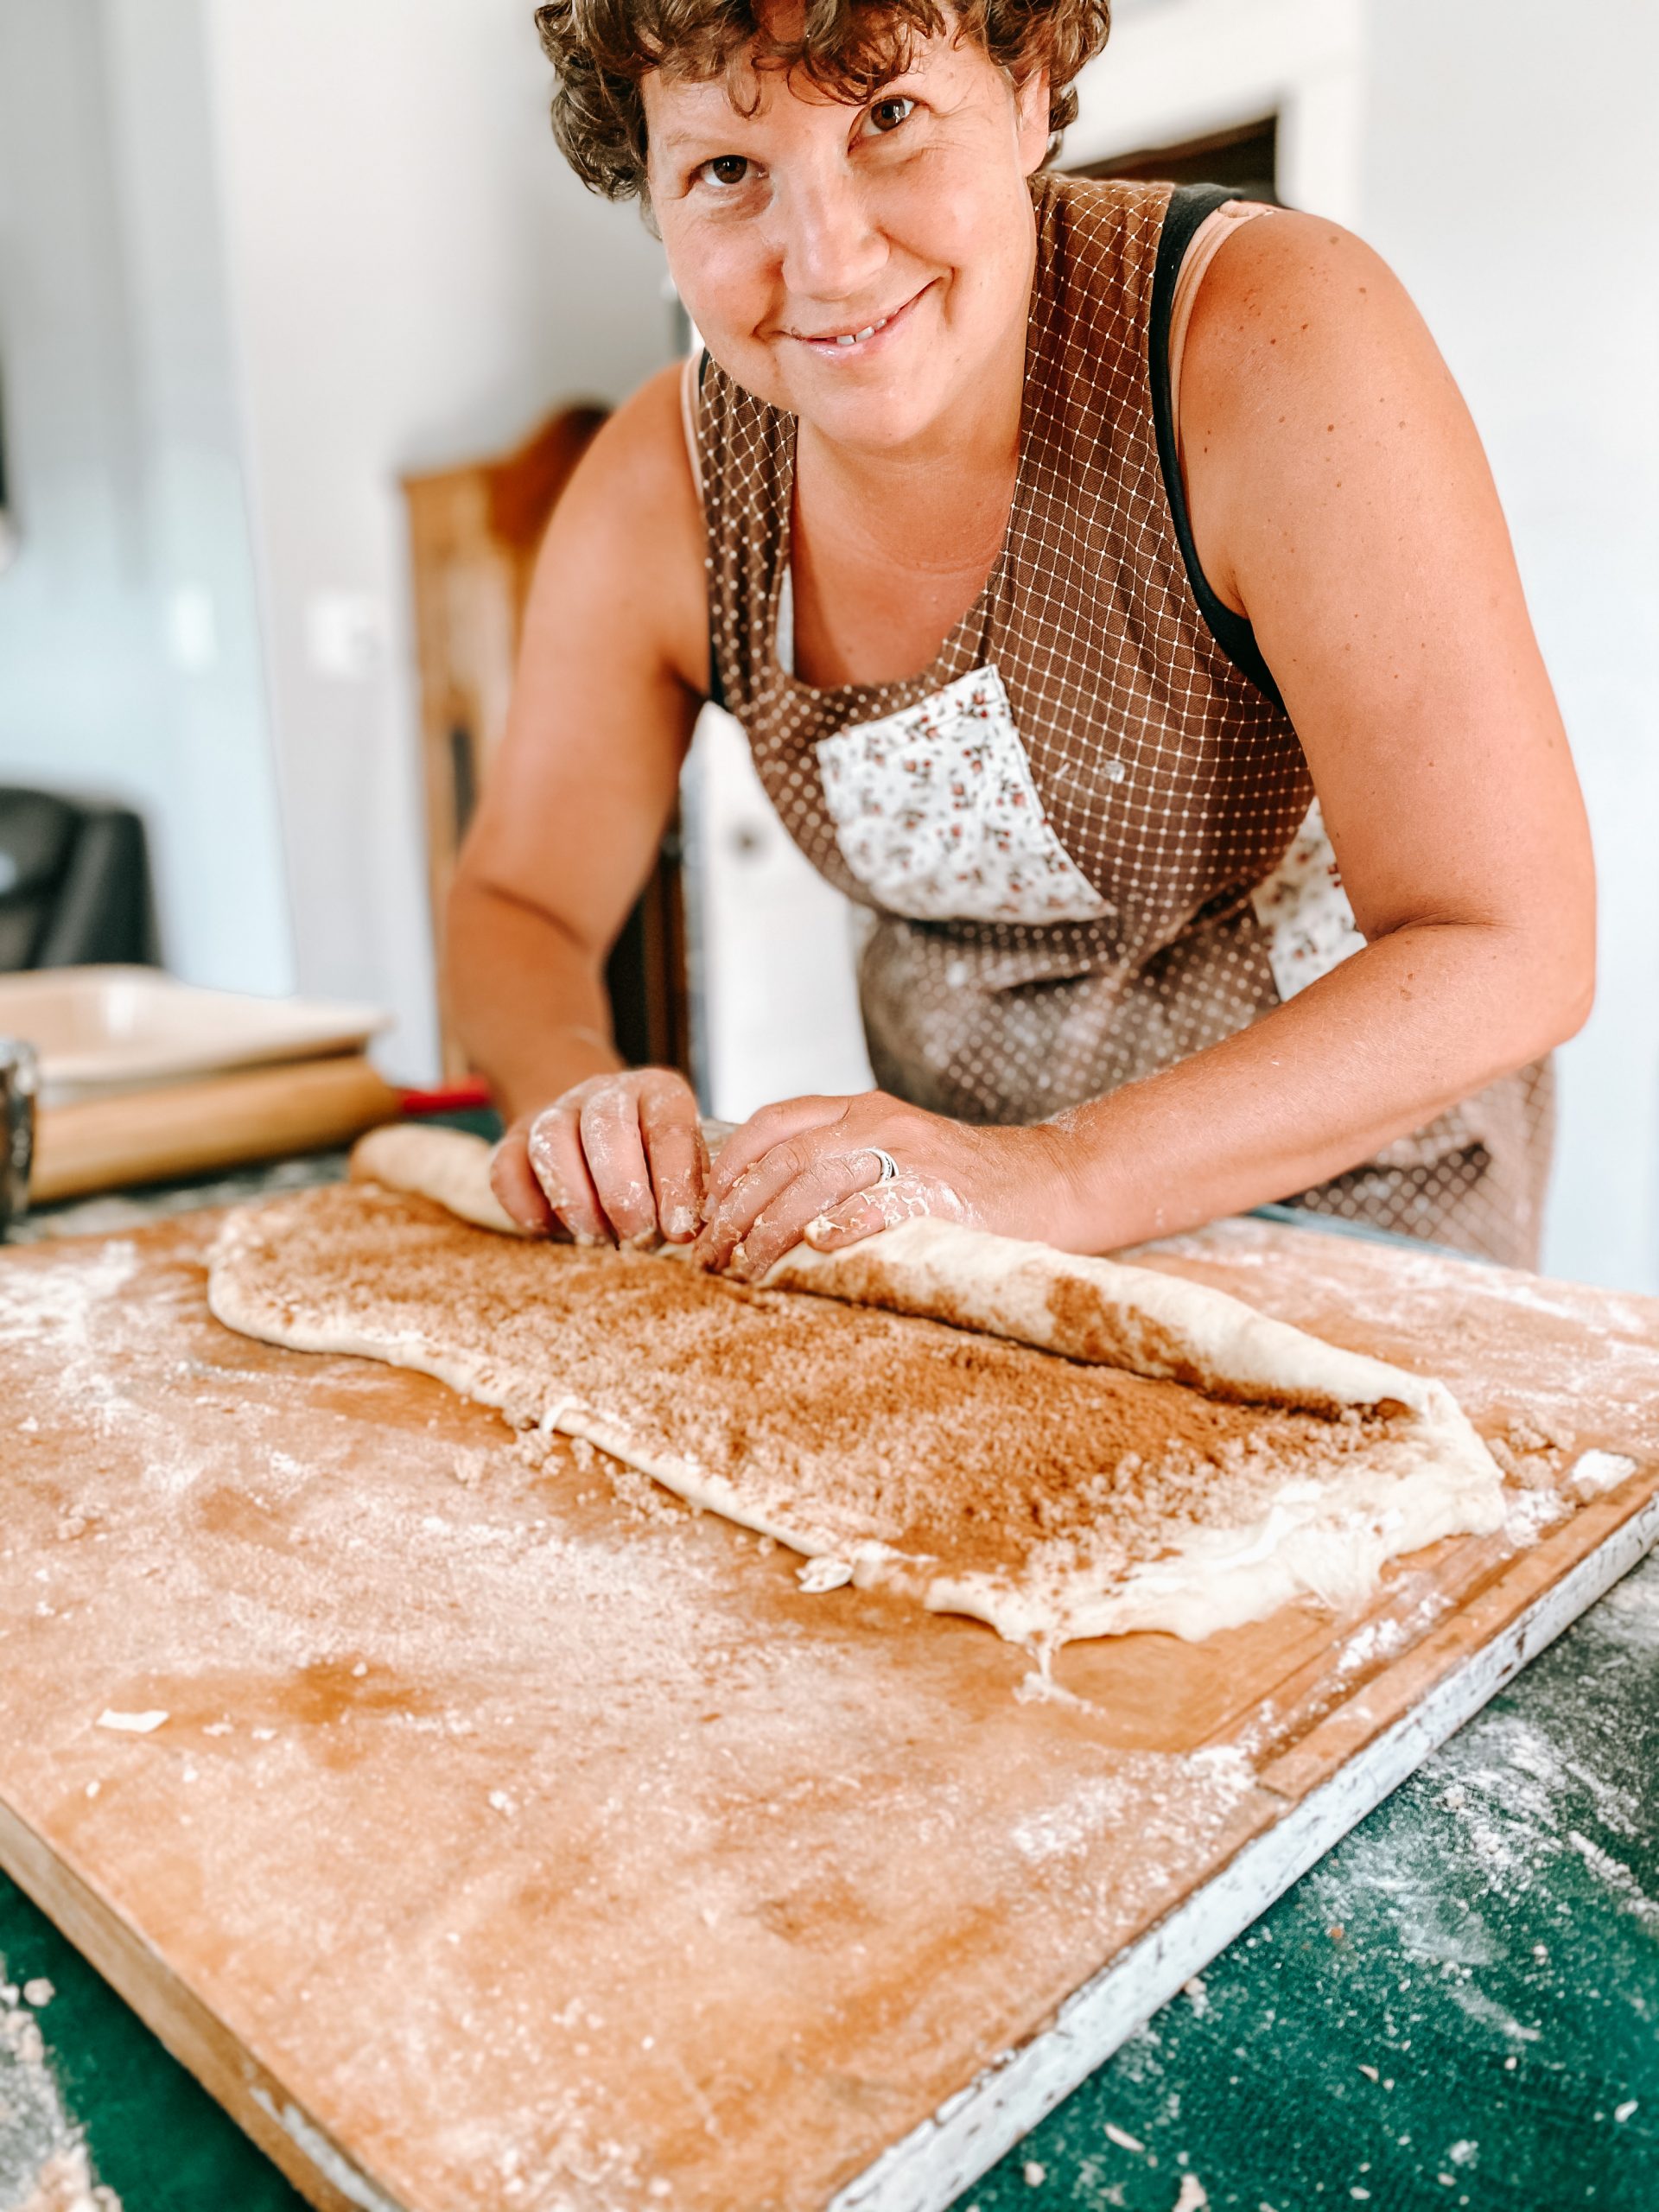
I can remember sitting at the table watching my mom make a large batch of Amish Buns. She would have her very largest bowl over flowing with the best yeast dough ever!…
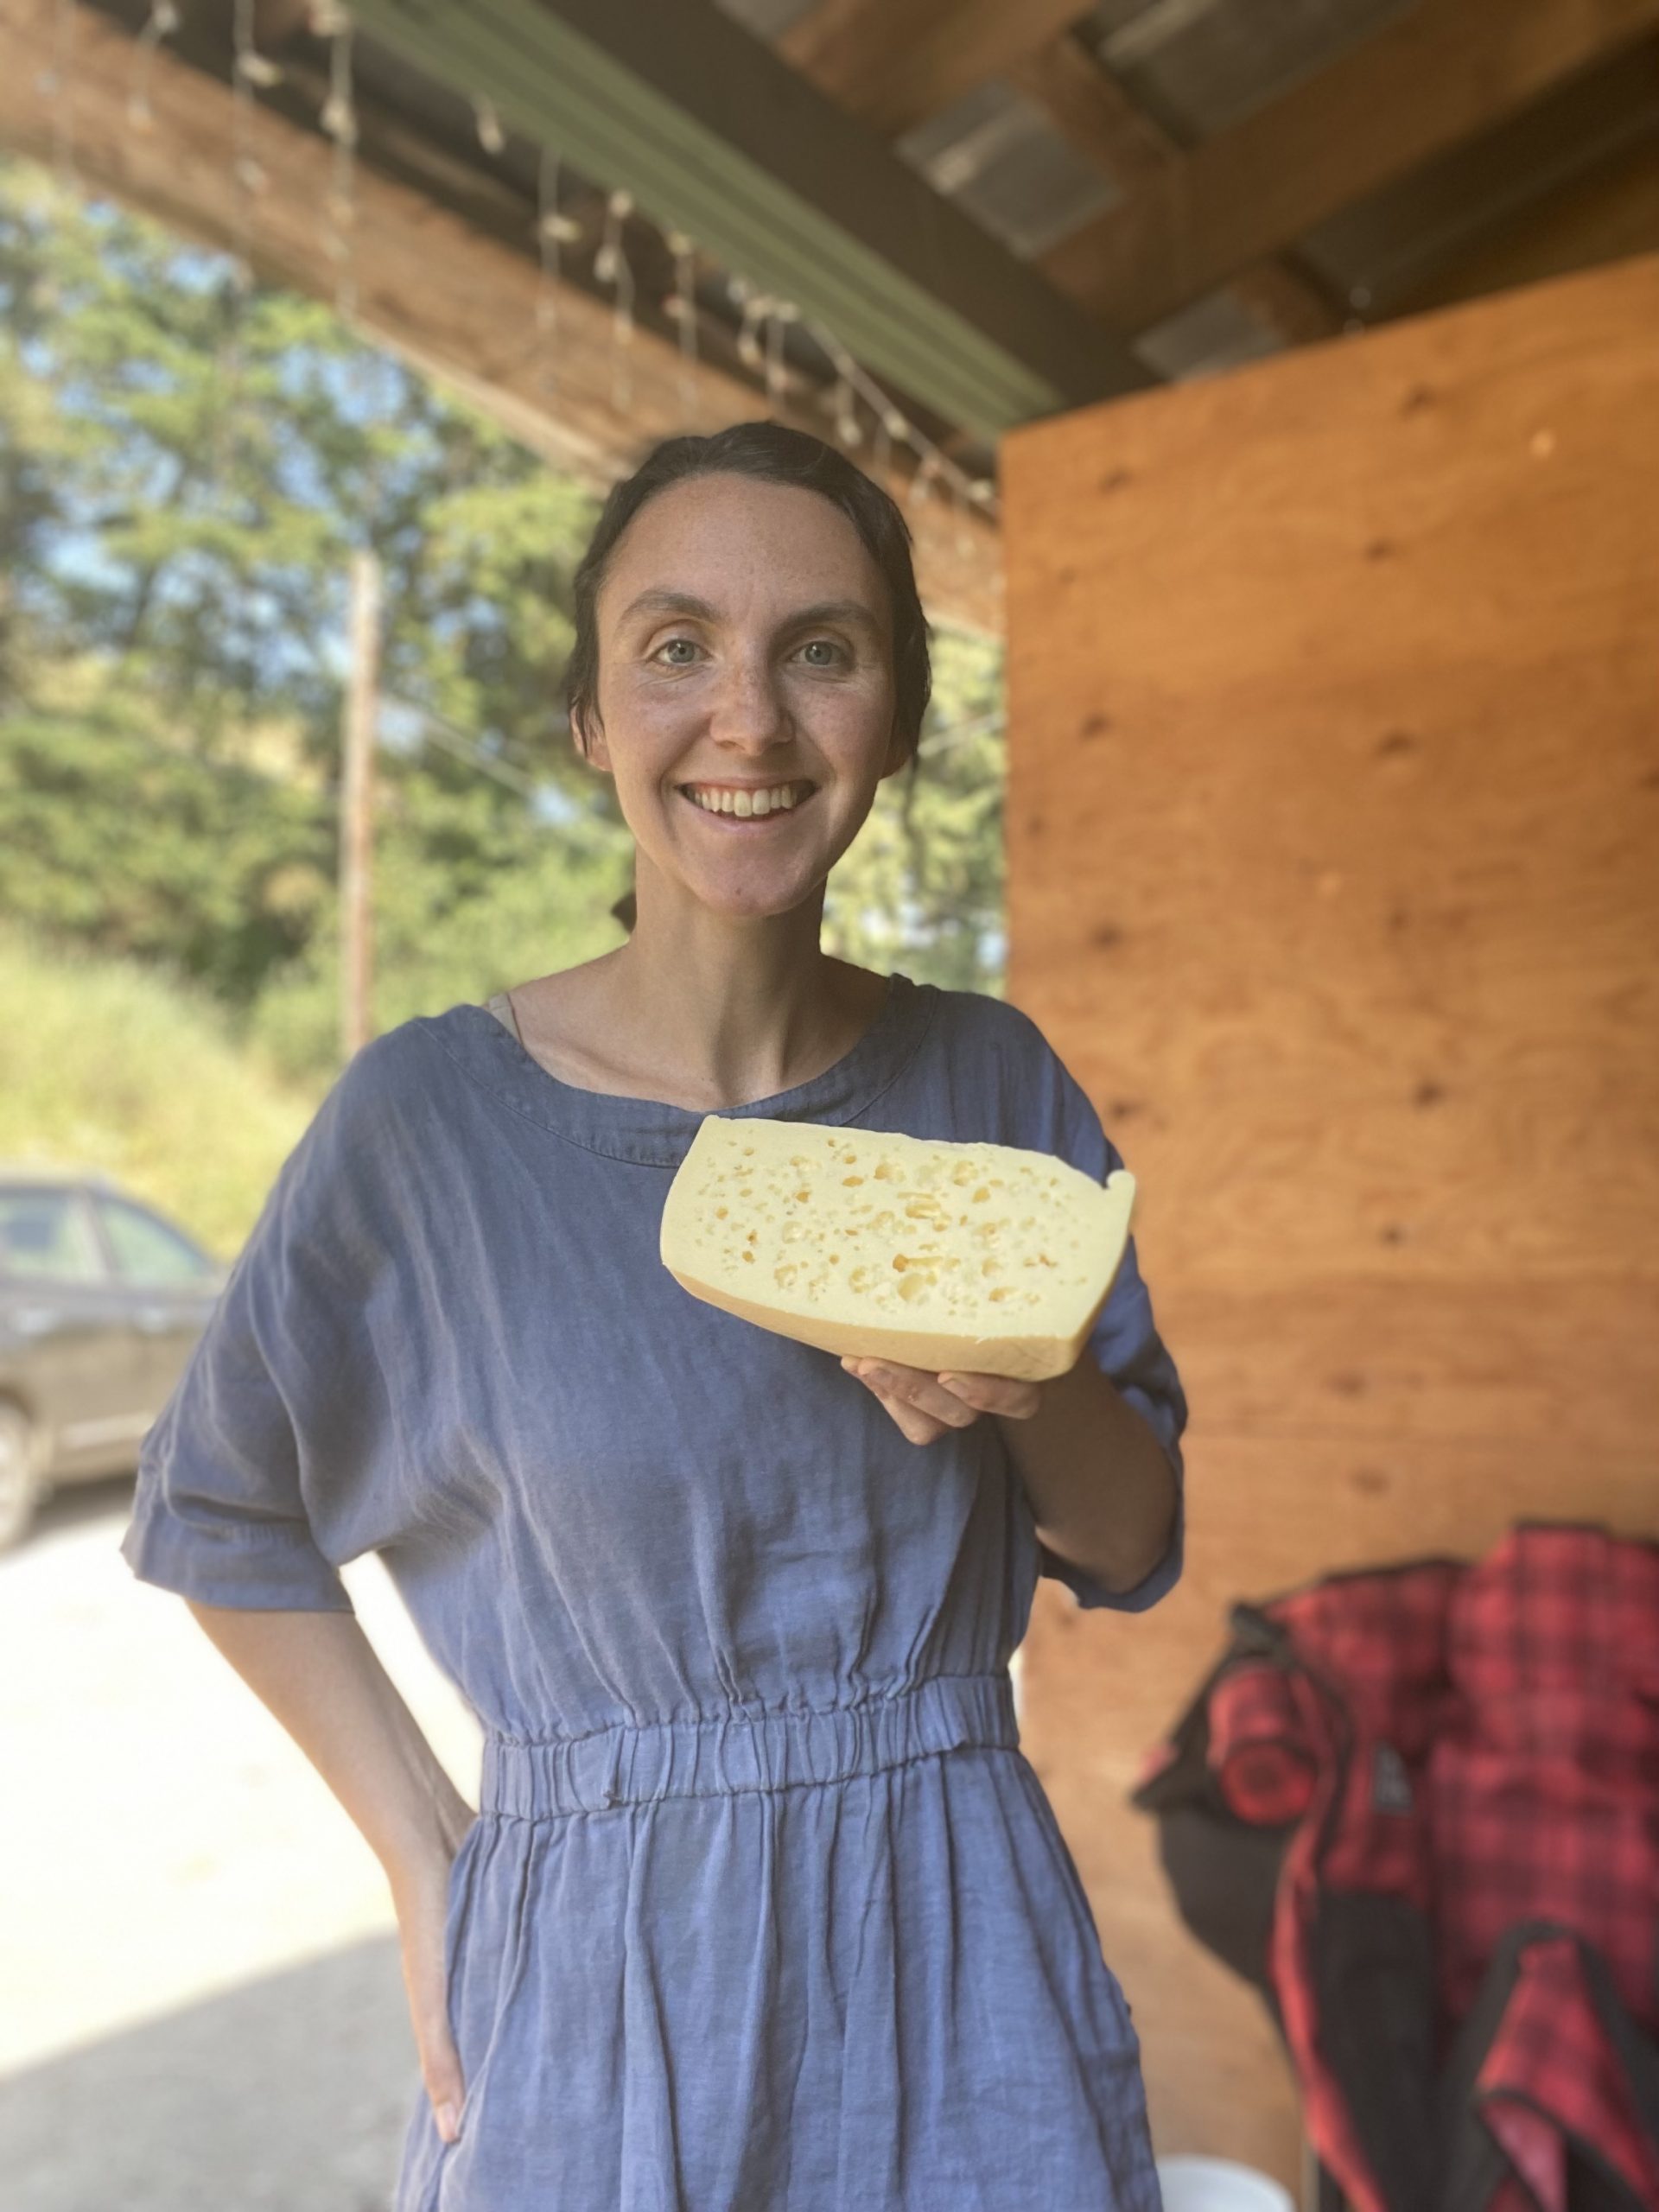
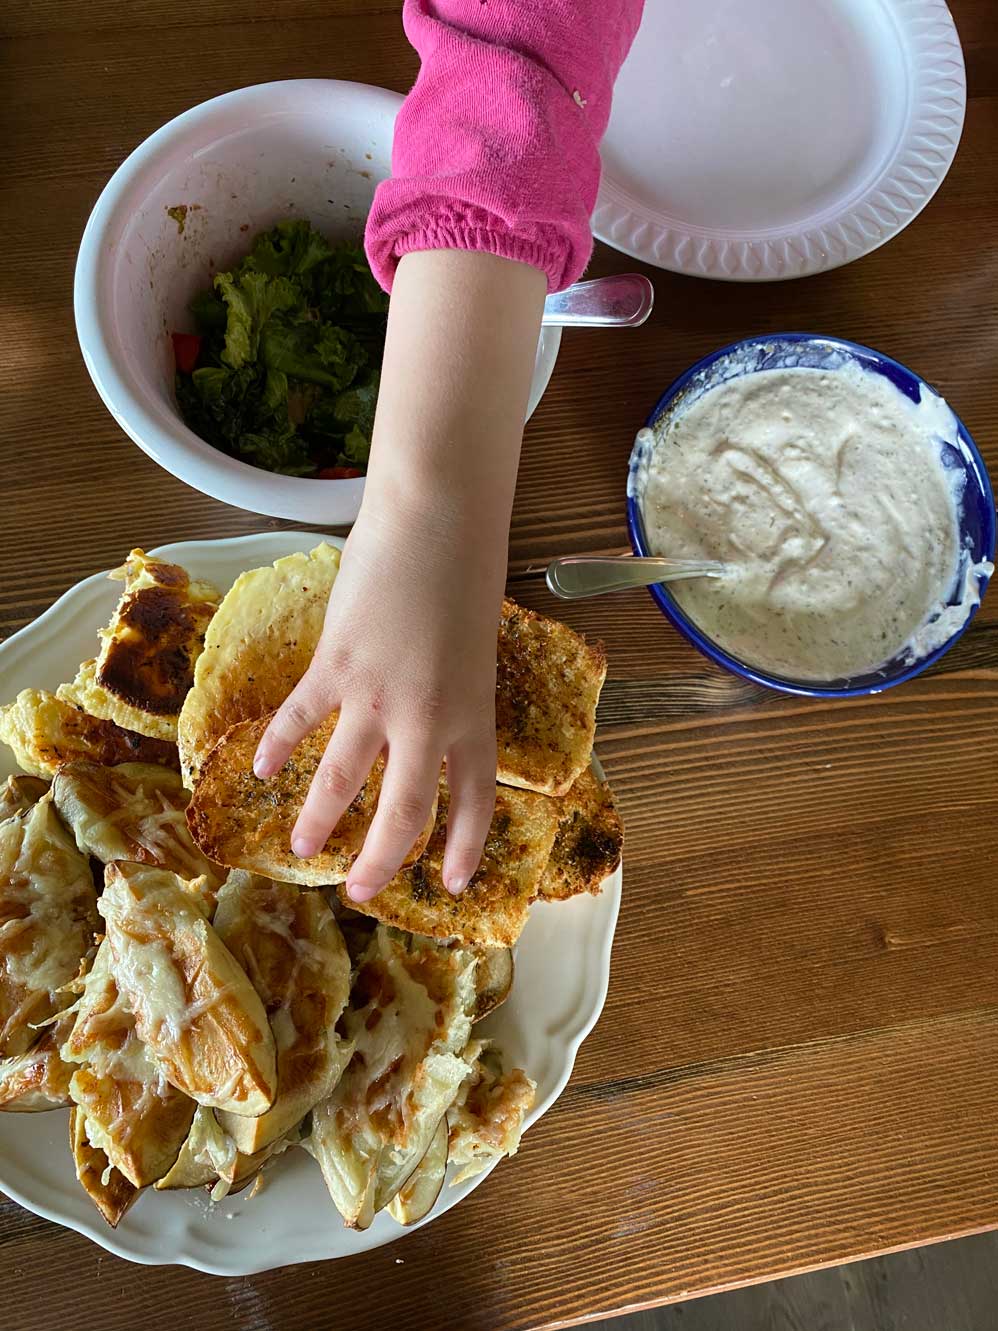


One of my favorite childhood memories is of sitting at the kitchen table while my mom made pies!
Often the pies where for special occasions and her hands would work so fast and efficiently making a dozen pies or more. Sometimes the pies where for a much anticipated event like Christmas with the cousins or a neighborhood bake sale. But no matter the reason, when mom was making pies my siblings and I gathered around the table to watch, play with dough scraps and lick the spoons and bowls of pie filling…