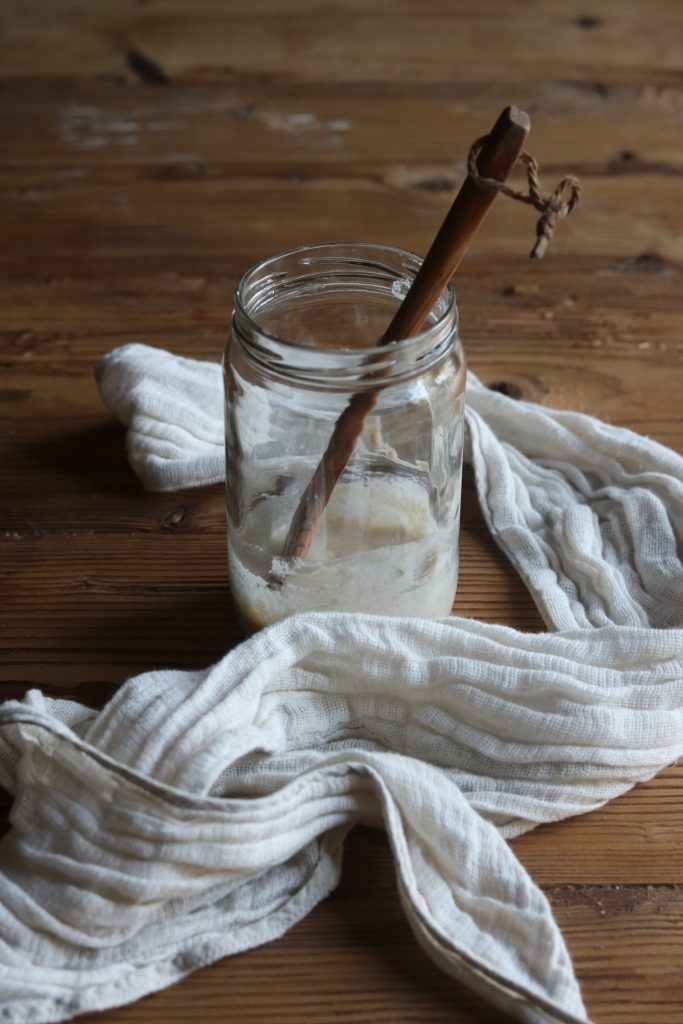
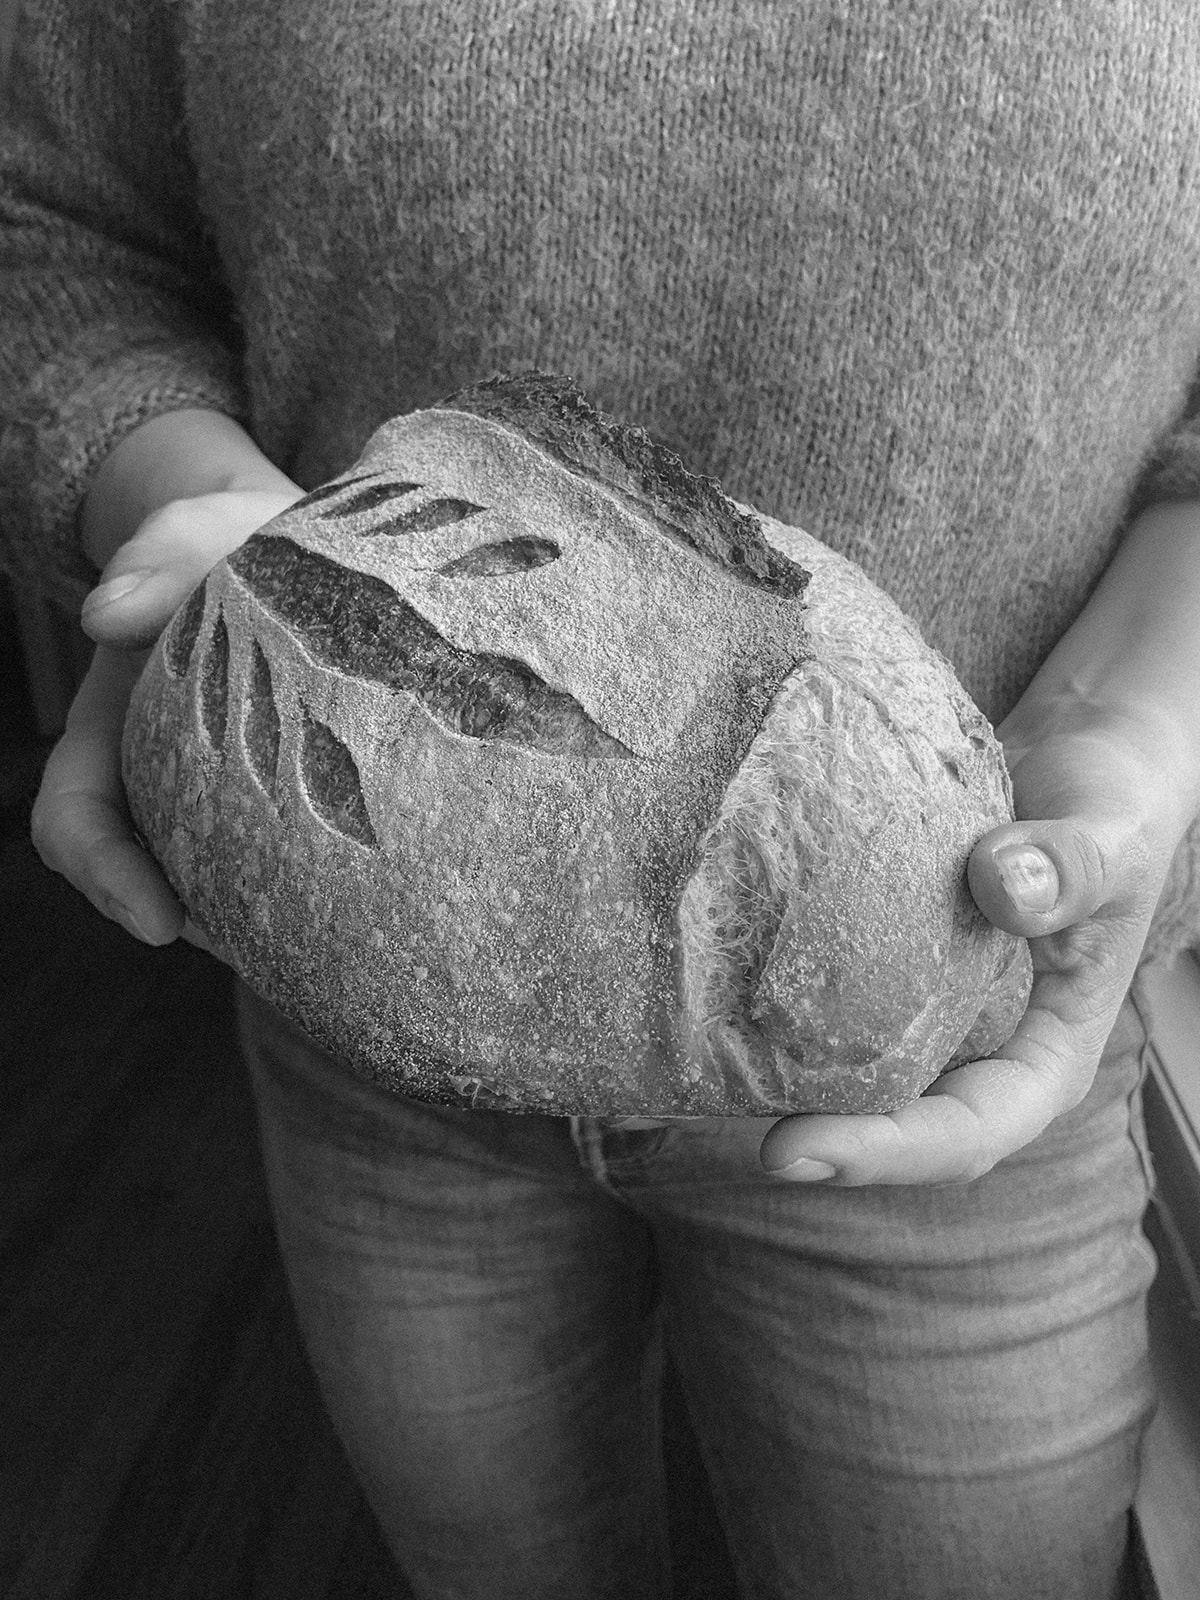
SOURDOUGH STARTER: THE LIFE OR THE FEEDING
Once your sourdough starter is ready and working, it’s important you keep it alive by feeding it. This operation is simply called the feeding, and this is how I’ll refer to it from now on. You have to feed your starter every time you want to bake some bread.
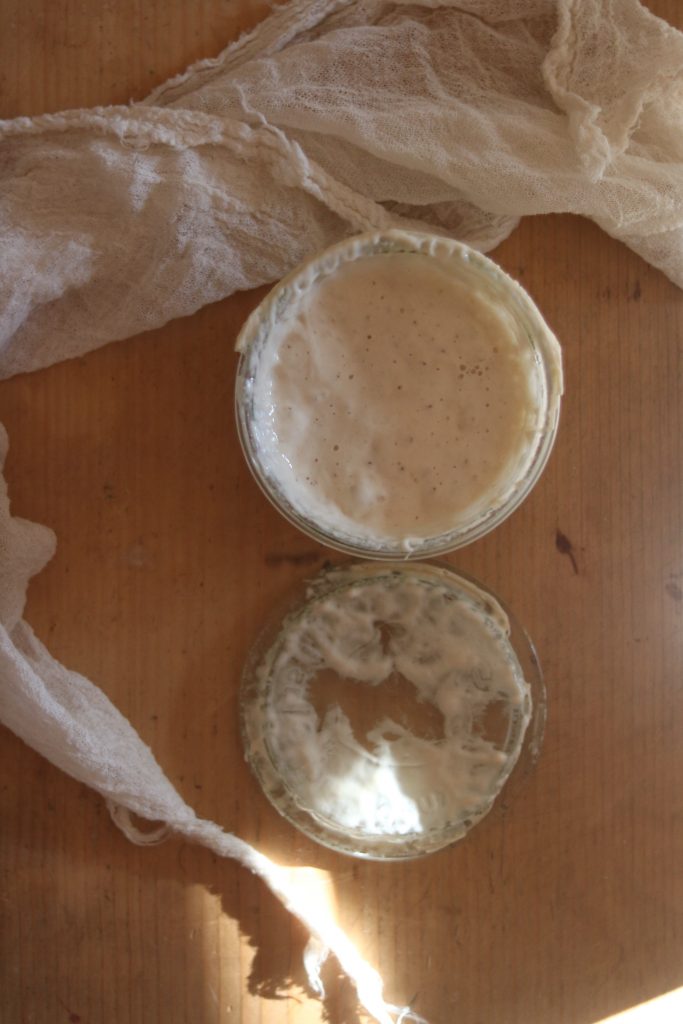
Feeding your starter is very simple:
weigh the starter, add the same weight of flour and water and mix well (for example: if you have 100gr of starter, add 100gr of flour and 100gr of water).
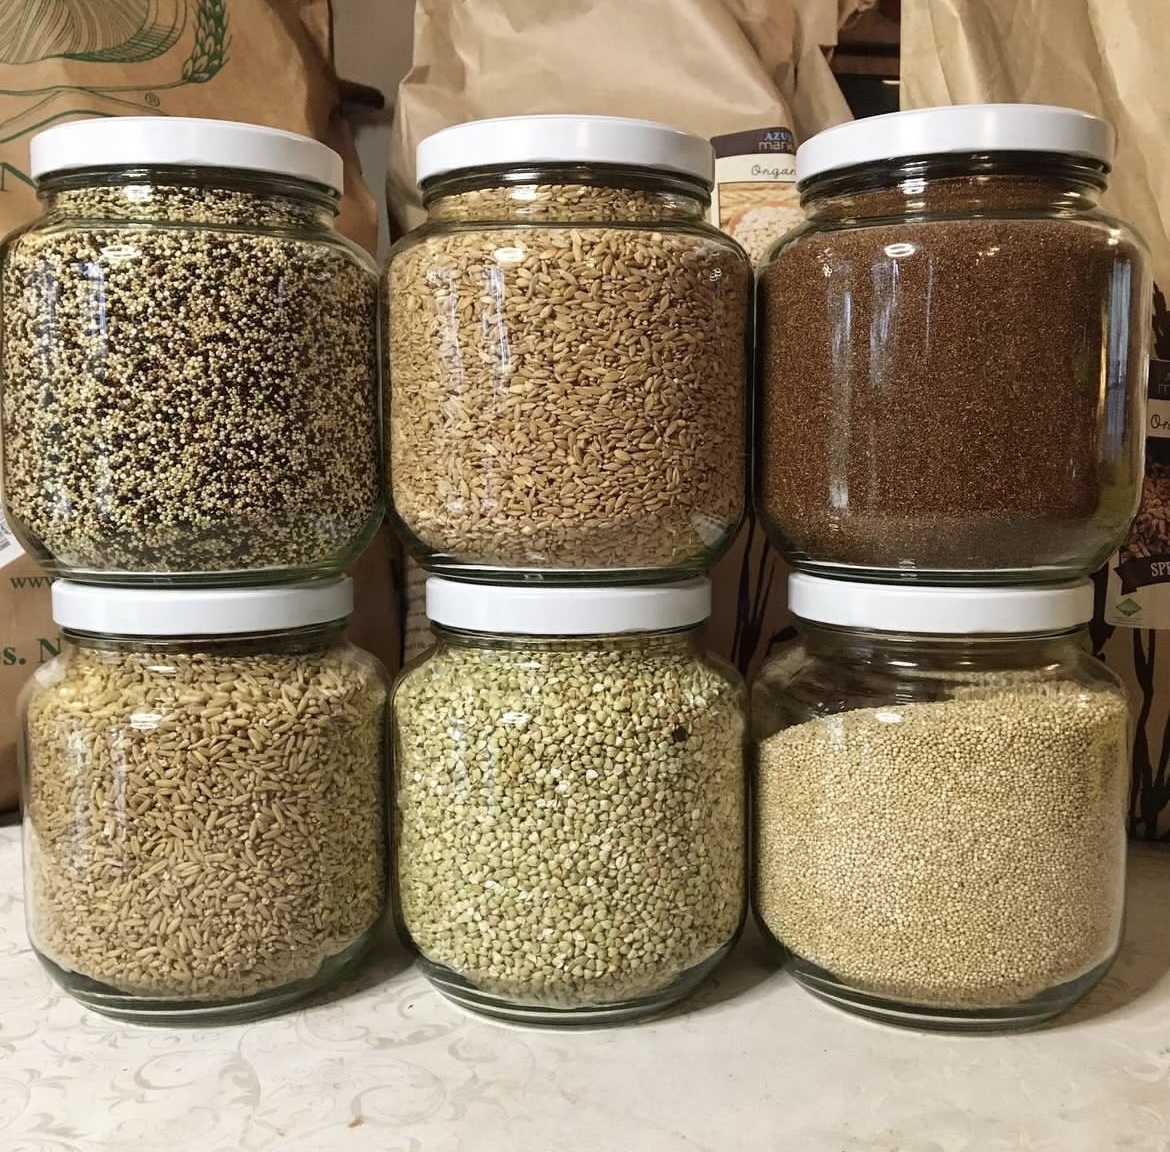
For this procedure I always use the same flour: stoneground biodynamic plain flour.
I suggest you bake bread at least once a week. This way you’ll have a vital starter, as well as a delicious bread and always fresh.
FEED THE STARTER
- WHY? To keep it alive
- I’m alive, don’t forget about me!
- WHEN? At least once a week before you bake your bread
WHAT YOU NEED:
- Spoon
- Glass jar with starter
- Bowl
- Kitchen scale
- Water
- Organic plain flour
STEPS:
Weigh the amount of sourdough that you want to feed (e.g. 80gr)
Put it in a bowl
Weight the same amount of water and flour (e.g. 80gr flour, 80gr water, 80gr starter)
Add water and flour to the starter in the bowl. Mix well until you get a uniform mixture
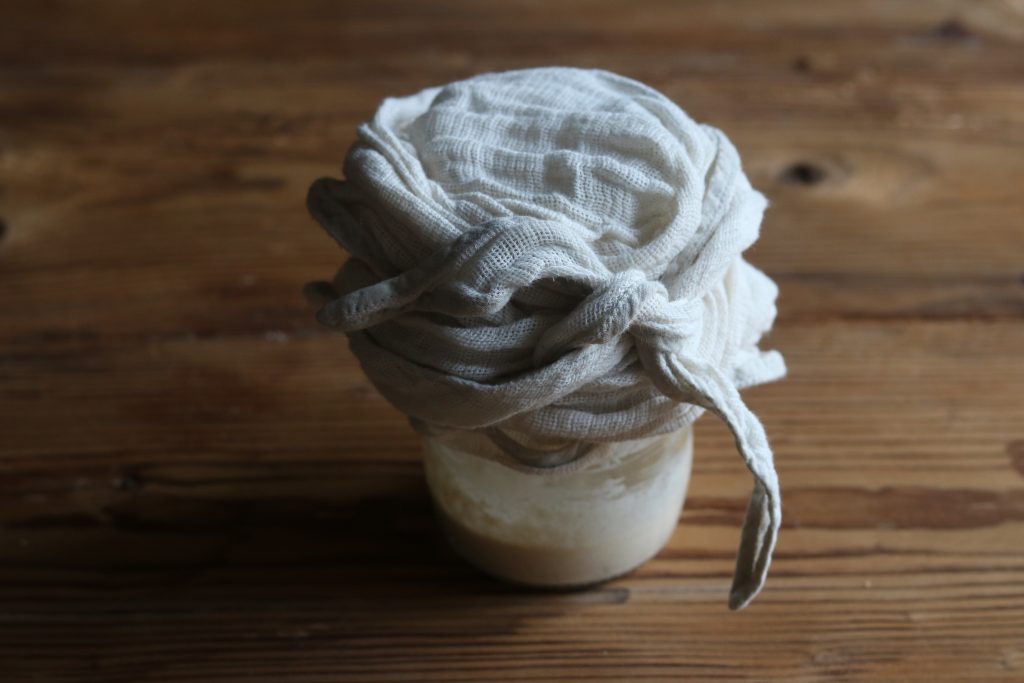
Put everything in the clean jar
Close (not too tightly) and put in the fridge
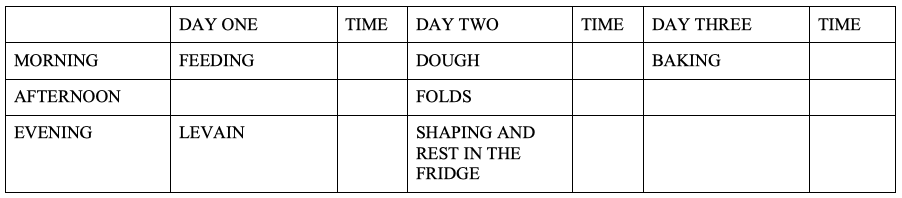
THE BREAD TIMESCALE
The bread timescale is a table that will help you remember at what time of the day you’ll have to do each step of your bread making process.
My suggestion is to print it and hang it on the fridge, so that you can quickly have a look at it at all times.
I have avoided to put any specific times on purpose, because there’s no standardised bread timescale. There are as many timescales as there are hands that bake the bread.
Every starter is different, alive, it breathes.. let’s learn to breathe with it.
I have left an empty column beside each step: there, if you wish, you can write the time at which you do each step.
It might be very useful, especially at the start, to check the timescale and correct anything that doesn’t work.
You’ll see that the exact time of each step will change according to the season and the temperature of the room in which you’ll make the bread.
MOUNTAIN BREAD PATTERN
Share your natural bread on Instagram tagging @mas_del_saro
Use the hashtag #masdelsaro so that I can see what comes out of your oven following my recipes.