
Deeply Rooted
I am not well traveled. I’ve never flown on a plane. I’ve never been north of Ohio or west of Texas.I’m not as well traveled as some may say one should be, but this piece of land has housed all of my fondest memories…
For well over a decade, Felicia has been making bread the old-fashioned way. She mills her grains on site on her Florida homestead and bakes delicious and highly nutritious foods to keep her large family satisfied and strong. In 2021, she started the YouTube channel, Grains & Grit, to help others unlock the health and simplicity of biblical whole grains. Her passion for real bread and real grains is obvious to the many thousands who benefit from her videos, podcasts, emails, and courses.

Top 5 Things You Need to Start Milling at Home
If you want to be self-sufficient and feed your family healthy hearty meals from scratch, you’ve got to start milling at home. I know, I know, it sounds complicated and al little bit scary, right? But it doesn’t have to be!
Because, with these five things below, you’ll be all set to add milling to your homesteading skills. Want to turn a pail of dry wheat grains into fluffy loaves of yummy bread? No problem! Eager to start cracking
your own corn and baking up some cornbread or grits from scratch? You got this! No matter what you’re after – from buckwheat pancakes to old-time bread loaves to guilt-free
cinnamon rolls – you can achieve all this with milling your own grains fresh at home.
Why You Should Start Milling at Home?
If you’re not sure about the advantages of milling at home, I recommend listening to this presentation by Sue Becker all about the old ways your great-grandparents used to know.
See, people used to work hard for their food. But it was good and filled them up and could be stockpiled for months and even years. There are so many reasons they relied on grains milled at home to get them through hard times.
Like your ancestors, you can get closer to your food by building a prepper pantry with grains and
whipping up a scrumptious and hearty meal from scratch. All it takes is a little know-how and a few essential tools.
What You Need to Start Milling at Home
Now that you’re on board with grains and committed to a more nutritious and self-sufficient way of cooking, where should you start? When I started this journey well over a decade ago, there weren’t many resources for me. I didn’t know where to start! Everything was so complicated.
How would I store my grains?
I had so many questions. And I set out on a long journey to answer them, one by one, eventually sharing my findings and methods on a YouTube channel, Grains & Grit. So, I know the frustration and confusion that comes when you start milling at home.
But I’ve also discovered a lot of answers that simplify things. So, without further ado, here are the five key elements you must have in order to get started with home milling and baking.
1. The Right Recipe
Here’s a little secret. You really only need to start with one yeast bread recipe, and then from there
branch out. Here’s my yeast bread recipe that I developed over years of trial and error. You can use this with little to no modification for tons of ideas – from sandwich bread to hamburger buns to pizza dough
and more.
2. The Right Grains
There are so many grains to choose from! Don’t be overwhelmed. For most yeast breads, you want a
hard red or hard white wheat variety. For softer quick breads like biscuits and cookies, go with a soft white wheat. But then there’s all the specialty varieties to get into when you’re ready, plus corn and beans, oh my!
3. The Right Mill
Kneading can be done by hand, so a mixer is optional. But you absolutely must purchase a good, quality grain mill for your home-milling operation. Not all mixers are created equal, and your home-baking station might have a different focus. Should you go manual or electric? I weigh each of these and other factors to help you choose the right mill in this video.
4. The Right Tools
There are other miscellaneous tools you need. Some are more essential than others. But always choose quality. Here’s where I get most of my milling and baking tools. But here’s a basic starter list to start milling at home:
5. The Right Storage Method
For any home-milling operation to be sustainable long-term, you have to know how to store a good stockpile of several different grains. Fortunately, it’s not that complicated. Dry grains are very easy to store and rotate, even with minimal supplies. I use food-grade, 5-gallon buckets. And for wheat berries, I don’t even use mylar bags or oxygen absorbers if I’m storing them for a year or less. For more on my grain storage method, check out this video I made breaking it down.
So, there you have it! There’s no reason you can’t start milling at home right away with only a modest investment in tools and knowledge. And you’ll reap the rewards for many years to come – not only in health and enjoyment that come with hearty and nutrient-dense foods, but also in the fulfillment that comes from doing it yourself!

I am not well traveled. I’ve never flown on a plane. I’ve never been north of Ohio or west of Texas.I’m not as well traveled as some may say one should be, but this piece of land has housed all of my fondest memories…

“In some Native languages the term for plants translates to ‘those who take care of us’ … the land knows you, even when you are lost.” – Robin Wall Kimmerer, Braiding Sweetgrass…
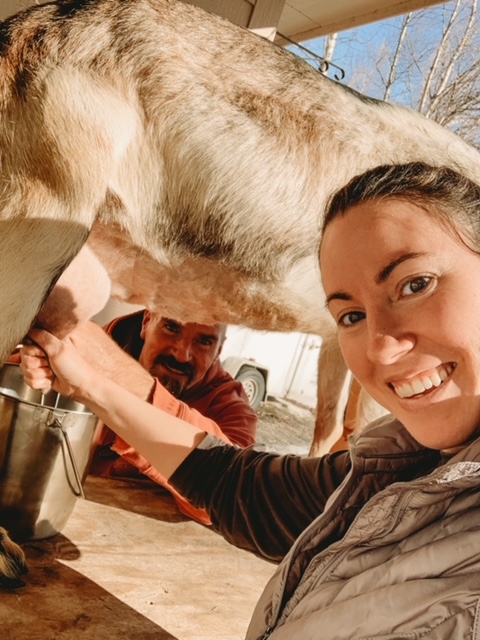
Hey there, Homesteading Mama’s!
I’m Rachel from @frontier_homesteading. My husband Ryan, three children and I have been homesteading for about 10 years now, first in Wyoming and now in Alaska.
We currently have milk goats, pack goats, sheep, a pig, a cow, chickens, rabbits, bees and a dog. Seasonally, we also have more pigs, meat chickens and turkeys….
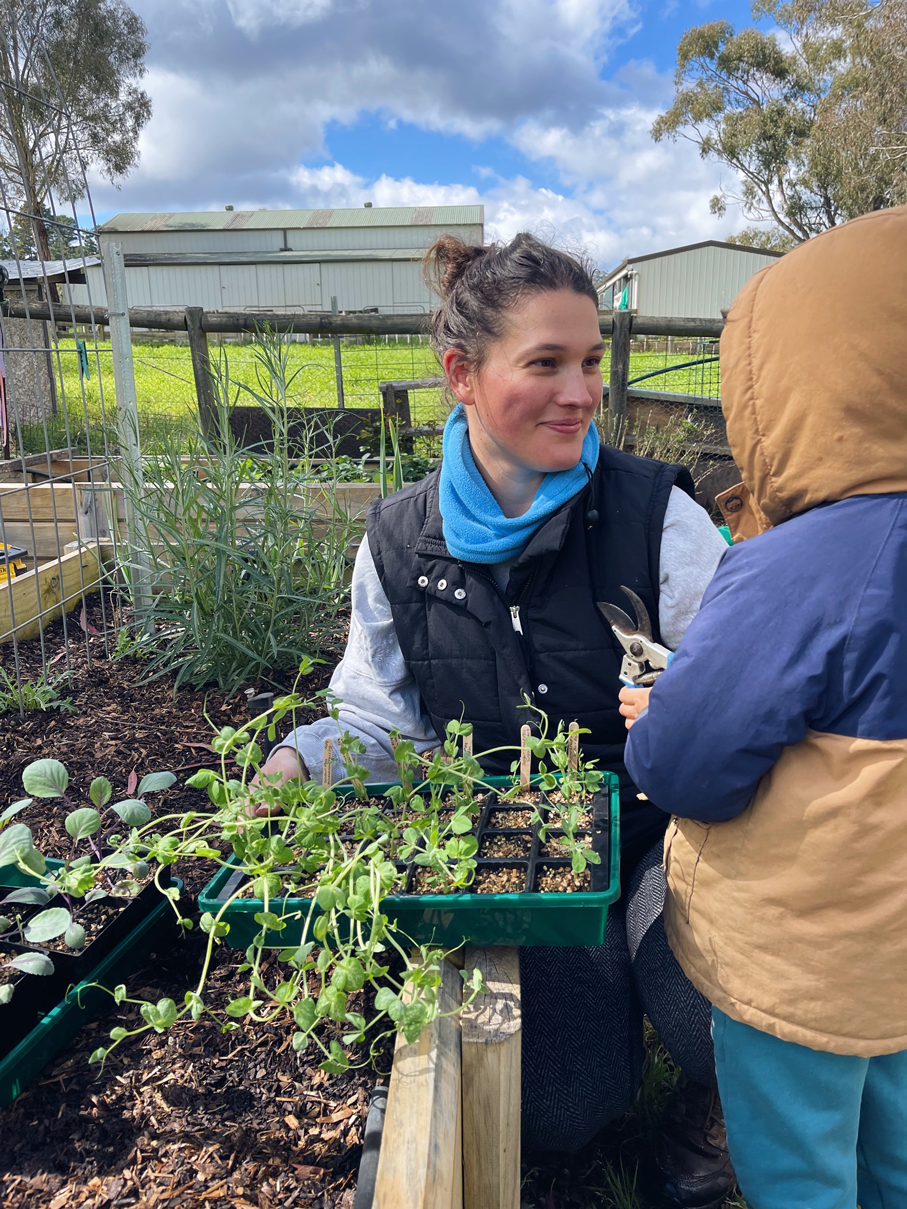
Homesteading and growing food is not the easy way out of this life, i would say it is the hard way as there’s nothing convenient about it. It’s a lifestyle, a life change not a trend or hobby. Well, that’s my opinion any way…


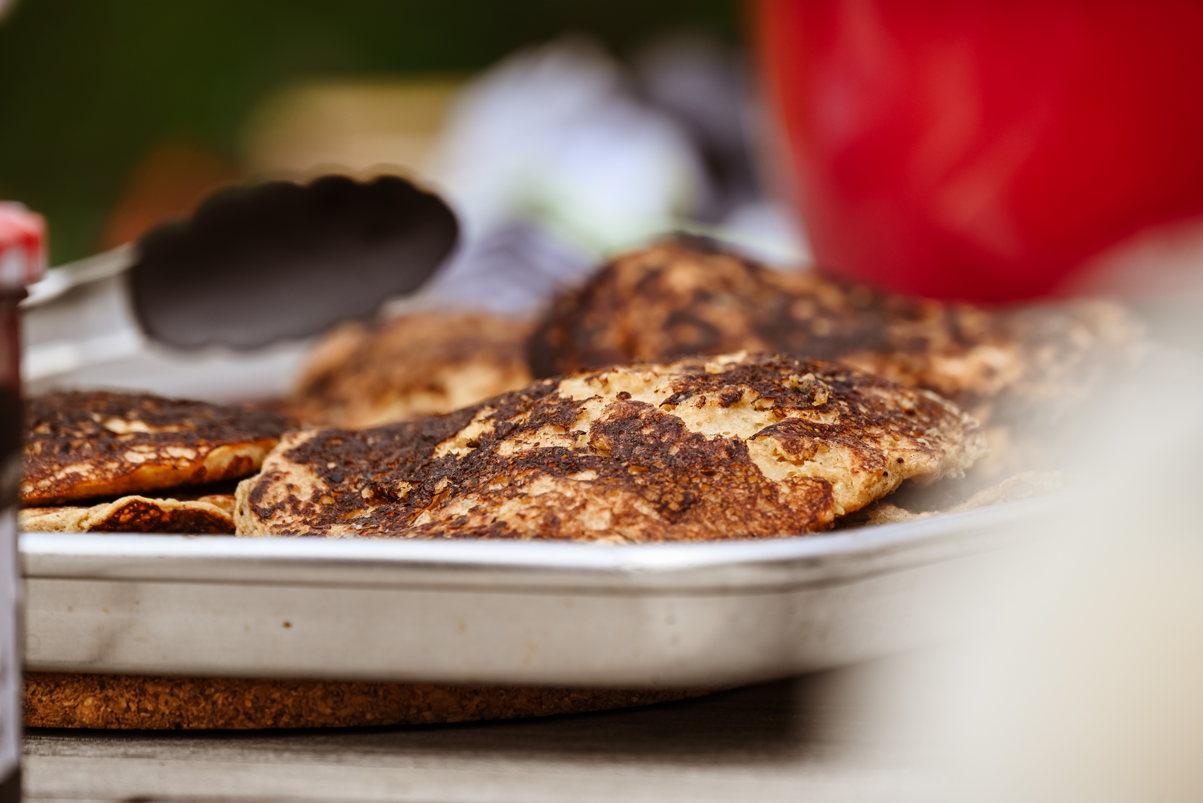
After a busy daycare week for our toddler, and the hectic joys of infant co-parenting + farming, weekend mornings are eagerly anticipated family time; the weekend promise of adventures great and small is so refreshing…
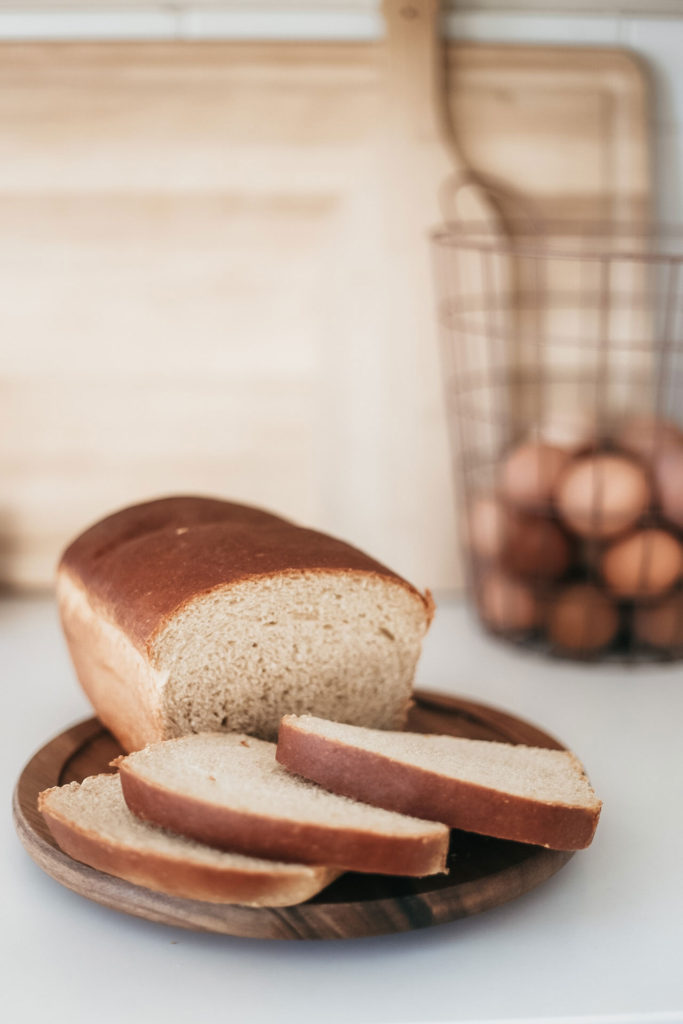
Simple Wheat Bread Recipe
This is a great, simple recipe that can be quickly thrown together multiple times a week for the perfect, from-scratch, whole wheat bread recipe. It’s a half wheat, half white flour recipe with a slightly nutty flavor, a hint of sweetness from the honey, and the perfect texture. I love that this recipe is so versatile that it can be sliced as an addition to a cozy soup dinner or hold perfectly for spread and sandwiches. I make this recipe multiple times a week in our home. If you’re on the hunt for the perfect recipe to jump into making bread at home, you’ve come to the right place.