Search
Close this search box.
Search
Close this search box.

Simple Wheat Bread Recipe

The following blog post does not necessarily represent the views and opinions of Homestead Mamas, it’s advertisers, and sponsors, followers, or audience. Reader discretion is advised.

Emilee lives in central Ohio on a 5 acre property with her husband, Winston, and two daughters Addie and Avery. 


They are slowly turning their little home into a homestead, learning as they go in so many ways. 


They are working to be more prepared as a family, raise more of their own food, live naturally and simply, and build a life together alongside their family, church, and community. 

This is a great, simple recipe that can be quickly thrown together multiple times a week for the perfect, from-scratch, whole wheat bread recipe. It’s a half wheat, half white flour recipe with a slightly nutty flavor, a hint of sweetness from the honey, and the perfect texture. I love that this recipe is so versatile that it can be sliced as an addition to a cozy soup dinner or hold perfectly for spread and sandwiches. I make this recipe multiple times a week in our home. If you’re on the hunt for the perfect recipe to jump into making bread at home, you’ve come to the right place. 


Baking homemade wheat bread is something I have done for years! I’m not going to pretend like I am a professional, nor have I had any formal training. But growing up in our family, it was one of my weekly chores. And I now make this specific recipe multiple times a week for my own family. 


Back as a teenager, my bread baking was a combination of by-hand recipes and using my handy bread maker (ask me for tips some time, I have some tricks up my sleeve for better bread maker bread). Nowadays I have graduated to my KitchenAid, and I don’t think I’ll ever look back. It’s absolutely simplified my bread process, and I utilize it for so many things in my kitchen.


Does that mean you have to have a KitchenAid mixer to make this recipe? Absolutely not! As I said, it’s simple. But it will include a bit more elbow grease if you choose to make it by hand since the KitchenAid does so much of the work. But it’s completely up to you. 

Tips for making this bread recipe: 


  • Make sure your water is not too warm when you add the yeast. A good temperature to aim for is around 100-105 degrees. If the water is too warm it can kill the yeast.

  • Do not add all the flour in at once. I like to start with 2 cups, allowing that all to come together into the beginnings of a dough. Then I slowly add another cup. And then more flour – usually up to 1/2 cup – about a tablespoon at a time, just until the mixture pulls away from the bowl as it kneads into a nice dough. Another trick I’ve learned to tell if it is ready is that the dough will be slightly tacky, but will spring back when you pinch it rather than stick together in your fingers. 

  • Do not add all the flour in at once. I like to start with 2 cups, allowing that all to come together into the beginnings of a dough. Then I slowly add another cup. And then more flour – usually up to 1/2 cup – about a tablespoon at a time, just until the mixture pulls away from the bowl as it kneads into a nice dough. Another trick I’ve learned to tell if it is ready is that the dough will be slightly tacky, but will spring back when you pinch it rather than stick together in your fingers.


  • I always use glass measuring cups for liquids as they will give a more accurate measurement.

  • If you need to speed up the process a bit, take your dough that is ready to rise and put it into an oven that has been preheated to 170 degrees. Then turn the oven off. Be sure to keep an eye on your dough, as it will proof faster. 

Tools you will need 


Kitchenaid mixer 


Scraper 


Loaf pan 


Measuring cups and spoons 


Glass measuring bowl 


Towel 


Bread Ingredients 


Water 


Yeast


Organic White Flour


Organic Wheat Flour


Olive oil 


Honey 


Salt  


Recipe 


Start by setting up mixer, and attaching dough hook. If you are doing by hand, disregard this step. 


Next, measure 1 1/4 cup very warm water into your bowl. 


Add 2 1/4 teaspoons yeast and let sit 5 minutes or until frothy.


Begin to mix your mixture and add in 1/4 cup honey, 1 teaspoon salt, and 3 tablespoons olive oil. 


Next, add 1 measured cup wheat flour, and 1 measured cup white flour. Allow this mixture to come together for about 2-3 minutes and a dough begins to form. It will be very sticky. 


Now slow down a bit and add 1 cup wheat flour. Pause your mixing and make sure to scrape down the sides of the bowl to make sure it’s thoroughly combining. 

Next begin to add around 1/2 cup white flour to the mixture, going about 1 tablespoon at a time. This is the final step to the ingredients. Add flour until the dough naturally pulls away from the sides of the bowl as it mixes, and the dough lightly springs back when pinched. Be careful not to over-flour. Allow the mixer to knead the dough for ten minutes, or knead by hand. 


When the dough has properly developed gluten, and you can stretch it easily without it ripping, it is ready to rise. Put in an oiled bowl and let rise 30-45 minutes, until doubled.


Grease and ready your loaf pan while you wait. 


When the dough is finished with the first proof, punch down the dough and push it out into a long, flat shape on a floured surface.


Next, carefully roll while tucking in the outside edges until you have a neat dough shape. (As pictured).


Place into the bread pan and allow for a second proof, about 40-45 min or until the dough has risen about an inch or so above the pan. 


Place pan in an oven preheated to 350 degrees. 


Bake for around 30 minutes, checking for doneness around 26-28 minutes. Bread will develop a dark brown crust, but watch that it doesn’t get too dark. 


Allow to cool in the pan for 10-15 minutes, and then carefully remove to a cooling wrack until cool enough to cut.


Enjoy it warm from the oven or allow to cool completely and then store in an airtight container. 

COMMUNITY

Please join us by sharing, continuing the conversation below, and connecting with 

Emilee at the following:

Instagram

Blog 

Share

MORE Stories

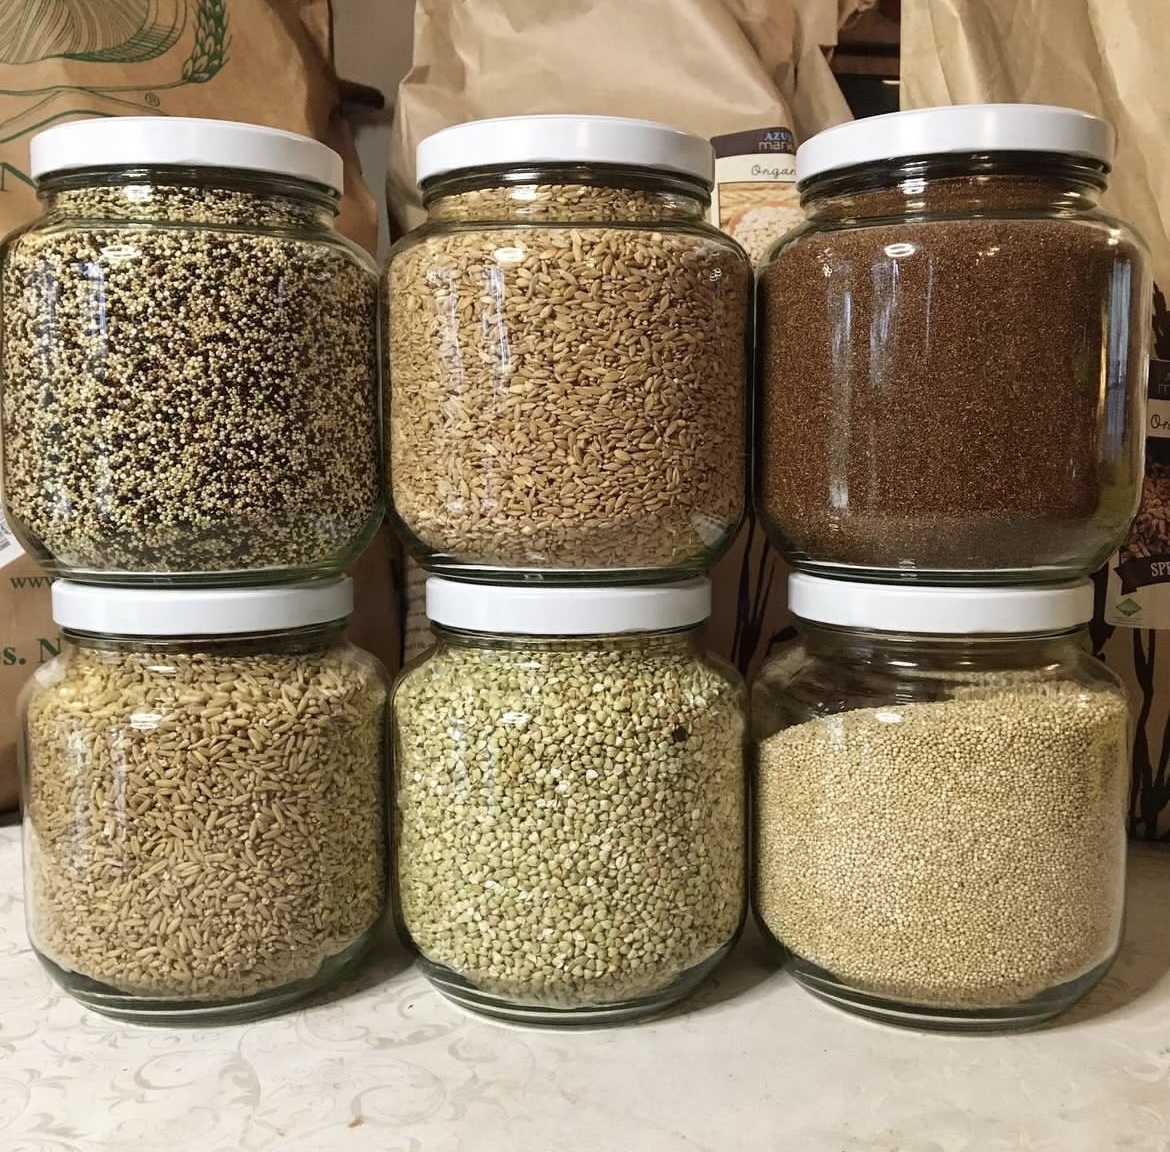
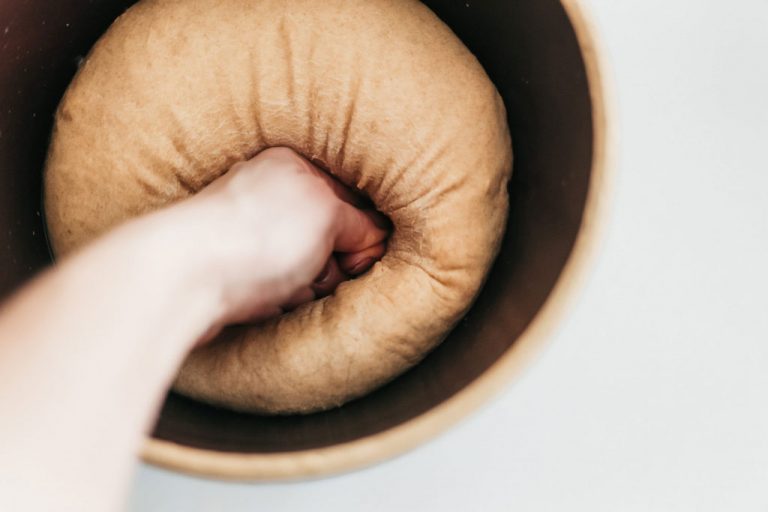
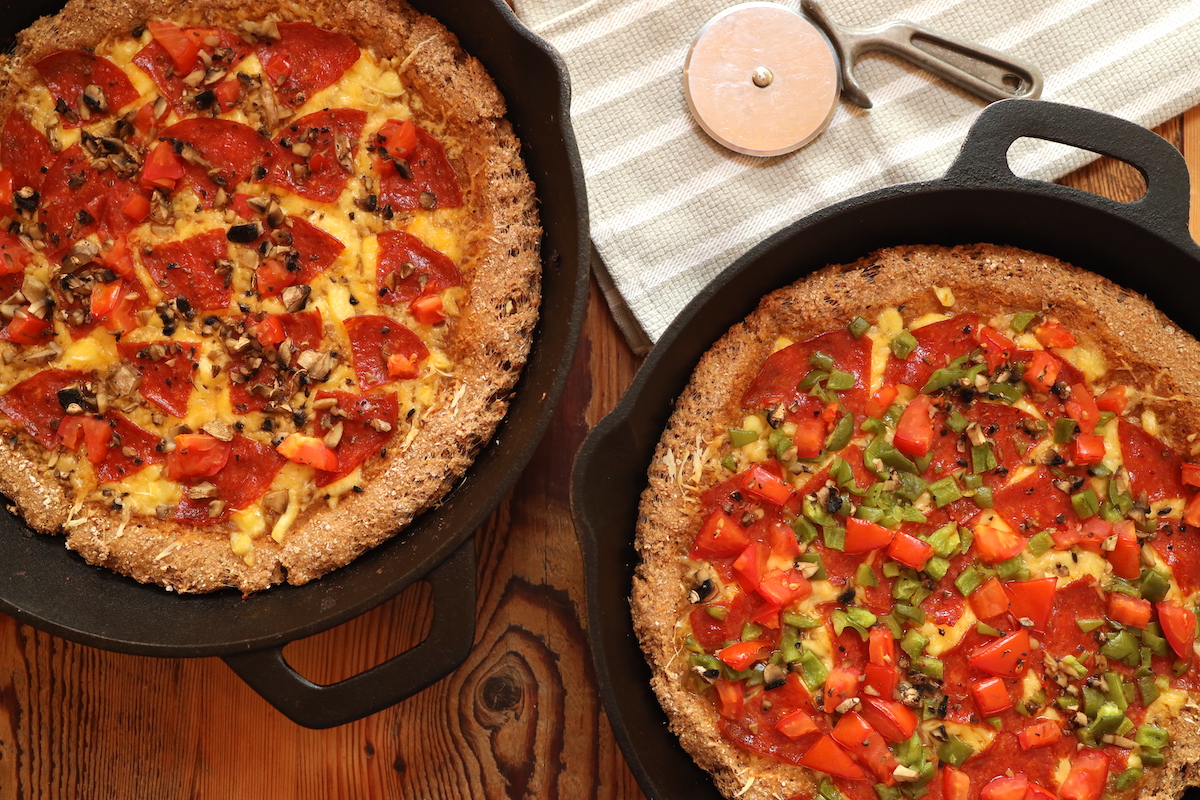
Start Milling at Home

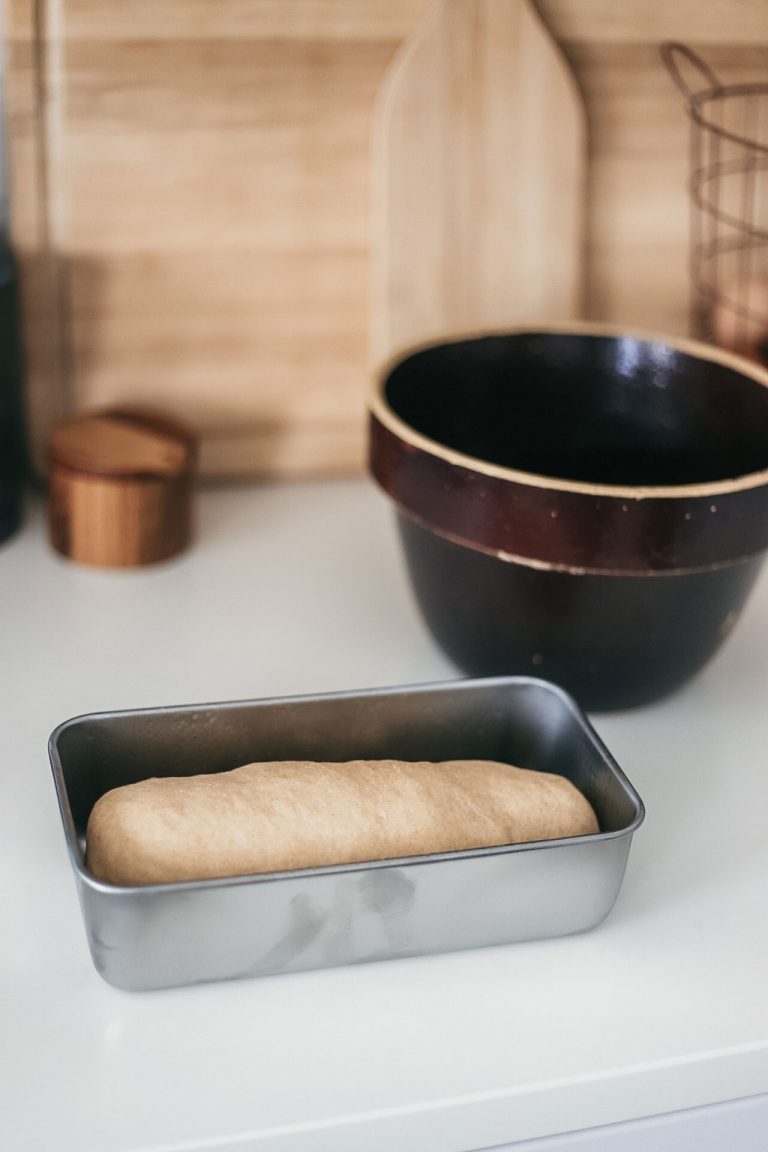
If you want to be self-sufficient and feed your family healthy hearty meals from scratch, you’ve got to
start milling at home. I know, I know, it sounds complicated and al little bit scary, right? But it doesn’t
have to be!

Read More

Deeply Rooted

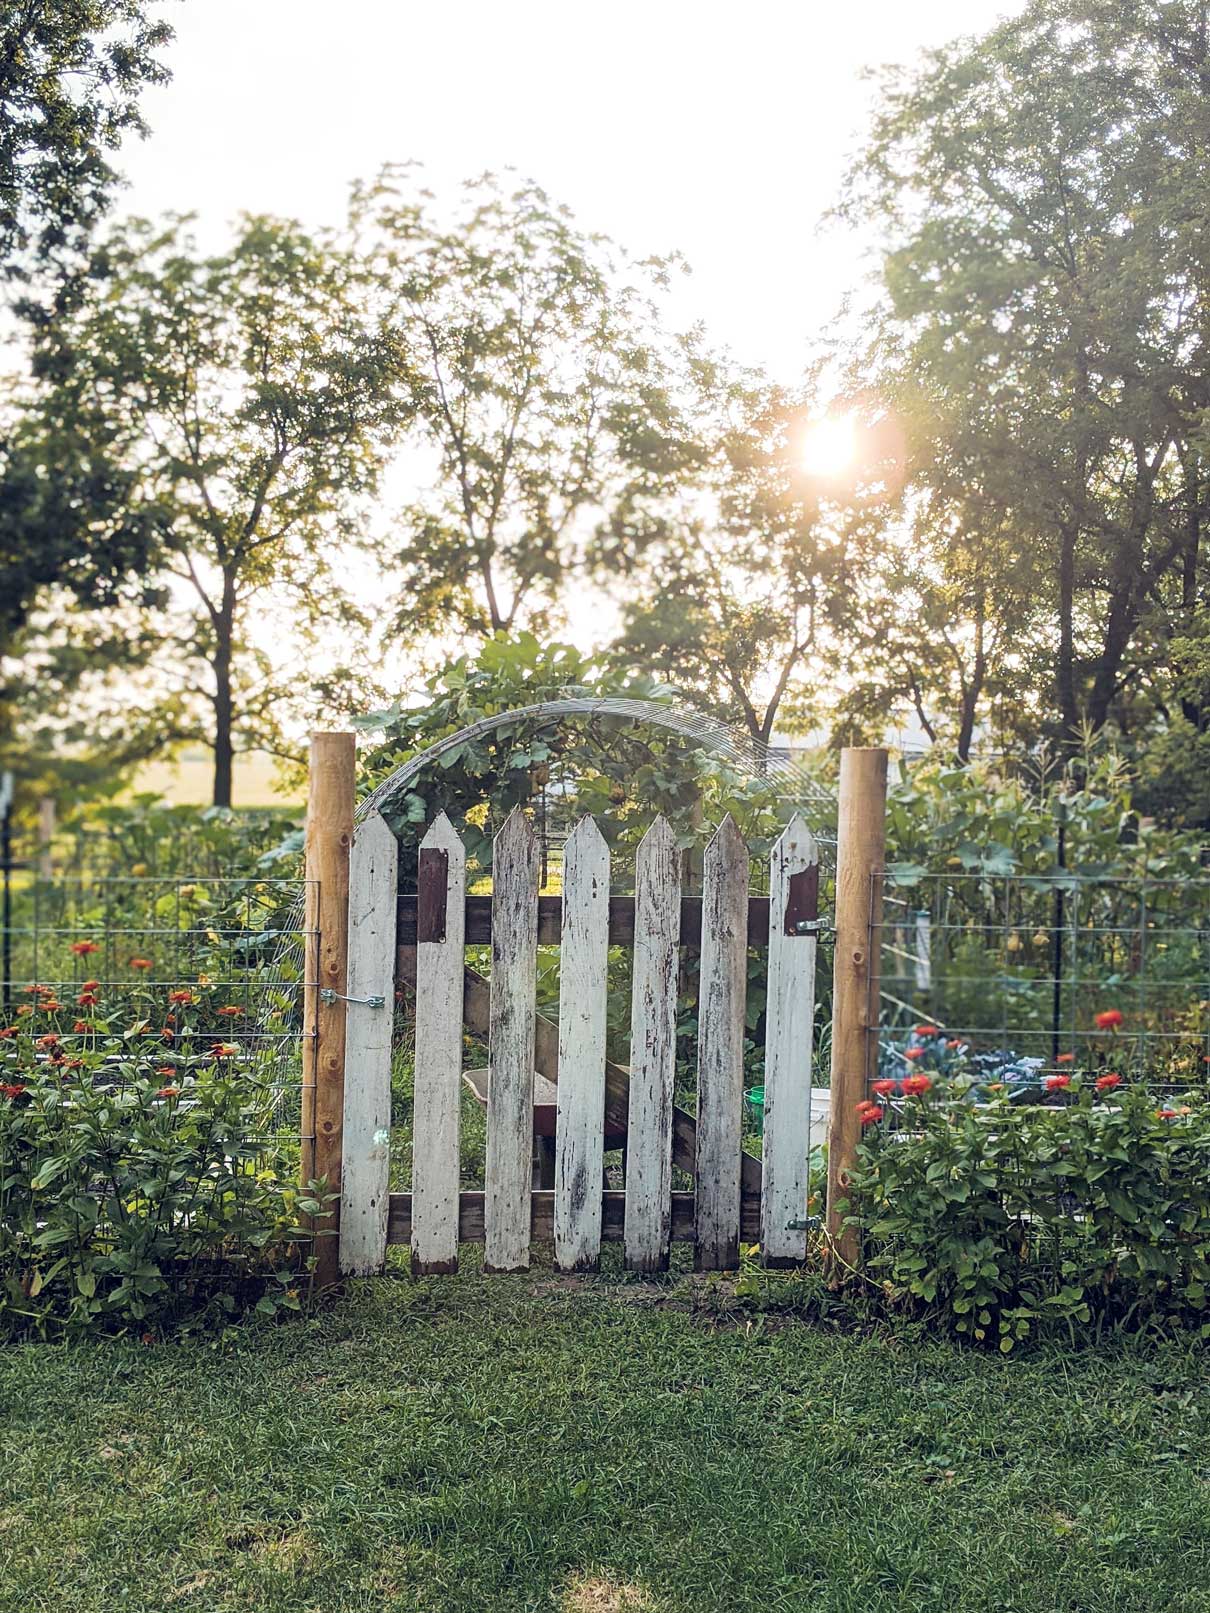
I am not well traveled. I’ve never flown on a plane. I’ve never been north of Ohio or west of Texas.I’m not as well traveled as some may say one should be, but this piece of land has housed all of my fondest memories…
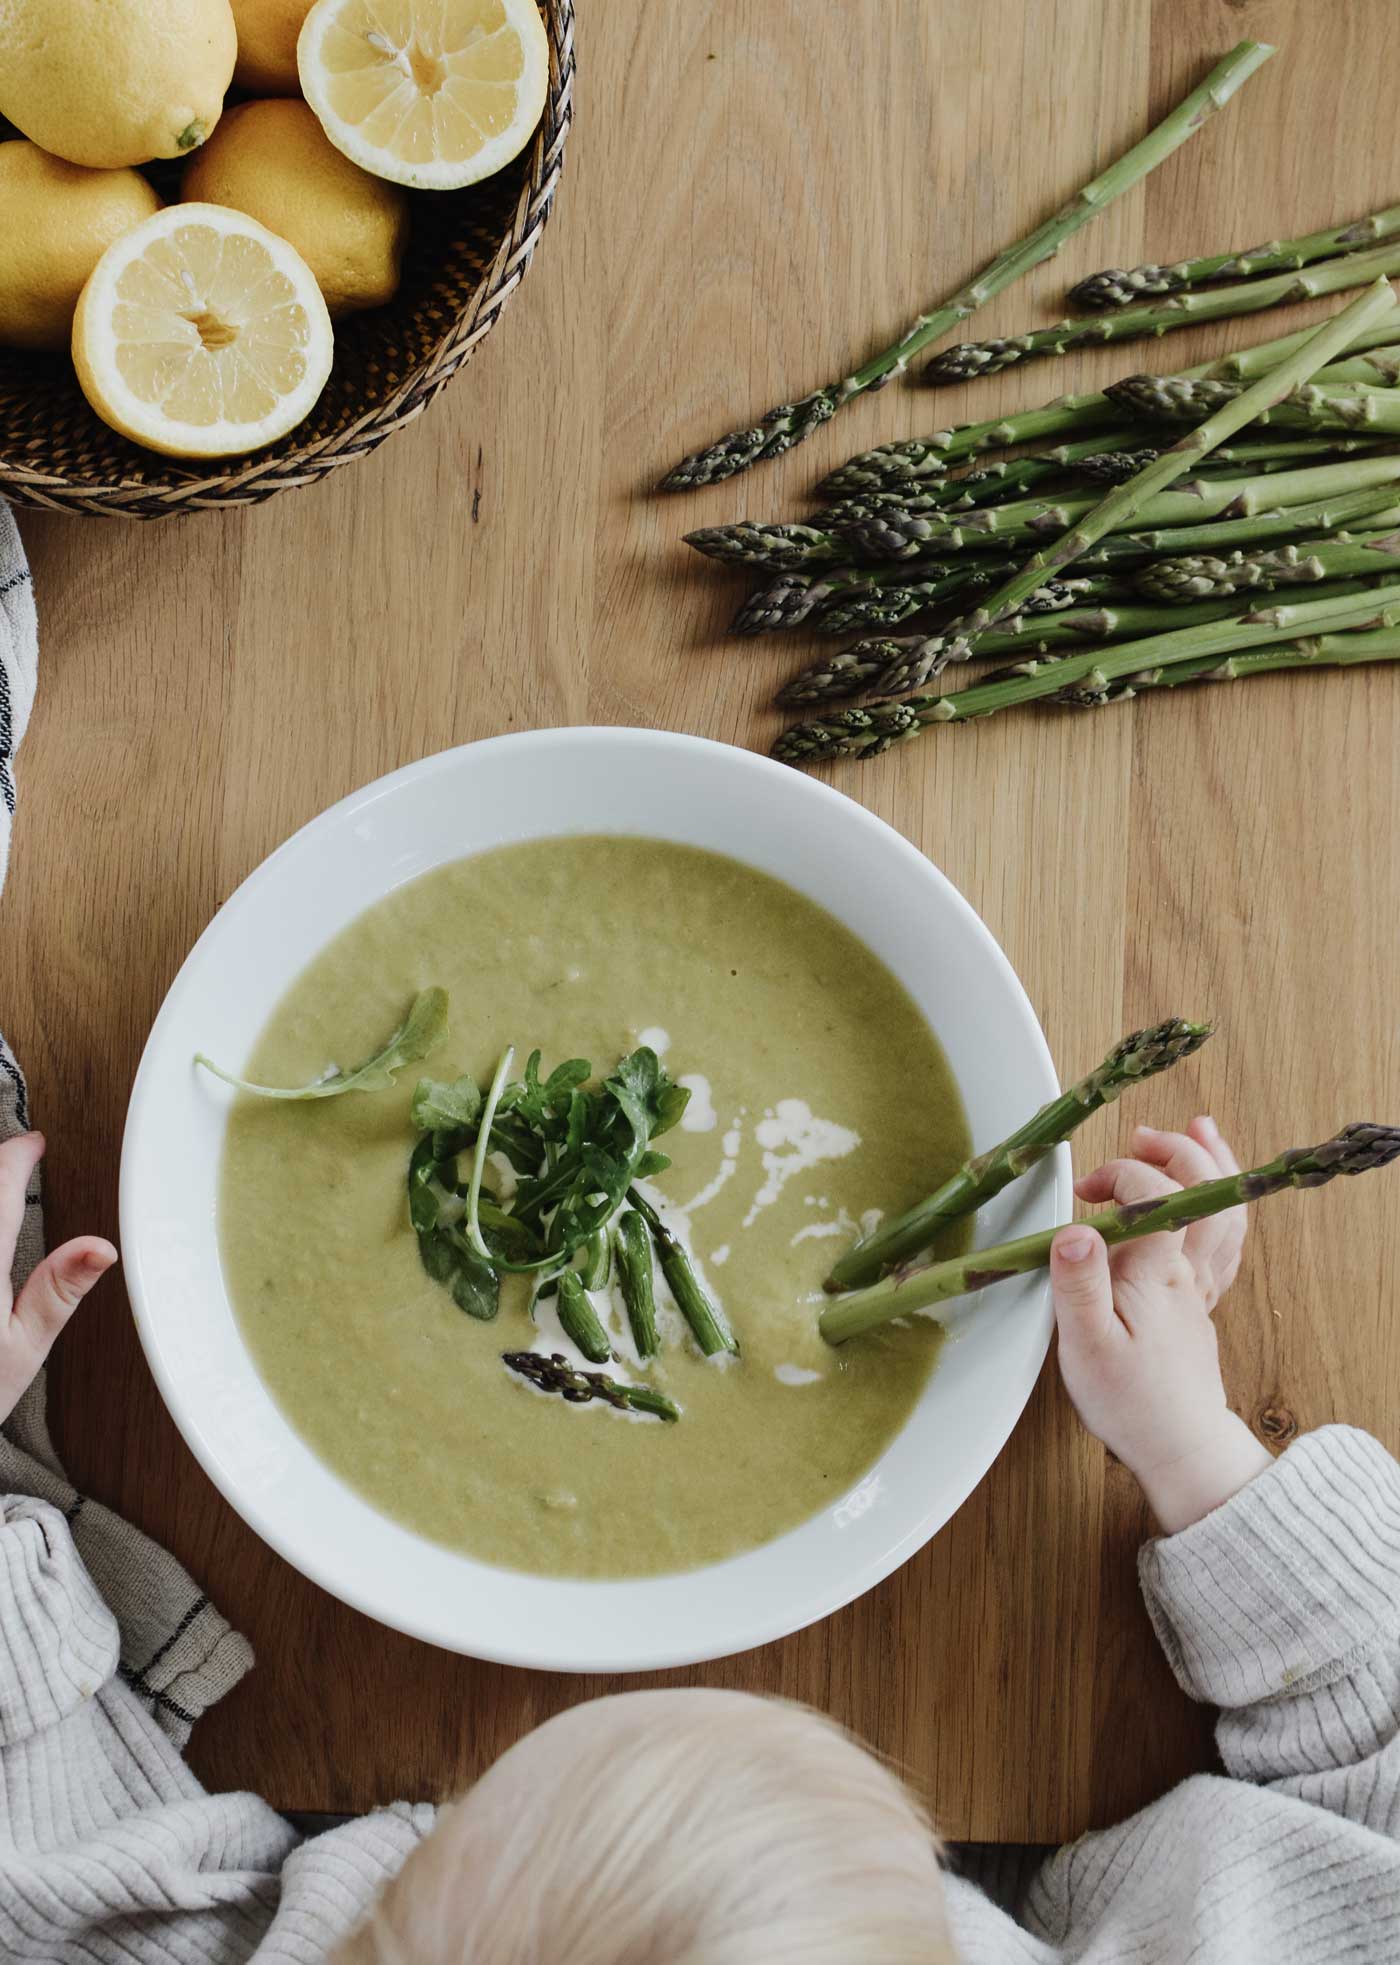
Read More

Healing on the Homestead

“In some Native languages the term for plants translates to ‘those who take care of us’ … the land knows you, even when you are lost.” – Robin Wall Kimmerer, Braiding Sweetgrass…

Read More

Frontier Homesteading

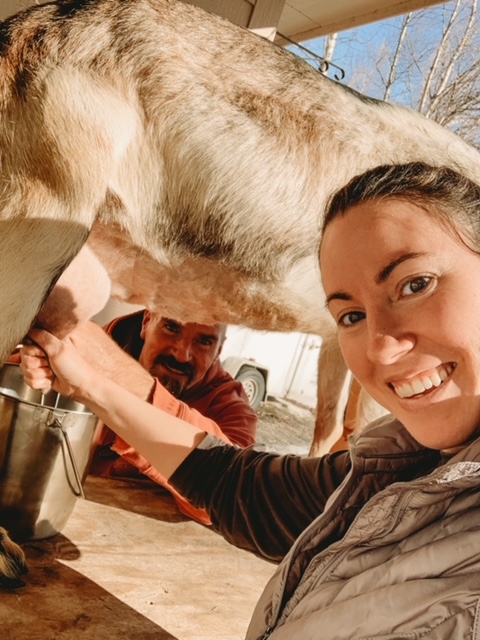
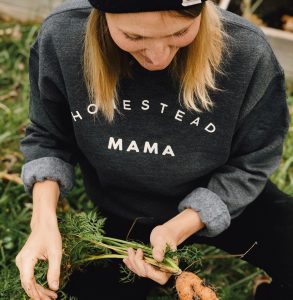
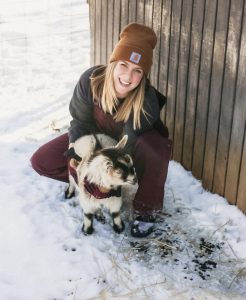
Hey there, Homesteading Mama’s!
I’m Rachel from @frontier_homesteading. My husband Ryan, three children and I have been homesteading for about 10 years now, first in Wyoming and now in Alaska.
We currently have milk goats, pack goats, sheep, a pig, a cow, chickens, rabbits, bees and a dog. Seasonally, we also have more pigs, meat chickens and turkeys….

Read More

Returning to Nature

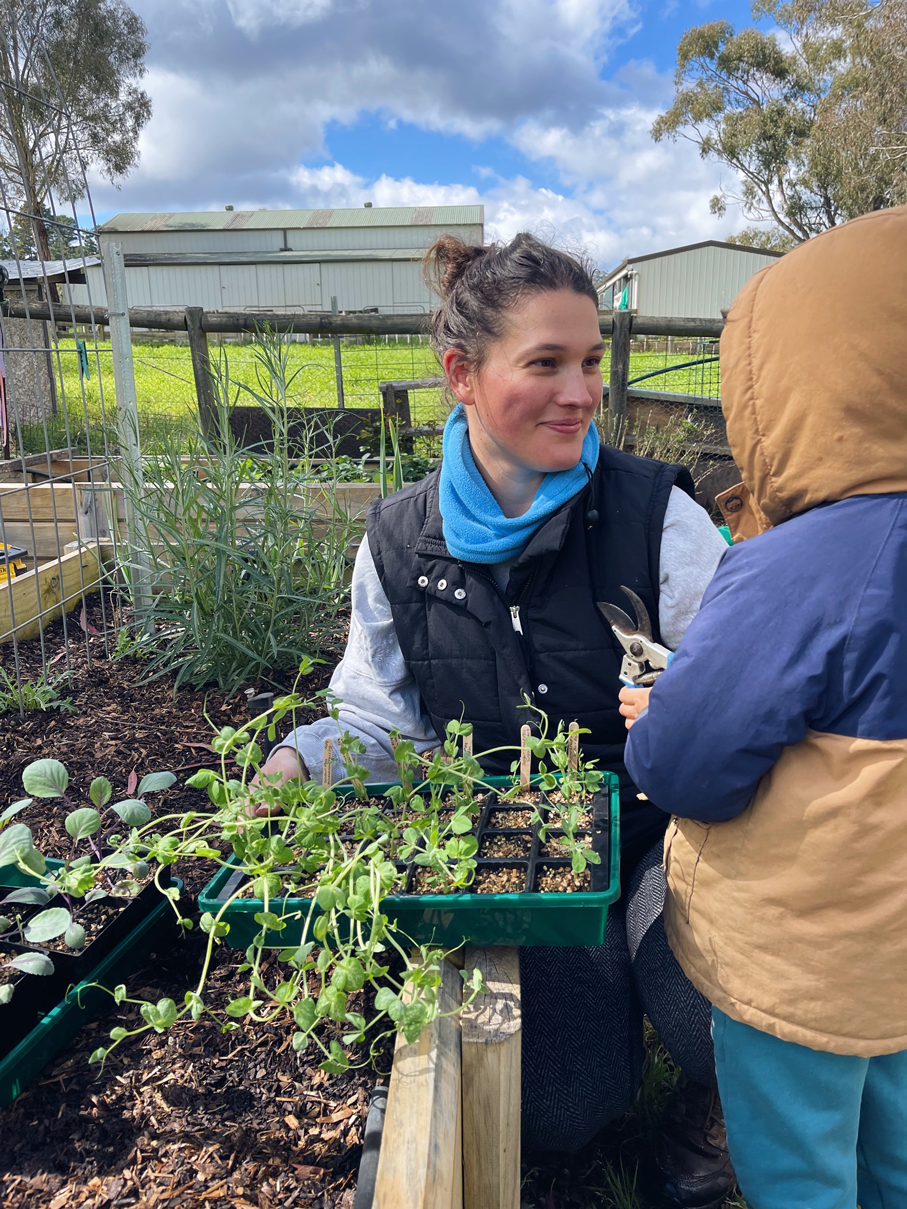
Homesteading and growing food is not the easy way out of this life, i would say it is the hard way as there’s nothing convenient about it. It’s a lifestyle, a life change not a trend or hobby. Well, that’s my opinion any way…

Read More

Quick-Rise Weeknight Pizza Dough

Like many in this homesteading space, this has been a completely unexpected journey for our family.
Even 10 years ago I would have laughed at the thought of getting up to milk a cow each morning and
canning endless amounts of tomatoes…

Read More

Wild Mushroom Risotto by The Hopewell Homestead

I am a Hopesteader. I haven’t always tried to look for the silver lining in most any situation. It’s a skill that has encouraged me to spur on and learn and read and do and gain experience by turning knowledge into wisdom…

Read More

Raw Milk Cheese

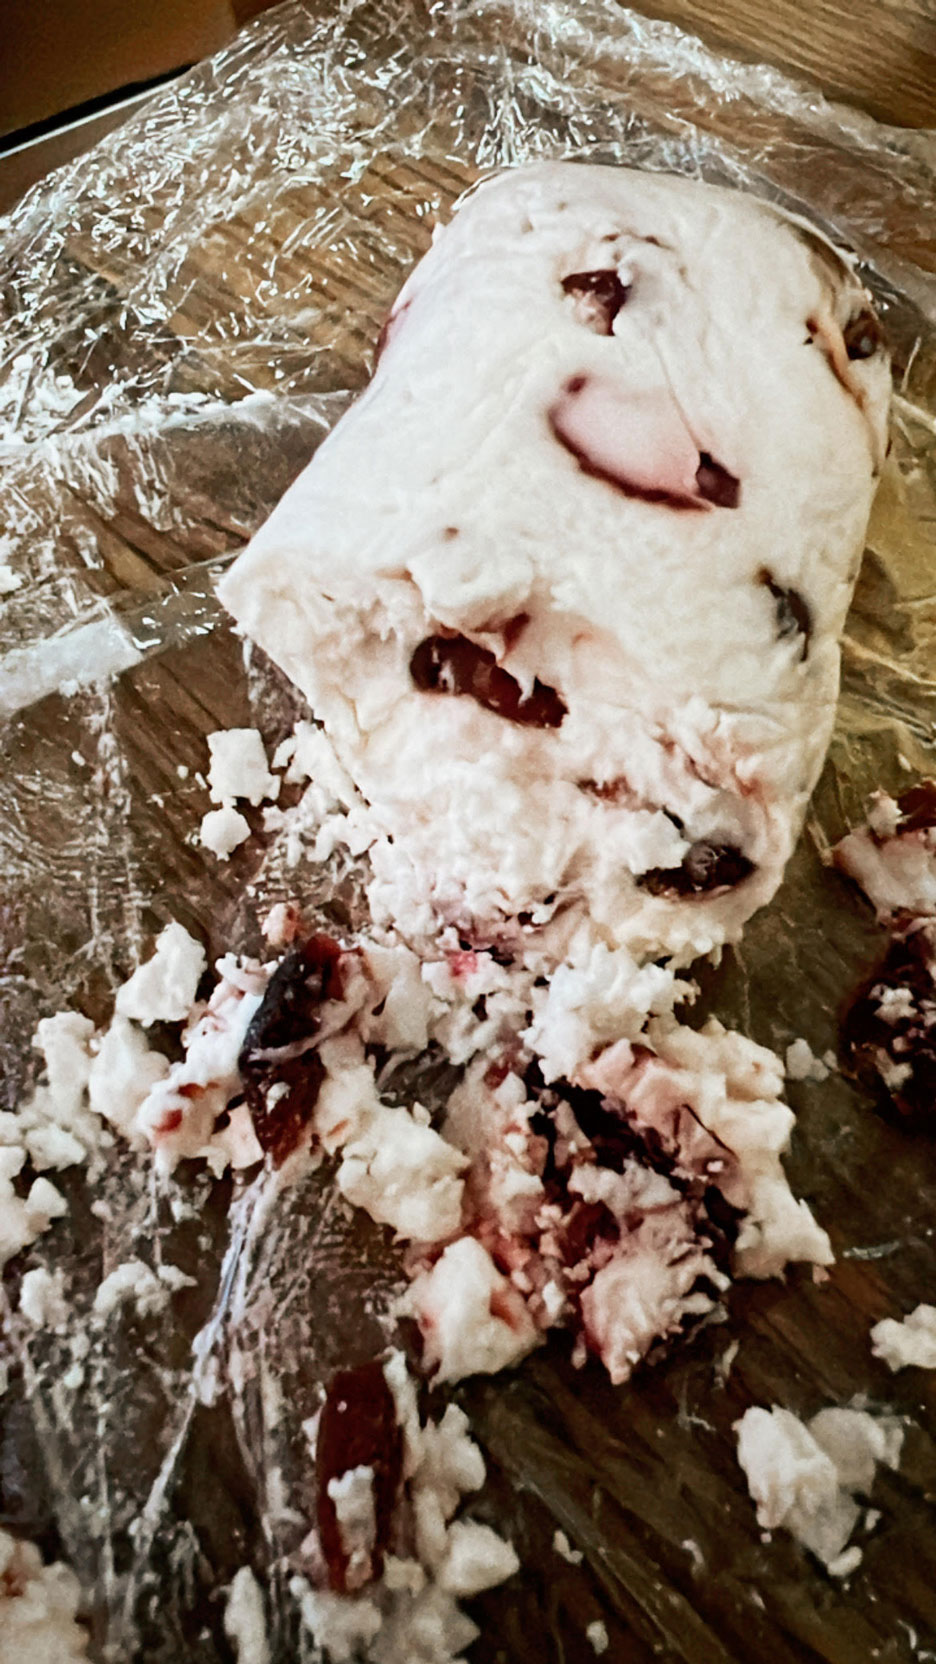
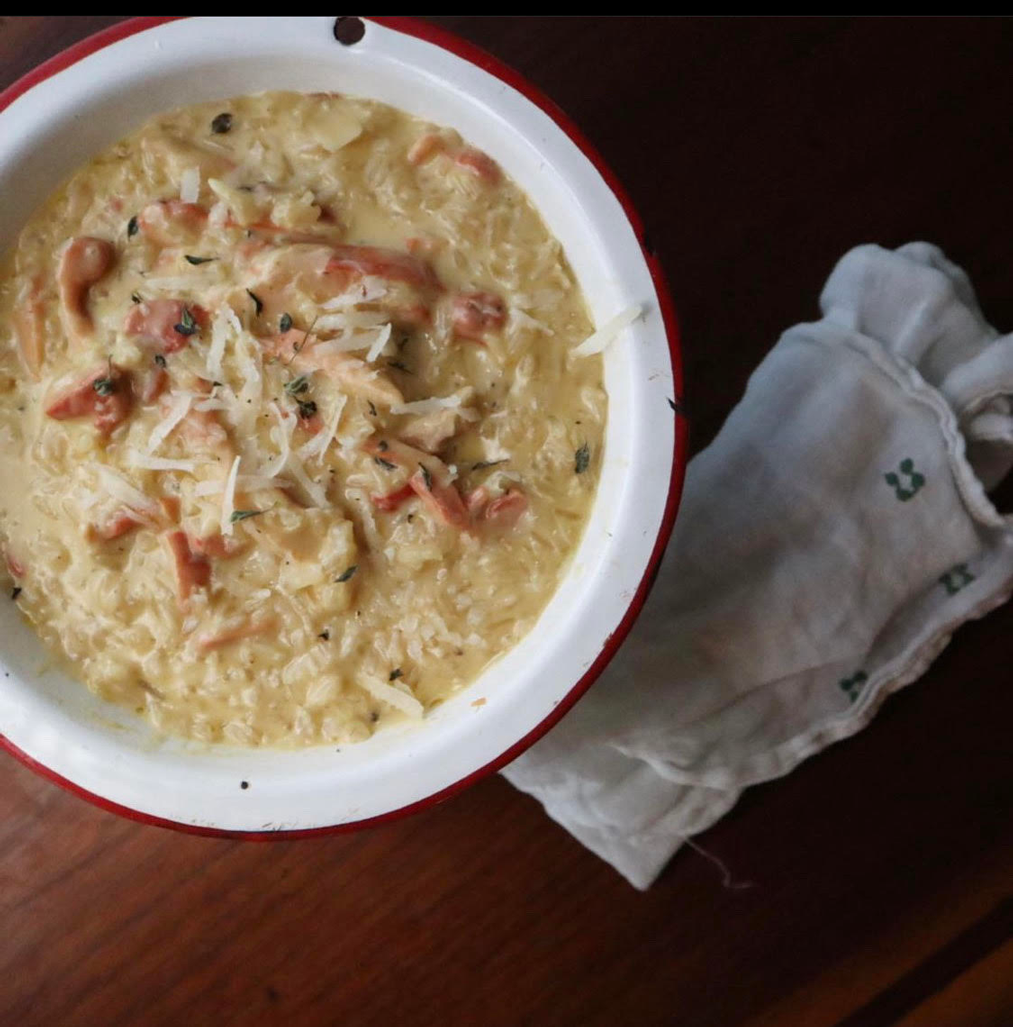
The absolute best part of this cheese recipe-there’s no stove work involved, at all! So they’ll be no sweating over the stove, or heating up the homestead during these hot summer months, with this recipe!

Chèvre is my go to cheese! I milk the goats, go inside and filter it right into a jar, and start the cheese from that very point! The doe’s body temperature is just perfect for starting the cheese on your countertop. And it doesn’t get much easier than that!…

Read More

Join In The Conversation

Subscribe
Notify of

0 Comments
Inline Feedbacks
View all comments

A Patchwork of Homestead Mamas

An inspiring & encouraging community of Homestead Mamas. For growers, hunters, foragers, & explorers; with little hands & little hearts alongside.

Join Our Community