Search
Close this search box.
Search
Close this search box.

Raw Milk Cheese

I may not look like Laura Ingells Wilder, but I tell you what, I sure have always dreamt of being her my entire life! I’m Tonya and I run The Wild Carrot Farmstead! 


I am a business owner, artist, farmer, homesteading mama of six children-and we are a tribal registered, Native American family of eight! 


We believe in preserving tradition by working hard, living simply, taking it slow, and not being afraid to live against-the-grain of society out here on our Missouri farmstead!


I put my degree in holistic health science to use, often, with our natural, sustainable skincare line featuring goat milk, farm-raised and foraged medicinal plants, and hand-rendered tallows.

 
I have an unquenchable thirst for knowledge and an even bigger love for passing down these traditions to our next generation! Our future!
The absolute best part of this cheese recipe-there’s no stove work involved, at all! So they’ll be no sweating over the stove, or heating up the homestead during these hot summer months, with this recipe!
 
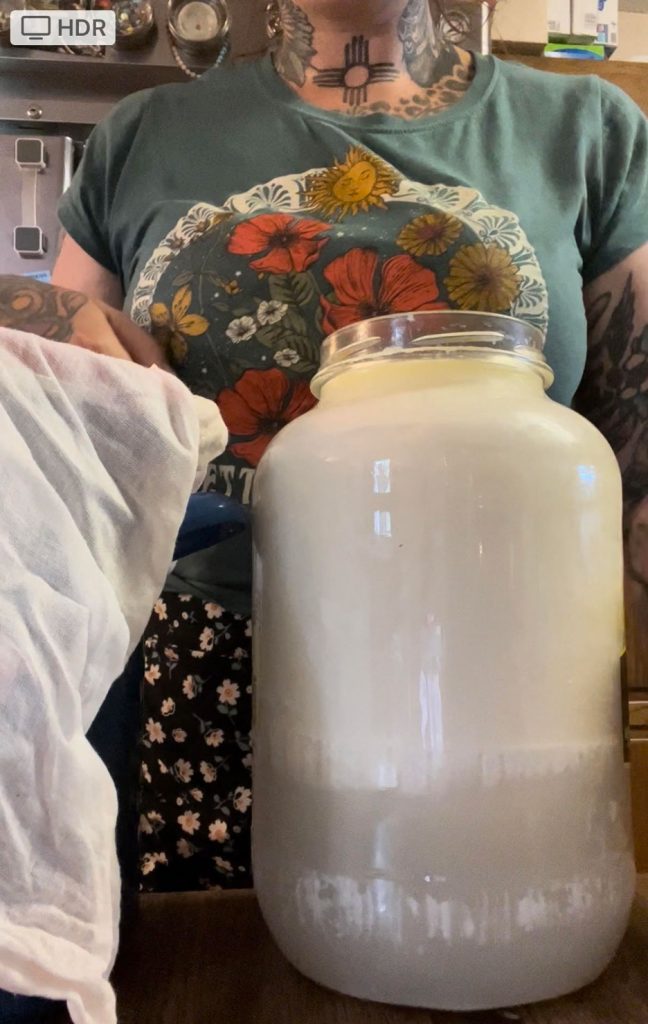
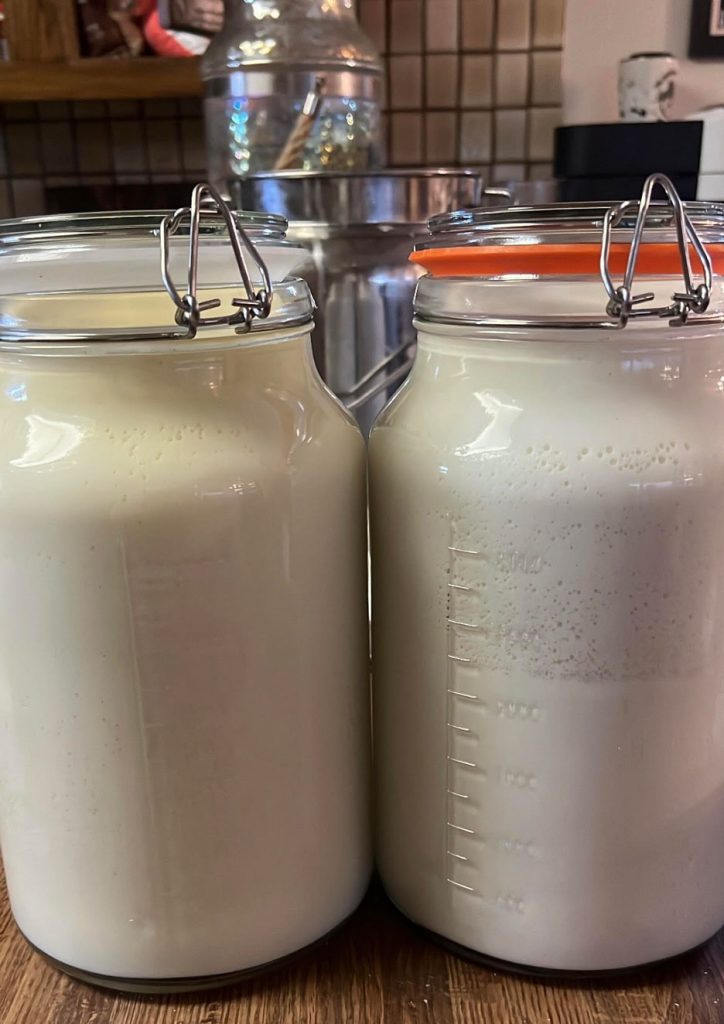
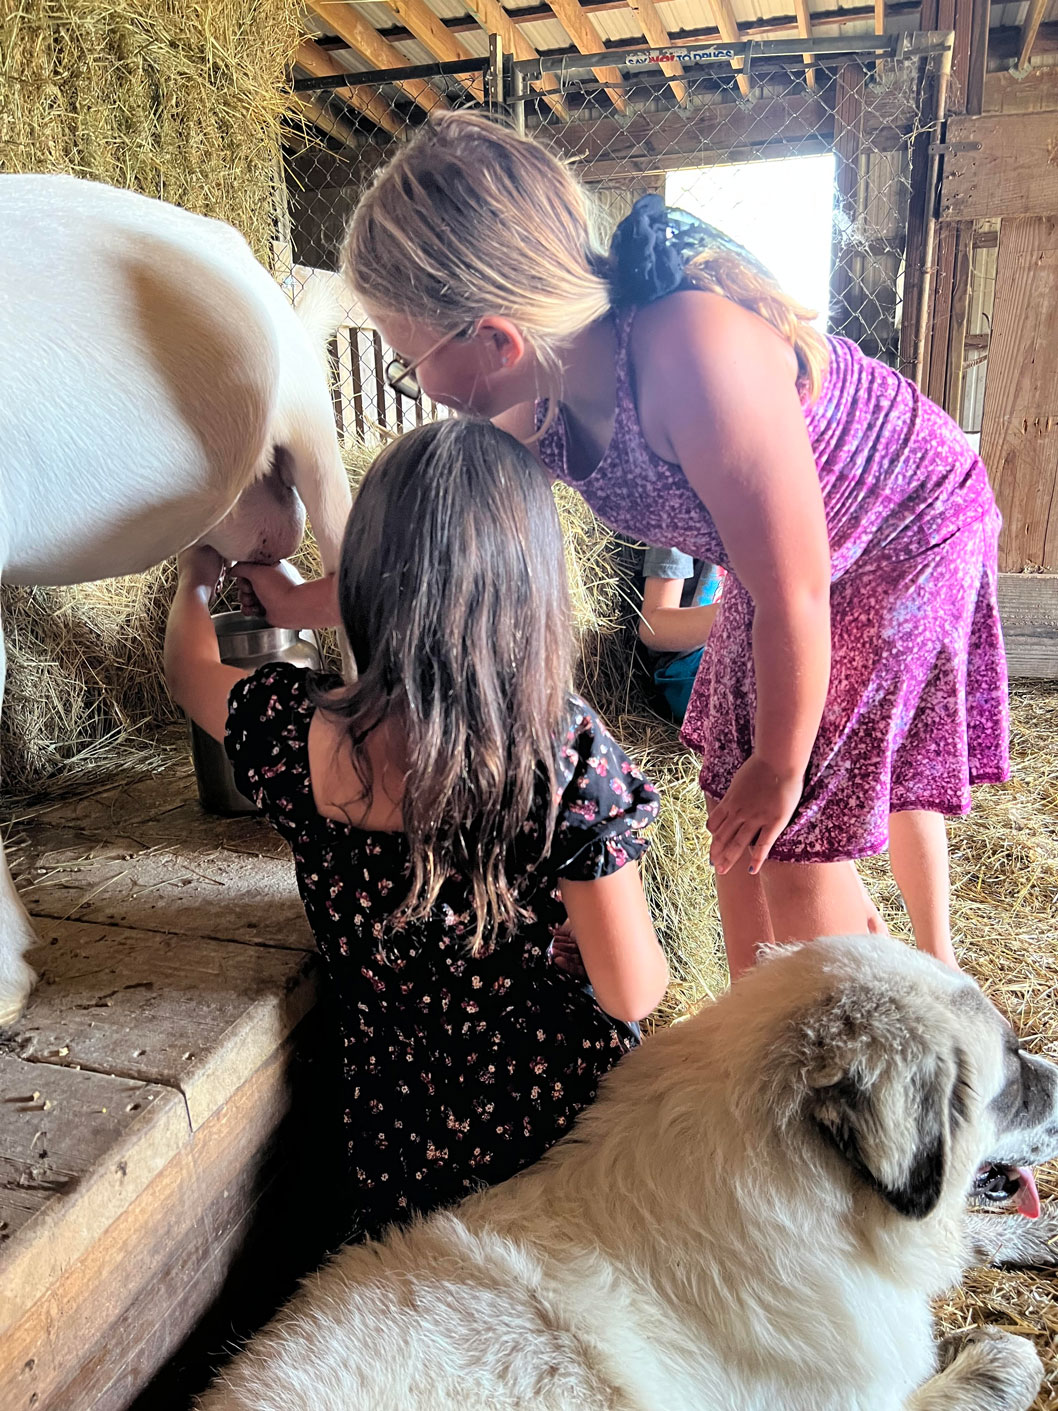
Chèvre is my go to cheese! I milk the goats, go inside and filter it right into a jar, and start the cheese from that very point! The doe’s body temperature is just perfect for starting the cheese on your countertop. And it doesn’t get much easier than that!
 
If you do not have dairy goats, and choose to buy from a neighboring farmer, you can use cold milk right from them, if you need to, and you can STILL start it on the counter from a colder temp!
 
Chèvre is a French word that literally means goat. And through the cheesemaking years, this French word has now been associated to goat milk cheese! Chèvre is a raw, bright and tangy, soft goat milk. It’s so versatile, as you can can enjoy it plain, or make it sweet by adding berries, or savory, by incorporating your favorite fresh herbs from your garden.
 
You can make it from cows milk too! You just can’t call it chèvre anymore. It’s now-farmer’s cheese, you could say.
 
With a culture and some rennet and some milk and a few days, you too, can have your very own cheese!
 
I love ferments and culturing, because for me-you don’t have to remember much, and you can even forget it for a day or two, because it easily forgives! And for this specific cheese, all you have to do to make your very own, nutritiously packed, raw cheese- is mix the cultures in, put a breathable lid on your milk, and set it in a dark, warm spot for a couple days. And that’s it!
 
The easiest cheese for beginners!
 
Not only delicious, raw cheeses are incredibly good for us! They are full of beneficial bacteria and enzymes. Often, but not always, people who are lactose-intolerant can even enjoy raw cheeses. This is because during the culturing stage, bacteria consume much of the lactose. 
 
The cheese also contains lactase, the enzyme needed to digest lactose, which helps if there is any lactose left. It is marvelous that raw dairy foods bring with them the necessary enzymes to aid digestion!
 
 
Here’s what you need:
 
1 gallon of raw goat or raw cow milk
 
1/4 teaspoon all-purpose
mesophilic culture (MA or MM)
 
1/2 cup clean water
 
4 drops of liquid rennet (regular or double strength)
 
1 teaspoon sea salt
 
cloth napkin and rubber band
 
stainless steel colander
 
stainless steel pot or bowl into which the colander fits
 
cheesecloth
 
Instructions:
 
Stage 1/Day 1: Culturing
 
Pour the milk in a gallon sized jar. The milk’s temperature doesn’t matter. I usually start chèvre with milk warm from milking, but i’ve also done it with milk cold from the refrigerator. 
 
Sprinkle the mesophilic culture on top of the milk and stir in with a wooden spoon (take care not to use metal). 
 
Put the 1/2 cup of water in a separate little jar. And add 2 drops of liquid double-strength rennet into the water in the jar. Stir well. Note: if using regular strength, use 4 drops of rennet, rather than 2. (keep this water/rennet solution in the fridge for up to two weeks to use for future batches!)
 
Take one tablespoon of the rennet solution, if using double strength, and add it to your gallon jar of milk and stir well. (please use 2 Tablespoons of your solution if using regular strength rennet.)
 
Cover the jar of milk with a breathable cloth and secure it with a rubber band around the lip of the jar.
 
You will sit this in a warm, dark place out of the way on the kitchen counter for 24 hours to culture at room temperature.
 
Stage 2/Day 2: Dripping
 
Place a colander inside a large pot or bowl. Ensure it is big enough to catch up to a half gallon of the whey that will drip out.
 
Layer two pieces of cheese cloth in your colander.
 
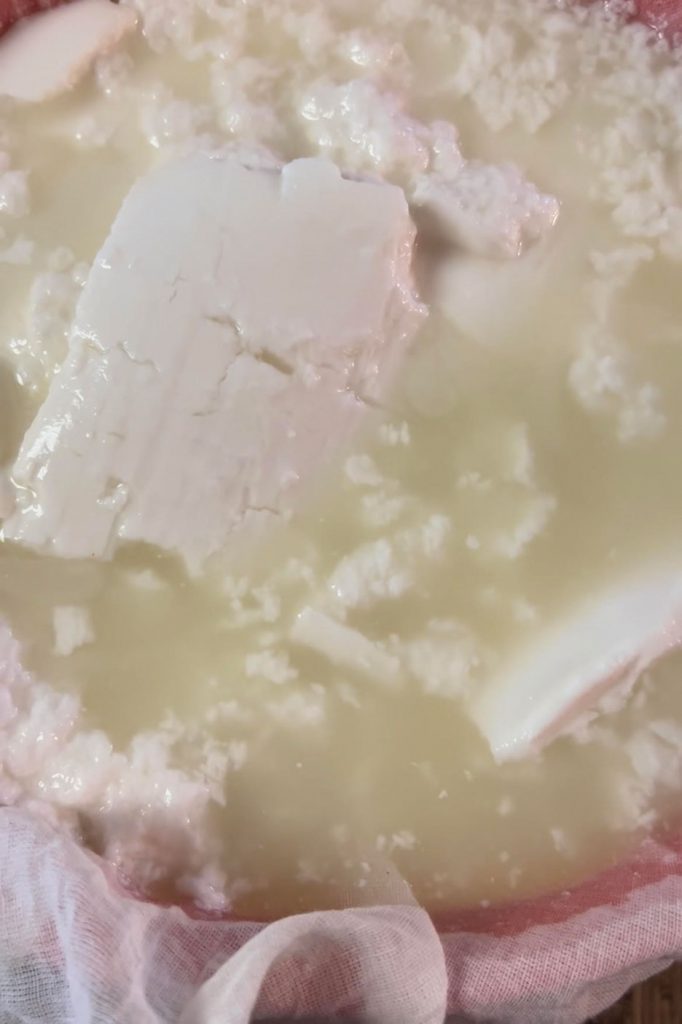
The milk should now be thick and gelled, much like a firm yogurt. Transfer these (now) curds into the cheesecloth-lined colander. It is okay if they break apart. Do so gently, but do not be concerned about keeping them all in one piece.
Tie up the opposite corners of the cloth, making a bag to enclose the curds. 
 
Lay the ends of the cheesecloth on top of the bundle of curds in the colander. Don’t let the ends of the cheesecloth hang out of the colander, or the whey will drip down into a puddle, onto your countertops.
 
Leave this set out at room temperature for another 24 hours, during which time the whey will drain out and the curds will thicken.
 
Stage 3/Day 3: Collecting
 
Untie the cheesecloth and check the consistency of the cheese. You may let it hang longer if you want the cheese to be thicker and dryer. At this current point, it is usually spreadable and soft- thicker than mayonnaise, but not as dry. This is my favorite consistency.
 
Transfer the chèvre to a clean bowl. Add 1 teaspoon of salt, or more, to taste. Stir well.
 
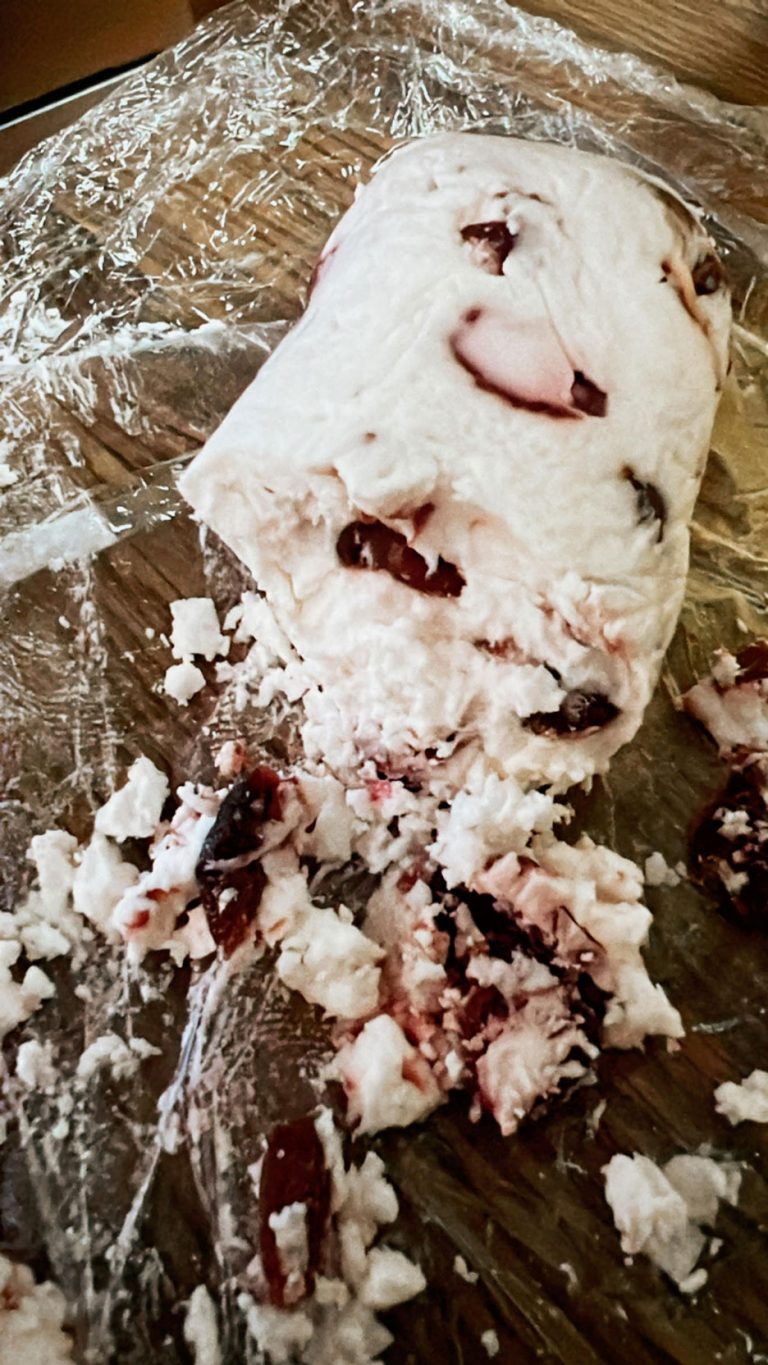
At this point, you can be done. Or you can add some mix-ins! I like to transfer the salted chèvre to the stand mixer and add in sweet flavors, such as, honey or dried cranberries or blueberries. I also like this cheese savory, so I’ll add fresh herbs from our garden and fresh black pepper. Do what suits your pallet at this point, and then incorporate your ingredients in the mixer for a couple minutes.
 
Transfer your cheese to seran wrap, or wrap of choice, and roll and form into a log and store in your refrigerator for up to two weeks!
 
Always remember to save and refrigerate the whey that drips out. That stuff is gold and can be used for so many things, especially in lacto-ferments!

COMMUNITY

Please join us by sharing, continuing the conversation below, and connecting with Tonya at the following:


Instagram

Share

MORE Stories

Quick-Rise Weeknight Pizza Dough

Like many in this homesteading space, this has been a completely unexpected journey for our family.
Even 10 years ago I would have laughed at the thought of getting up to milk a cow each morning and
canning endless amounts of tomatoes…
Read More

Wild Mushroom Risotto by The Hopewell Homestead

I am a Hopesteader. I haven’t always tried to look for the silver lining in most any situation. It’s a skill that has encouraged me to spur on and learn and read and do and gain experience by turning knowledge into wisdom…
Read More

Homestead Loss

We didn’t lose Druzy (pictured)-but lost her twins.

I just wanted to share how sad I felt that day. Our first goat, Druzy, had her babies sometime in the night, on Super Bowl Sunday-five days earlier than we thought-and they were both dead. Perfectly formed. Beautiful. Twins….

Read More

Simple Wheat Bread Recipe

Simple Wheat Bread Recipe

This is a great, simple recipe that can be quickly thrown together multiple times a week for the perfect, from-scratch, whole wheat bread recipe. It’s a half wheat, half white flour recipe with a slightly nutty flavor, a hint of sweetness from the honey, and the perfect texture. I love that this recipe is so versatile that it can be sliced as an addition to a cozy soup dinner or hold perfectly for spread and sandwiches. I make this recipe multiple times a week in our home. If you’re on the hunt for the perfect recipe to jump into making bread at home, you’ve come to the right place.

Read More

Our Homesteading “Why”

Greetings! I’m Mandy Vander Kolk, a joyfully married mother of three, suburban homesteader, and sourdough enthusiast! From very early on, I have had a great love for the natural world.

Read More

Two-Loaf Artisan Sourdough Bread

Soon after I began my sourdough journey a few years ago, it quickly became very clear that one loaf was never enough for our family! Between my husband and I and our three children, we can easily devour an entire loaf in one sitting….
Read More

The Giving Pie

This recipe is nothing exciting, there I’ve said it. But I’ve got a lot on my heart and fruit I’m hoping to share will you; it may fill you in ways no dinner can…

Read More

Join In The Conversation

Subscribe
Notify of

0 Comments
Inline Feedbacks
View all comments

A Patchwork of Homestead Mamas

An inspiring & encouraging community of Homestead Mamas. For growers, hunters, foragers, & explorers; with little hands & little hearts alongside.

Join Our Community