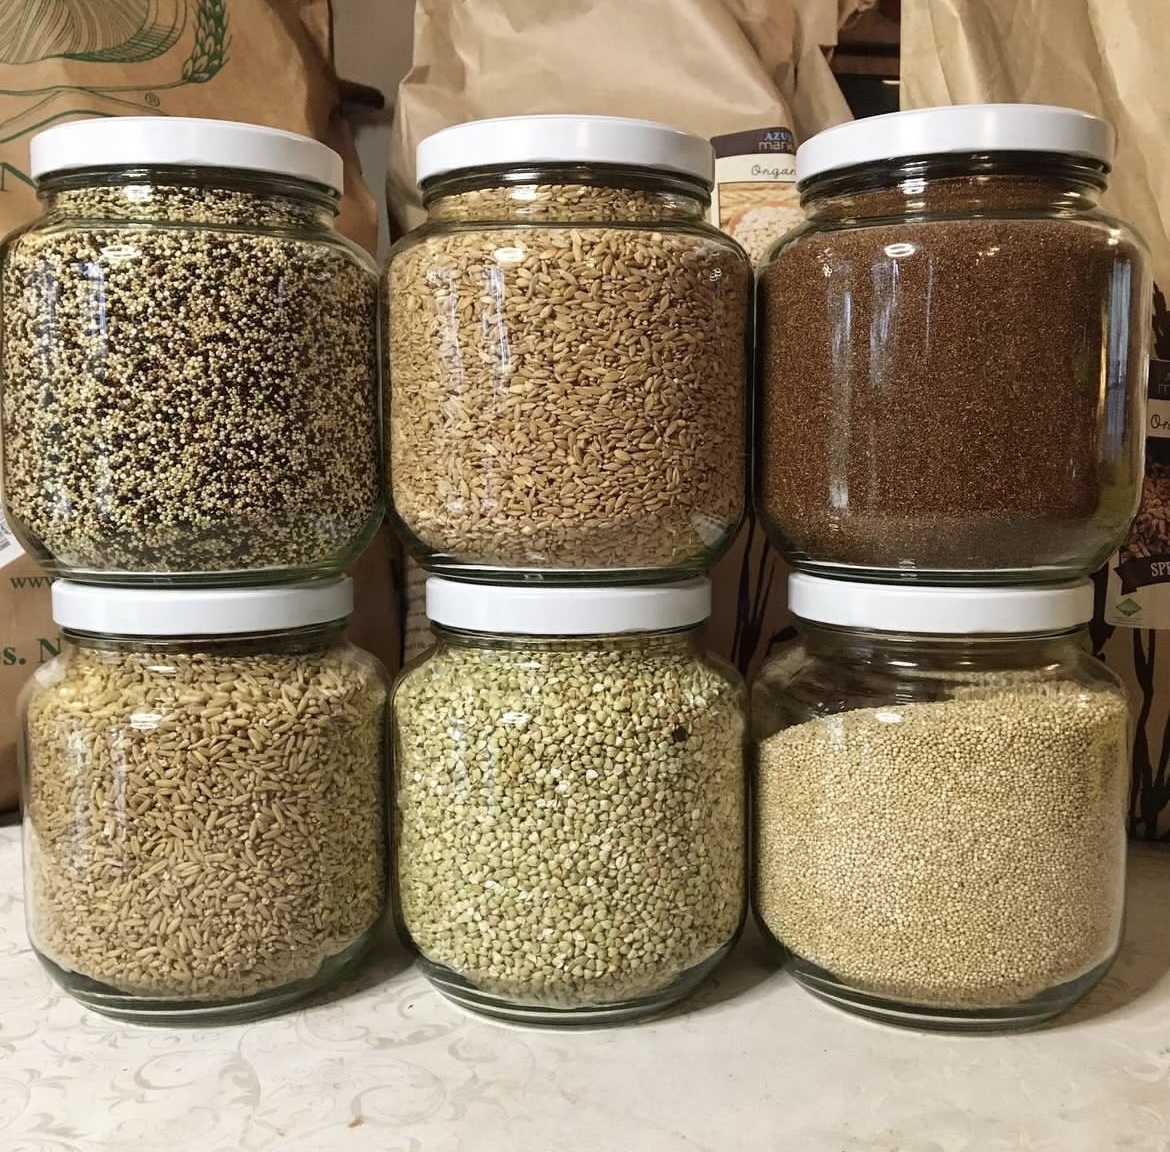
Start Milling at Home
If you want to be self-sufficient and feed your family healthy hearty meals from scratch, you’ve got to
start milling at home. I know, I know, it sounds complicated and al little bit scary, right? But it doesn’t
have to be!


If you want to be self-sufficient and feed your family healthy hearty meals from scratch, you’ve got to
start milling at home. I know, I know, it sounds complicated and al little bit scary, right? But it doesn’t
have to be!

Sautéed, Pureed, Roasted or Raw.
Asparagus is perhaps the most versatile vegetable of all…

Like many in this homesteading space, this has been a completely unexpected journey for our family.
Even 10 years ago I would have laughed at the thought of getting up to milk a cow each morning and
canning endless amounts of tomatoes…
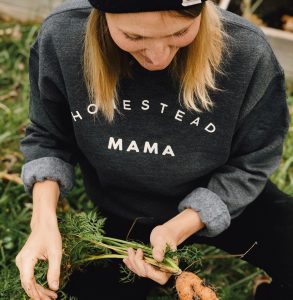
I am a Hopesteader. I haven’t always tried to look for the silver lining in most any situation. It’s a skill that has encouraged me to spur on and learn and read and do and gain experience by turning knowledge into wisdom…

The absolute best part of this cheese recipe-there’s no stove work involved, at all! So they’ll be no sweating over the stove, or heating up the homestead during these hot summer months, with this recipe!
Chèvre is my go to cheese! I milk the goats, go inside and filter it right into a jar, and start the cheese from that very point! The doe’s body temperature is just perfect for starting the cheese on your countertop. And it doesn’t get much easier than that!…

As the days grow longer and the hens pick up their laying again, the baskets on my kitchen counter begin to overflow with fresh eggs…
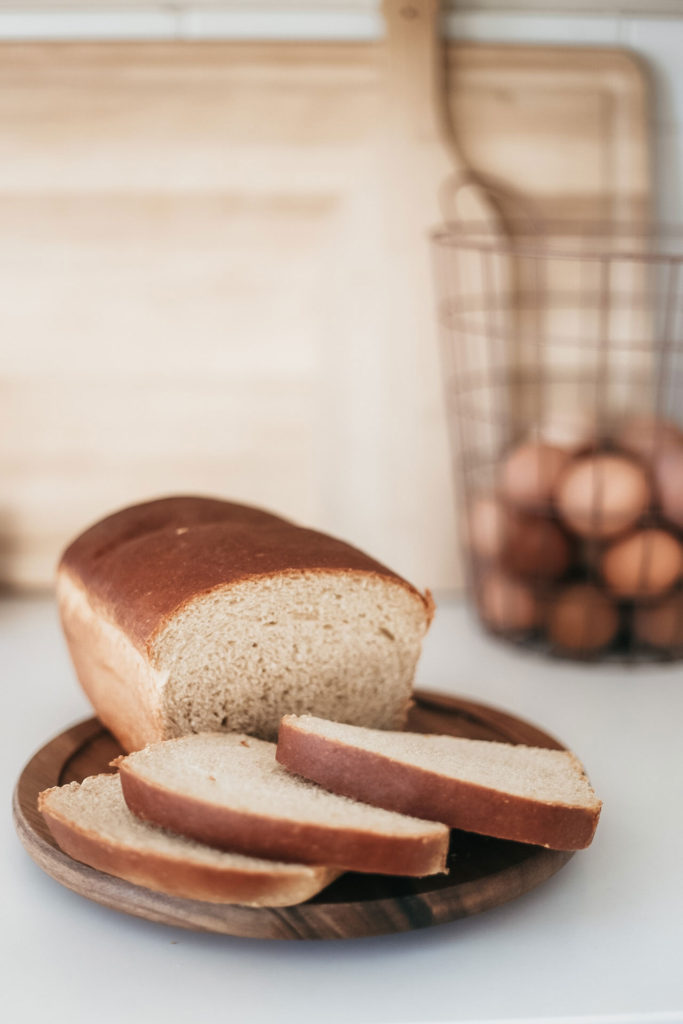
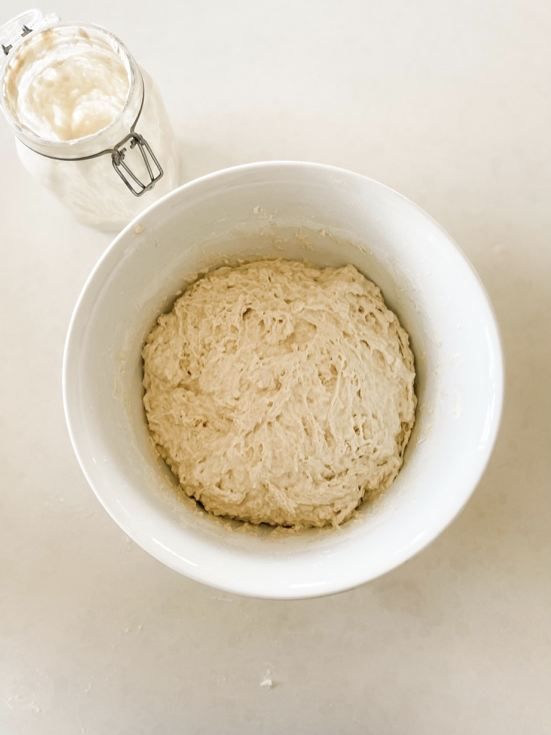
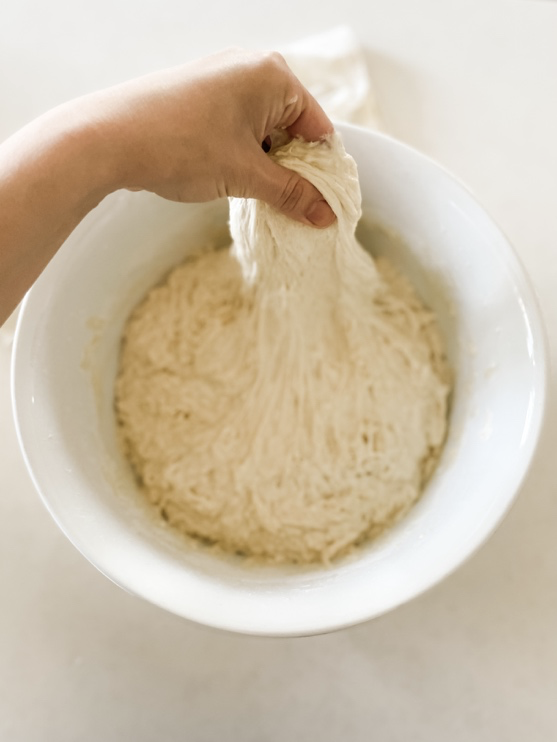
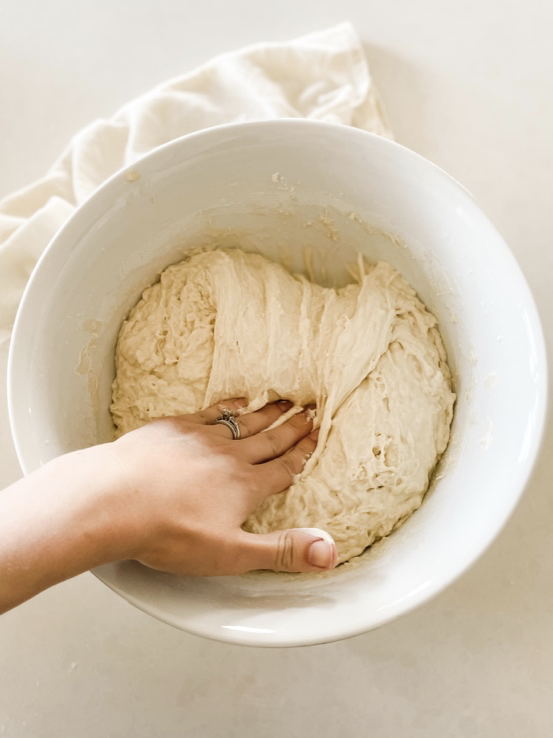
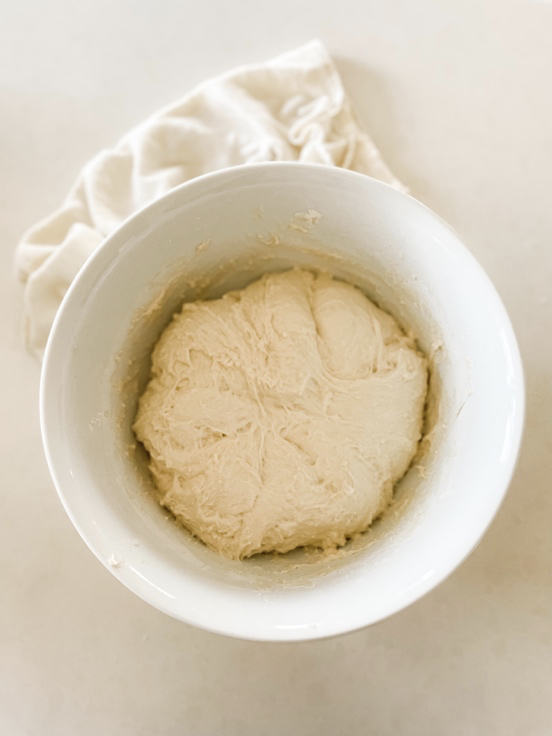
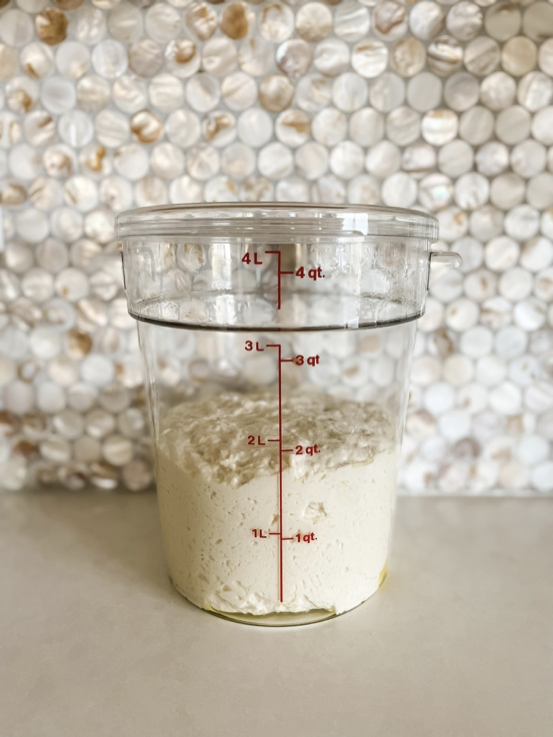
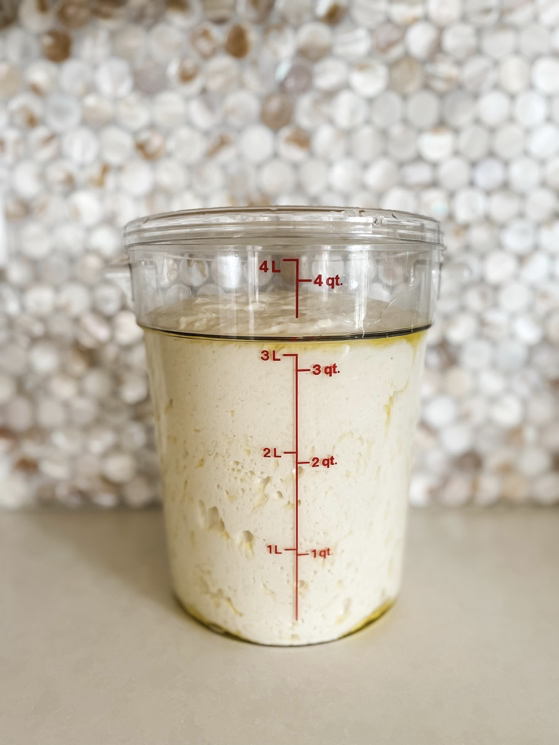
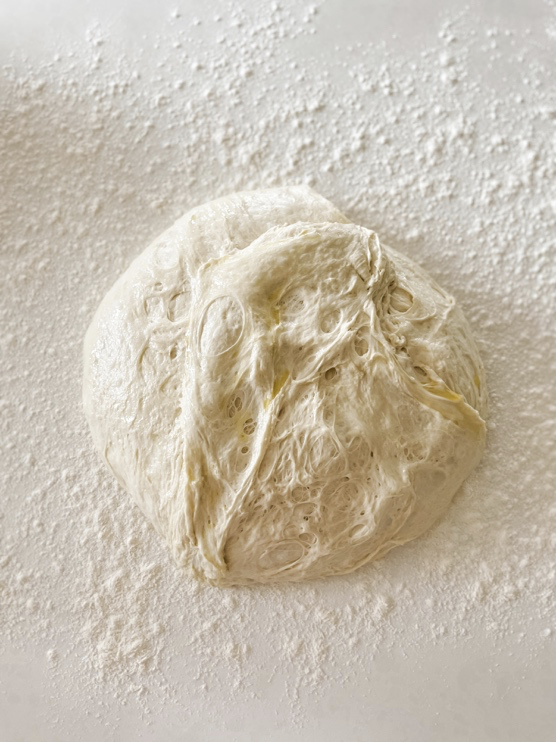
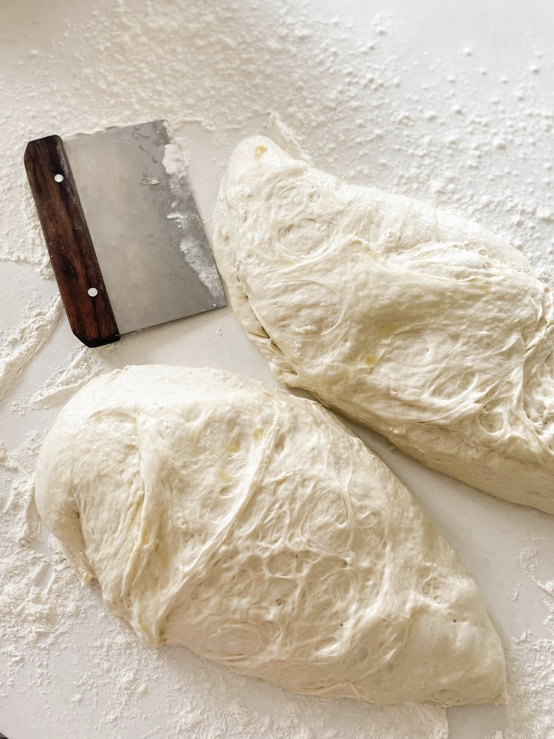
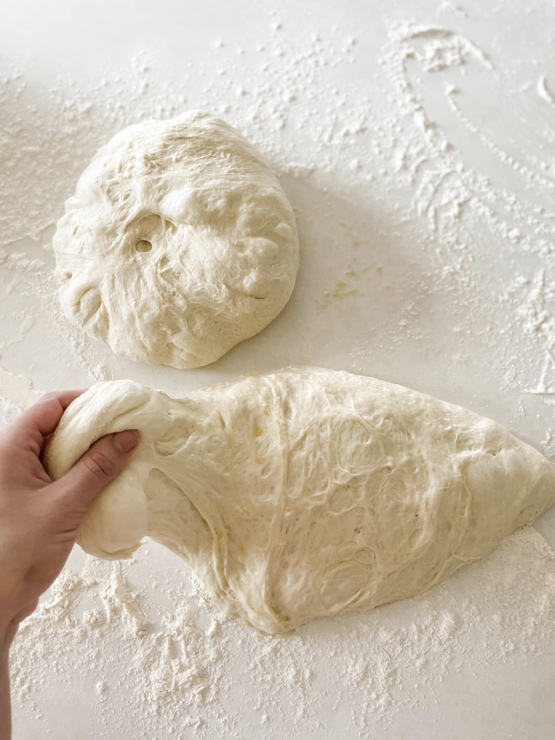
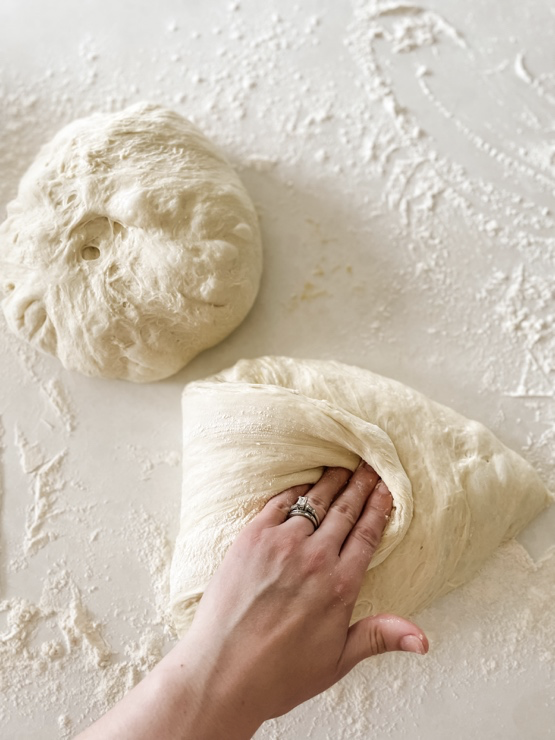
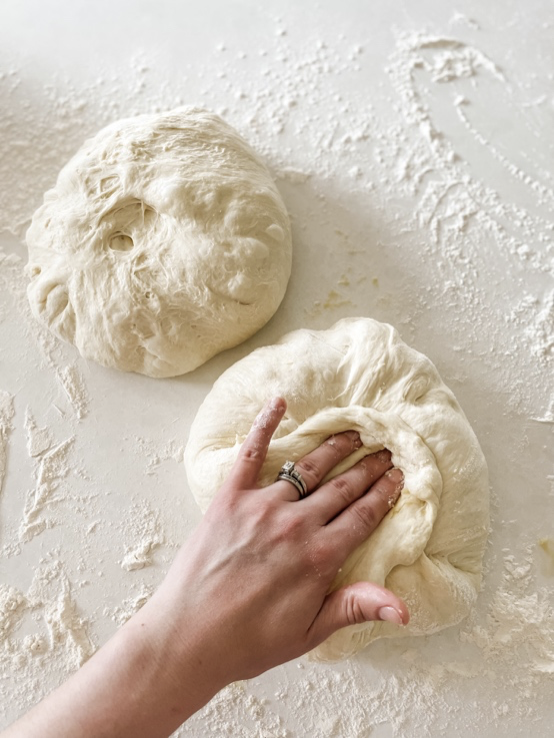
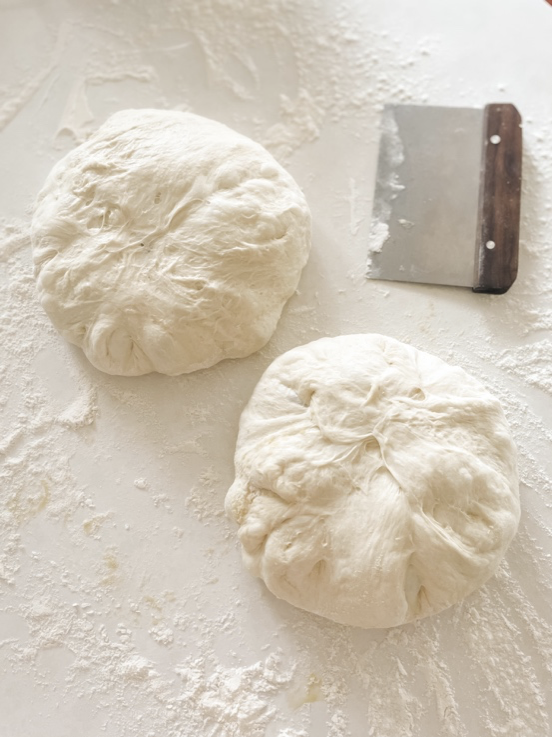
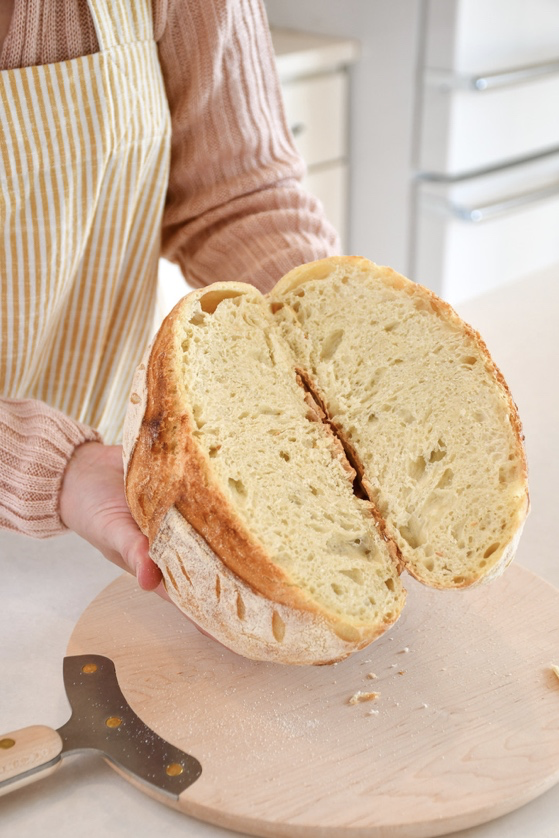
Simple Wheat Bread Recipe
This is a great, simple recipe that can be quickly thrown together multiple times a week for the perfect, from-scratch, whole wheat bread recipe. It’s a half wheat, half white flour recipe with a slightly nutty flavor, a hint of sweetness from the honey, and the perfect texture. I love that this recipe is so versatile that it can be sliced as an addition to a cozy soup dinner or hold perfectly for spread and sandwiches. I make this recipe multiple times a week in our home. If you’re on the hunt for the perfect recipe to jump into making bread at home, you’ve come to the right place.

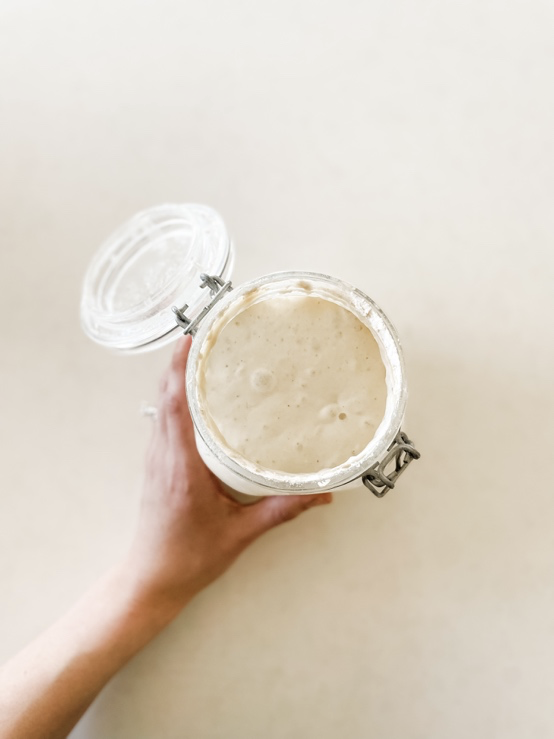
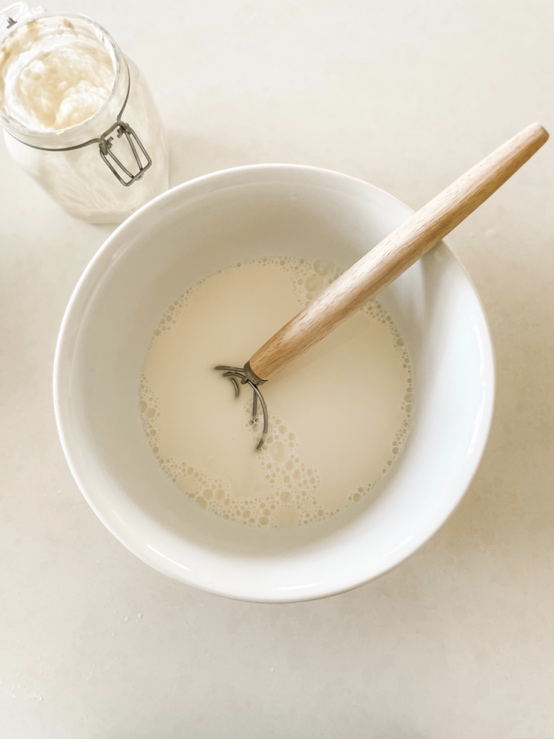
Greetings! I’m Mandy Vander Kolk, a joyfully married mother of three, suburban homesteader, and sourdough enthusiast! From very early on, I have had a great love for the natural world.
This recipe is nothing exciting, there I’ve said it. But I’ve got a lot on my heart and fruit I’m hoping to share will you; it may fill you in ways no dinner can…