Robyn, her husband Zach, and their three young children, own and operate a remote cattle ranch in Northern BC, where they homestead and grow the bulk of their own food.
Robyn recently started a blog where she is teaching homesteaders how to make cheese, and incorporate homestead cheesemaking into their lifestyle.


Homemade Feta Cheese Recipe
This cheese recipe is great for someone just starting out with cheesemaking. You needn’t figure out pressing, or a designated aging area. All you really need is a few gallons of good quality raw milk, a few simple ingredients, and a pot to fit it all in.
I am also including at the bottom, a “kids cheese”, a way for you to include your children in your cheesemaking. This “kids cheese” will work for any rennet coagulated cheese, acidified by a culture. My children love having the opportunity to make their own little cheeses alongside my own, and I love that I can foster this independence and exploration, while also getting my cheesemaking done.
Ingredients
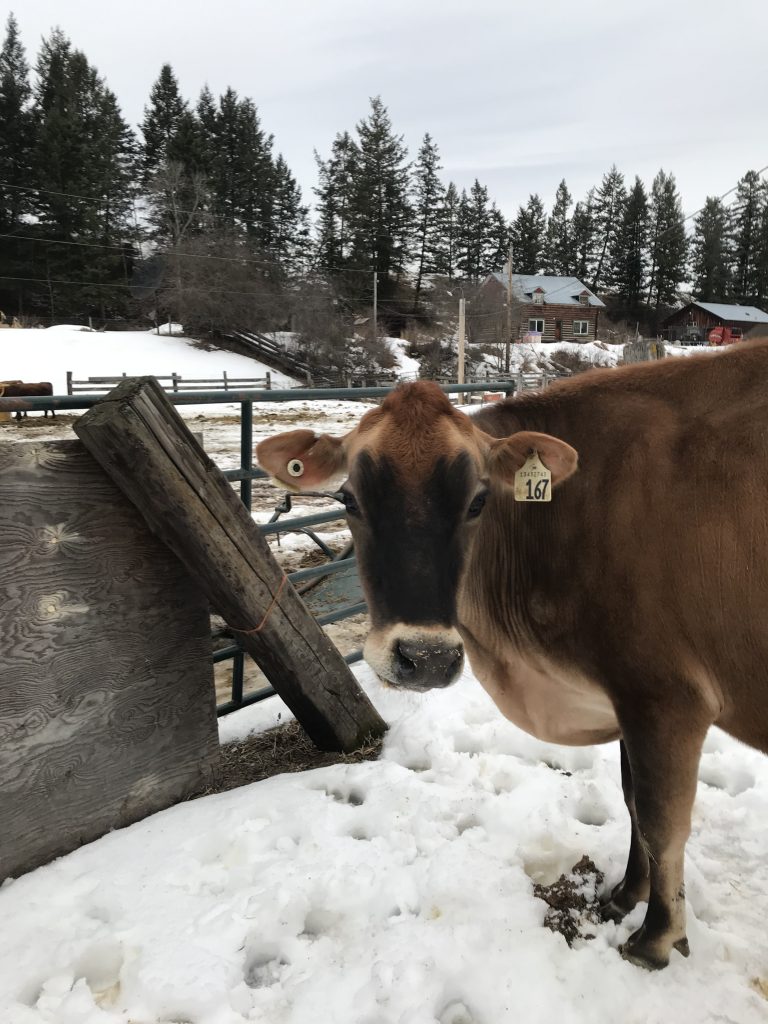
2.5 Gallons Good Quality Raw Milk ( if you are not using raw milk, see notes)
1/2 tsp Freeze Dried Mesophilic Culture
1/2 tsp Liquid Calf Rennet
Fine Ground Salt (with no additives)
Step 1: Warm Milk to 88-90F
Step 2: Add Culture, and allow to rehydrate for 5 min, before gently, but thoroughly incorporating into milk.
Step 3: Put lid on Pot and Ripen 1 hour.
Step 4: Dilute Rennet in 1/4 cup cool water. Incorporate gently, but thoroughly into milk.
Step 5: Let sit covered for 30 min to 1 hour until you achieve a clean break. A clean break is when you stick your finger under the surface of the curds, and gently lift upwards. The milk should split at the surface, in a “clean break”.
Step 6: Check for a clean break.
Step 7: Cut a grid of 3/4 inch cubes. This means cut horizontally, vertically, and up and down so that your curds are 3,4 inch cubes. Let them sit for 5 min so that they “firm up”.
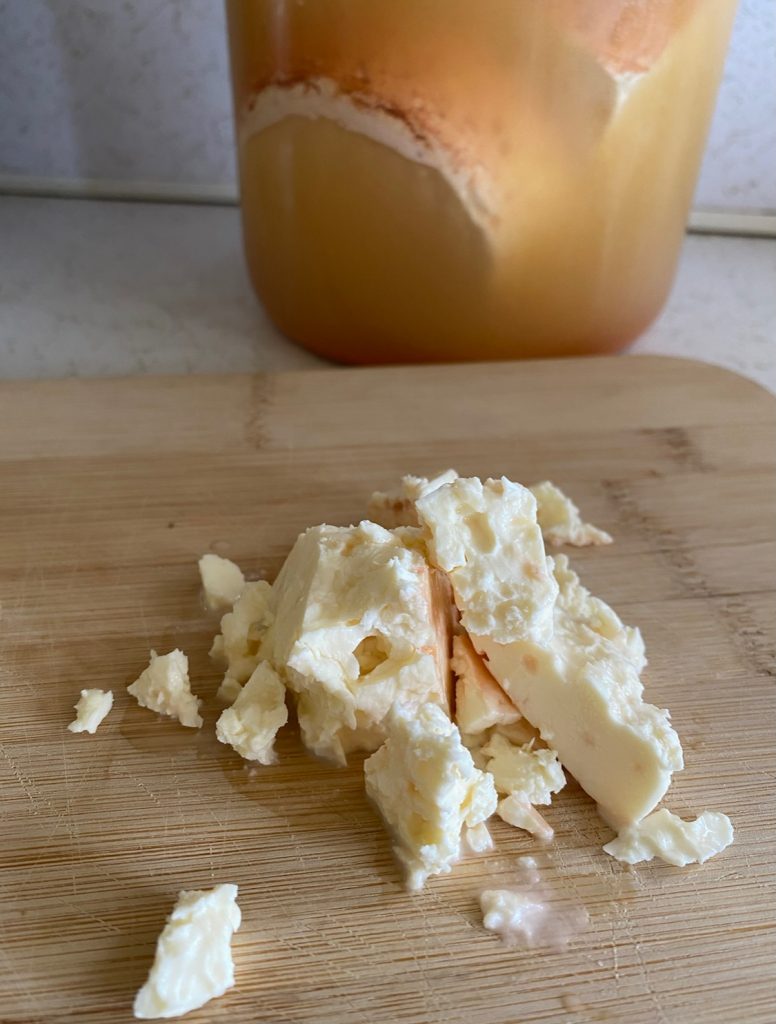
Step 8: Stir curds gently for 20-30 min or until they have shrunk slightly, and when pressed between your fingers, they break apart, but have a slight firmness, similar to a poached egg.
Step 9: Let curds settle to the bottom of your pot. Scoop off the whey and reserve about half a gallon for a salt brine ( I always reserve a little bit more just to be safe).
You can make this salt brine now. It is a 10% salt brine, so meaning 10% salt, 90% whey.
Step 10: Drain remaining curds through a cloth lined colander. Drain 5 min.
Step 11: Fill forms to the top. ( you can use designated forms, or old yogurt containers with holes punched in them). Place on a draining rack. Flip cheeses in the forms every 10 min for the first hour. After this, allow cheeses to sit in forms until the next day.
Step 12: Remove from the forms, Cut the cheeses so that they will fit in your aging vessel (jar). Dry salt cheeses by rubbing the entire surfaces of the cheeses with salt, use as much salt as the surfaces will take. Leave the cheeses to air dry on the counter until they have formed dry rinds, and are no longer “squishy”. This can take anywhere between a day to three to achieve. If it takes longer, you may notice a small amount of mold growth. Wash this off with your salt brine.
Step 13: Submerge cheeses in prepared brine. Ensure that they are completely covered in brine. Place in the refrigerator.
They will be ready to eat after only a few weeks, but they just get better with time! Using good quality, fresh milk. This batch will yield approximately a 1 gallon jar filled with Feta cheese.
Notes; If you are using pasteurized milk, know that the finished product may be different, and that you will not achieve as high a yield. If using pasteurized milk, ensure that you add calcium chloride before adding the rennet.
“Kids Cheese” Recipe
You can use this recipe with any of your rennet coagulated and culture acidified, cheeses. Whether that is the above feta recipe, or a pressed cheese. My children love making their own tiny cheeses, and it doesn’t take too much more work or mess for me, so I’m happy to oblige.
Step 1: Scoop out some of the softer (poach egg like) curds from your cheese pot. Optional; Mix with spices.
Step 2: Have your child pack these curds into a small form (or old yogurt container with holes punched in it). Have them fill it to the top, as it will drain off to about 1/3 of its original size.
Optional; For older children, they may want to use a warm, damp cheese cloth in their form. This will make a smoother rind (if they are prepared to “redress” it a few times).
For younger children, this is sometimes too much, and not necessary.
Step 3: Have them come back and flip it (or “redress” it), in the form after an hour. At this point, it will be soft, and you may have to help them.
After this, they can flip it as often as they want for the next 24 hours. This could be not at all, every 4 hours, every 10 min; whatever they want.
You can let them know, that the more they flip it, the more uniform their cheeses shape will be.
Step 4: Let it drain in the form for 24 hours.
Step 5: Take it out of the form, and have your child rub the entire outside with a fine ground salt. Use as much salt, as will fit on the surface of the cheese.
Step 6: Let it dry on a rack at room temperature for 24 hours.
Step 8: Put on your fanciest hat, pour a cup of tea, and enjoy a gourmet cheese on fancy crackers!


COMMUNITY
Please join us by sharing, continuing the conversation below, and connecting with Robyn at the following: